Advertisement
Quick Links
Advertisement

Summary of Contents for Hogtunes Quadcast QC475-RM
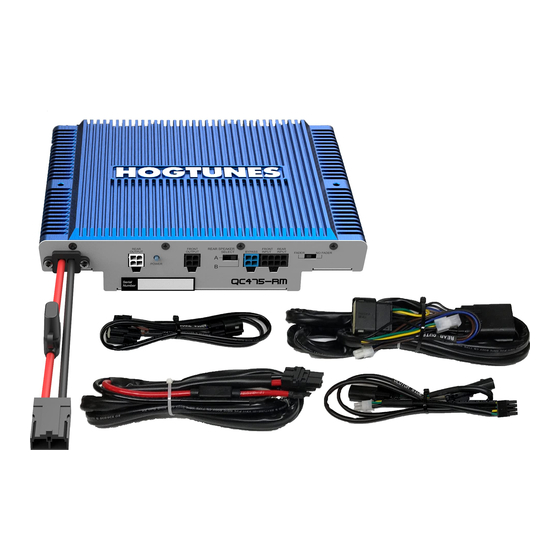
- Page 2 Thank you for choosing the Hogtunes QC475-RM “Quadcast” Amplifier for 2014+ FLH and FLT model bikes. Since positive word of mouth is the best way to grow our business, we want your new amplifier to work as well as it was designed to.
-
Page 3: Getting Started
GETTING STARTED GETTING STARTED Step #1: Remove the seat and both wires (+ and -) from the battery. Step #2: Remove your outer fairing/headlamp assembly and set aside. Refer to a service manual if you need help with this. NOTE: Placing a towel or something similar on the front fender can help prevent “dings”... - Page 4 FOR ROAD GLIDE ULTRA AND ROAD GLIDE MODELS Note: For Road Glide Ultra and Road Glide models, the amplifier mounting plate and supplied Velcro are not used in this installation. Step#1: Looking down on top of the radio, you will see 2 “hex head” fasteners on each side that secure the radio to the black plate the radio sits on.
- Page 5 Figure 1.3 Fader/No Fader Switch Rear Speaker Select Switch ADJUSTING SWITCHES ON THE AMP “REAR SPEAKER SELECT” “REAR SPEAKER SELECT” Locate “the Rear Speaker Select switch as shown in Fig 1.3. Please read the op- tions below and set the switch to the correct position for your configuration. 1) If you have the rear channels of the amplifier powering rear speakers in Ultra, Ultra Trike, or Road Glide Ultra rear “pods”, or speakers in fairing lower glove boxes, MAKE SURE the switch is in the “A”...
- Page 6 WIRING THE AMP WIRING THE AMP ALL MODELS Step #1: Locate the main power harness that came in the box and plug it into the matching “pig tail” coming out of the amp. Step #2: Locate the harness marked “Front Output” and insert the 4 pin plug into the “front out”...
- Page 7 Hogtunes branded lower speakers kits or saddle bag lids. Hogtunes lower kits and lid kits include the correct harness that will plug into the “rear out” on the amplifier. The manuals for the kits will explain how to run the wire harnesses on the bike.
- Page 8 ROUTING POWER & REAR ROUTING POWER & REAR SPEAKER HARNESS SPEAKER HARNESS Step #1: The power/ground harness will pass under the inner fairing where the main wire harness passes through on the brake side of the bike. The harness that will run the rear speakers will pass under the inner fairing on the clutch side of the bike.
- Page 9 One side of the plug has wires that go to each rear speaker pod. Separate this large factory plug. One plug from the Hogtunes rear harness will plug into each side of the factory plug just separated. They will only go together one way.
-
Page 10: System Expansion
The bypass out can also be used to easily send music from the QC475-RM amp to a second Hogtunes amp ( model REV 225-RM) This means the QC475-RM will power 4 speakers and the 2nd amp will power 2 more speakers possibly in fairing lowers or lids. -
Page 11: Warranty Info
Please contact Hogtunes for all warranty claims. Products found to be defective during the warranty period will be repaired or replaced (with a product deemed to be equivalent) at Hogtunes sole discretion. Hogtunes complete warranty policy is available on our website at: What Is Not Covered: 1) Any expense related to the removal or re-installation of Hogtunes products. - Page 12 Hogtunes products will play much louder than the Original Equipment, which can be a distraction to the rider and/or passenger. Please use caution when adjusting or playing your stereo at high volume, especially in traffic. You are a valued customer so please:...


Need help?
Do you have a question about the Quadcast QC475-RM and is the answer not in the manual?
Questions and answers