Table of Contents
Advertisement
Quick Links
Advertisement
Table of Contents

Subscribe to Our Youtube Channel
Related Manuals for Cooper Scantronic i-on40


Summary of Contents for Cooper Scantronic i-on40
- Page 1 Web Server Set Up Guide...
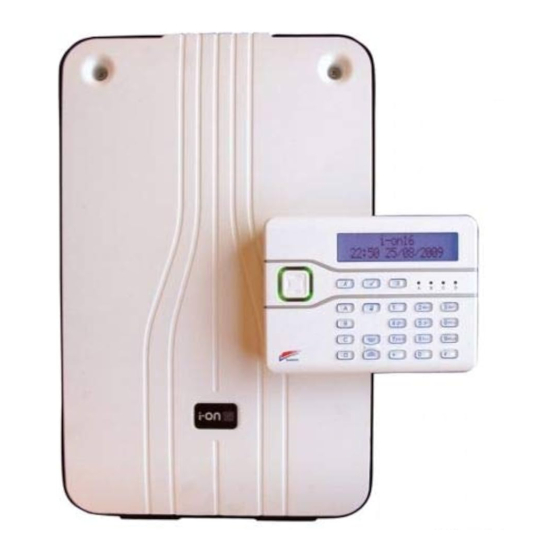
- Page 2 i-on40 web server The display shows: Introduction PANEL ETHERNET Web Server > The i-on40 has an Ethernet connector on 5. Press Y again. the main printed circuit board (pcb) that The display shows: you can use to connect a PC or laptop WEB SERVER directly to the control unit.
-
Page 3: Setting A Fixed Ip Address
i-on40 web server 2. Right click on the Local Area Connection Changing the PC icon and select Properties. Network Connection To change the network connection settings on your PC or laptop you must be logged in with an account that has administrator privileges. - Page 4 i-on40 web server 4. Make sure the radio button “Use the To set up an alternate IP address: following IP address” is checked. 1. Go to the Windows Start button, find Control Panel and then open the Network Connections window. 5.
- Page 5 i-on40 web server 3. Highlight the Internet Protocol (TCP/IP) 5. Make sure the radio button “User entry and click on Properties. configured” is checked. 6. a) Key an IP address (different from the e one you gave the control unit). 4.
-
Page 6: Internet Explorer
i-on40 web server 3. Click on LAN Settings. Adjusting the Browser The i-on40 web server is optimised for Internet Explorer. You can use other browsers, but some functions or links may not work as expected. Internet Explorer If you are having problems connecting to the i-on40: 1. -
Page 7: Using The Web Server
i-on40 web server Using the Web Server Logging In 1. Type the IP number of the panel into the address bar (you do not have to type “http://”; IE will add that for you. Press Return. The left hand column shows menu options from the Installer Menu. -
Page 8: Saving And Loading Profiles
i-on40 web server Making Changes to the Control Unit When you change a value on the screen, you must click Apply (or Submit) to transfer those changes from the PC to the control unit. If you navigate away from the screen (by going to another part of the Installer Menu) without clicking Apply or Submit then the changes will be lost. -
Page 9: Real Time Monitoring
i-on40 web server OR Click “Save File”. Zones will show you the type, partition of all the zones, the resistance of wired zones Your browser displays a file dialogue box: and the signal strength of radio zones. Virtual keypad will allow you to program the system from a virtual keypad, and also set and unset the alarm system (provided you have a user’s access code). - Page 10 i-on40 web server Your PC will show you the server log in (Note: If you have two network cards, or a screen again. wi-fi card as well as an Ethernet connection, make sure you select the one For Laptop Users you are using to connect to the control unit first.) If you use a laptop to connect to the i-on40...
- Page 11 i-on40 web server Click OK three times. Remember, if you find that your battery life is too short then you can always go back and tick “Allow the computer to turn off this device to save power”. Page 11...
- Page 12 Every effort has been made to ensure that the contents of this book are correct. However, neither the authors nor Cooper Security Limited accept any liability for loss or damage caused or alleged to be caused directly or indirectly by this book. The contents of this book are subject to change without notice.
Need help?
Do you have a question about the Scantronic i-on40 and is the answer not in the manual?
Questions and answers