Advertisement
Quick Links
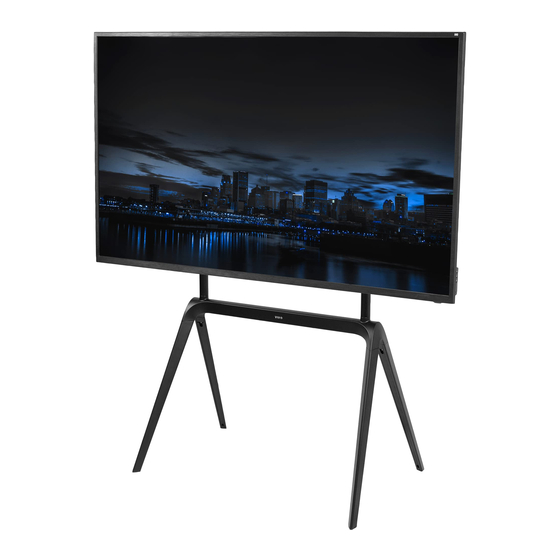
Black Steel Easel Studio TV Stand
Instruction Manual
SKU: STAND-TV86B
Scan the QR code with your mobile device or follow the link
for helpful videos and specifications related to this product.
https://vivo-us.com/products/stand-tv86b
GET IN TOUCH | Monday-Friday from 7:00am-7:00pm CST
help@vivo-us.com
www.vivo-us.com
Chat live with an agent!
309-278-5303
Advertisement

Related Manuals for Vivo STAND-TV86B


Summary of Contents for Vivo STAND-TV86B
- Page 1 Black Steel Easel Studio TV Stand Instruction Manual SKU: STAND-TV86B Scan the QR code with your mobile device or follow the link for helpful videos and specifications related to this product. https://vivo-us.com/products/stand-tv86b GET IN TOUCH | Monday-Friday from 7:00am-7:00pm CST help@vivo-us.com...
-
Page 2: Package Contents
DO NOT INSTALL INTO DRYWALL ALONE. VERIFY YOUR WALL CONSTRUCTION. USE WOOD STUDS TO MOUNT. We include mounting hardware for brick and concrete walls. If unsure, please contact us at vivo-us.com, email at help@vivo-us.com, or call us at 309-278-5303. PACKAGE CONTENTS... -
Page 3: Assembly Steps
DO NOT EXCEED WEIGHT CAPACITY. 132lbs Failure to do so may result in serious injury. (60kg) ASSEMBLY STEPS STEP 1 Remove the cable management covers from Legs (B). STEP 2 Assemble Legs (B) to Base (A) using M6x30mm Screws (S-A) and M5mm Allen Wrench (T-B). STEP 3 Thread Poles (C) onto Base (A). - Page 4 STEP 4 Loosen the collars on Poles (C) using 4mm Allen Wrench (T-A). Adjust collars to hold TV at desired height, using a tape measure to ensure the rings are adjusted evenly, and tighten with 4mm Allen Wrench (T-A). NOTE: Rings should be 2”-6” below the tops of the poles. STEP 5 Remove the screws from Lower VESA Bracket (E) and open the clamps.
- Page 5 STEP 6 Slide the TV with Upper VESA Brackets (D) and Lower VESA Bracket (E) onto Poles (C). Close the clamps on Lower VESA Bracket (E) around Poles (C) and secure with previously removed screws. NOTE: Make sure the TV does not touch Base (A). STEP 7 Route cables through Legs (B) and secure using the previously removed cable management covers.
- Page 6 STEP 8 (Option A) Wood Stud Wall: Using Security Cable Clamps (H) as guides, mark drilling locations on wall at the same height as Upper VESA Bracket (D). Use of a stud finder is recommended. Drill holes at least 1.6” (40mm) deep using a 1/8” (3.5mm) drill bit.
- Page 7 STEP 8 (Option B) Concrete/Brick Wall: Using Security Cable Clamps (H) as guides, mark drilling locations on wall at the same height as Upper VESA Bracket (D), spaced 16” - 26” (400mm - 650mm) apart. Drill holes at least 1.6” (40mm) deep using a 9/32”...
- Page 8 AVG. RESPONSE TIME (within office hrs) - 23% within < 15m - 38% within < 30m - 61% within < 1hr - 83% within < 2hr - 92% within < 3hr FOR MORE VIVO PRODUCTS, CHECK OUT OUR WEBSITE AT: www.vivo-us.com...
Need help?
Do you have a question about the STAND-TV86B and is the answer not in the manual?
Questions and answers