Table of Contents
Advertisement
Chromatography and General Purpose
120V Versions
13-986-120/120R
13-986-122/122R
13-986-124/124R
13-986-126/126R
13-986-128/128R
13-986-128S/128SR
13-986-130/130R
13-986-132/132R
120V Versions
13-986-134/134R
13-986-136/136R
13-986-136S/136SR
13-986-138/138R
13-986-138X/138RX/138AX
13-986-140/140R
120V Versions
13-986-134D,13-986-134DR
13-986-138D, 13-986-138DR
13-986-140D, 13-986-140DR
R - Addition of Chart Recorder
HK - International Refrigerators are 220V, 50Hz.
104214 • Rev. A
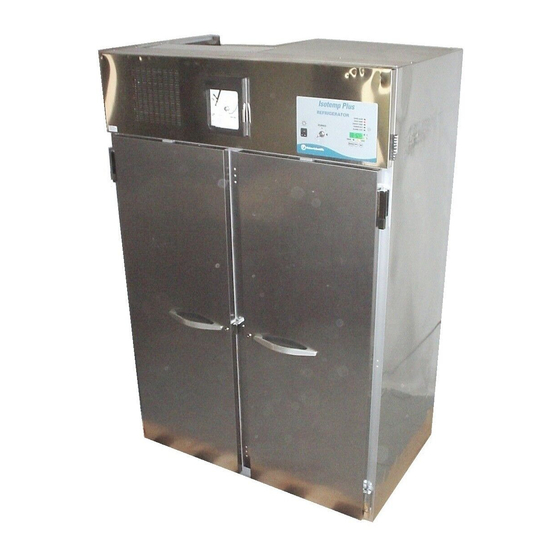
Isotemp
Laboratory Refrigerators
Isotemp Plus Laboratory Refrigerators
Isotemp Plus Chromatography Refrigerators
Isotemp Plus Laboratory Refrigerators with Drawers
Plus
®
230V Versions
13-986-121/121R
13-986-123/123R
13-986-125/125R
13-986-127/127R
13-986-129/129R
13-986-129S/129SR
13-986-131/131R
13-986-133/133R
230V Versions
13-986-135/135R
13-986-137/137R
13-986-137S/137SR
13-986-139/139R
13-986-139X/139RX/139AX
13-986-141/141R
220V International Versions
13-986-121HK/121RHK
13-986-123HK/123RHK
13-986-125HK/125RHK
13-986-127HK/127RHK
13-986-129HK/129RHK
13-986-129SHK/129SRHK
13-986-131HK/131RHK
13-986-133HK/133RHK
220V International Versions
13-986-135HK/RHK
13-986-137HK/RHK
13-986-137SHK/SRHK
13-986-137HK/RHK
13-986-141HK/RHK
230V Versions
13-986-135D, 13-986-135DR
13-986-139D, 13-986-139DR
13-986-141D, 13-986-141DR
Advertisement
Table of Contents

Related Manuals for Fisher Scientific Isotemp Plus 13-986-120


Summary of Contents for Fisher Scientific Isotemp Plus 13-986-120
- Page 1 Isotemp Plus ® Chromatography and General Purpose Laboratory Refrigerators Isotemp Plus Laboratory Refrigerators 120V Versions 230V Versions 220V International Versions 13-986-120/120R 13-986-121/121R 13-986-121HK/121RHK 13-986-122/122R 13-986-123/123R 13-986-123HK/123RHK 13-986-124/124R 13-986-125/125R 13-986-125HK/125RHK 13-986-126/126R 13-986-127/127R 13-986-127HK/127RHK 13-986-128/128R 13-986-129/129R 13-986-129HK/129RHK 13-986-128S/128SR 13-986-129S/129SR 13-986-129SHK/129SRHK 13-986-130/130R 13-986-131/131R 13-986-131HK/131RHK 13-986-132/132R 13-986-133/133R...
-
Page 2: Table Of Contents
Table of Contents Introduction ....................................3 Unpacking and Installation ..............................4 Unpacking..................................4 Visible Loss or Damage ..............................4 Concealed Loss or Damage............................4 Packing List ..................................5 Selecting a Location ................................5 Legs ....................................5 Installing and Leveling Casters ............................6 Shelves ....................................6 Electrical Connection ..............................7 Operation ....................................8 Controls Layout ................................8 Menus ....................................9 Temperature Setpoint ..............................9... -
Page 3: Introduction
Introduction Your satisfaction and safety are important to Fisher Scientific, a complete understanding of this unit is neces- sary to attain these objectives. Warning These refrigerators are not approved As the ultimate user of this apparatus, it is your responsi- for the storage of blood or blood prod- bility to understand its proper function and operational ucts! -
Page 4: Unpacking And Installation
Unpacking and Installation Unpacking Save all packing material if apparatus is received dam- aged. This merchandise was carefully packed and thor- oughly inspected before leaving our factory. Responsibility for its safe delivery was assumed by the carrier upon acceptance of the shipment; there- fore, claims for loss or damage sustained in transit must be made upon the carrier by the recipient as fol- lows:... -
Page 5: Packing List
NPACKING AND NSTALLATION Packing List The following items are packed in the envelope located inside the refrigerator chamber. If any of the following items are not present, report the missing item to your local Fisher representative. Warranty Card Instruction Manual Door Lock Key Power Switch Key Chart Recorder Instructions (Catalog No.’s with... -
Page 6: Installing And Leveling Casters
NPACKING AND NSTALLATION Installing and Leveling Casters Isotemp Plus refrigerators and freezers come with four Note casters, which thread into the base of the unit, one in The refrigerator must be level in order each corner. Use the wrench provided to thread the cast- to provide adequate condensation ers completely into the base of the unit. -
Page 7: Electrical Connection
UNPACKING AND INSTALLATION Electrical Connection Caution Determine the total amount of current presently being Be sure that the power supply is the used by other apparatus connected to the circuit that will same voltage that is specified on the be used by this refrigerator. It is critical that this added refrigerator's data plate. -
Page 8: Operation
Operation Before operation, become familiar with the refrigerator controls located on the refrigerator header panel. A layout of the controls is given below. Warning If the unit is tilted in excess of 30 Begin operation by inserting the key into the key switch degrees, do not apply electrical located on the header panel. -
Page 9: Menus
PERATION Menus By gently pressing the keypads shown in Controls Layout, the refrigerator can be set to operate anywhere in the 1.0 to 12.0°C (33.8 to 53.6°F) temperature range in units of °C or °F. When the MENU keypad is pressed, the MODE LED will illuminate, indicating the operating parameters, setpoint (SP), temperature offset (oS), hold-off time (Ho), or units (CF) can be set to the customer's preference. -
Page 10: Hold-Off Time
PERATION For Example: The display indicates 4°C but a reference thermometer in the refrigerator chamber indicates 6°C. The operator holds in the Menu KEY and changes the display value from 0.0 to 2.0. The Menu key is pressed two additional times so that the controller again displays chamber tem- perature. -
Page 11: Error Codes
PERATION Error Codes Error codes indicate when the controller is sensing a problem. A description of each is given below. See the Troubleshooting Table for additional information on error codes. Open sensor. Under temperature. Temperature at sensor is less than -36°C. Over temperature. -
Page 12: Troubleshooting
Troubleshooting This table is intended to assist in resolving user-correctable Refrigerator problems by relating symptoms to their likely causes. If service beyond the scope of this table is required, contact Fisher Scientific Service Division at 1-800-438-4851. Symptom Probable Cause Action Does not run. -
Page 13: Maintenance
Maintenance Cabinet Cleaning Caution The cabinet interior should be cleaned frequently. Any When servicing the unit, disconnect spilled liquid should be wiped off immediately. Stains plug from the electrical power source resulting from some spills can be permanent if not quickly removed. -
Page 14: Replacement Parts
Replacement Parts Replacements for Laboratory Refrigerator parts serviceable by the user may be ordered by part number from Fisher Scientific Co. at 1-800-438-4851. Item Part Number Epoxy Coated Shelves 13-986-120/121/126/127/130 to 135/138 to 141 (gray) 13-986-210E 13-986-122/123/124/125 (gray) 13-986-210M 13-986-128S/129S/136S/137S (white) -
Page 15: Wiring Diagrams
Wiring Diagrams For refrigerators with SOLID, SWINGING doors... - Page 16 IRING IAGRAMS For refrigerators with SWINGING GLASS doors...
- Page 17 IRING IAGRAMS For refrigerators with SLIDING GLASS doors...
-
Page 20: Warranty
Warranty Laboratory instruments and equipment manufactured by Fisher Scientific Company L.L.C. – Laboratory Equipment Division (hereinafter called “the Company”) are warranted only as stated below. Subject to the exceptions and upon the conditions specified below, the Company agrees, at its election, to...
Need help?
Do you have a question about the Isotemp Plus 13-986-120 and is the answer not in the manual?
Questions and answers