Sign In
Upload
Download
Table of Contents
Contents
Add to my manuals
Delete from my manuals
Share
URL of this page:
HTML Link:
Bookmark this page
Add
Manual will be automatically added to "My Manuals"
Print this page
×
Bookmark added
×
Added to my manuals
Manuals
Brands
Fisher Scientific Manuals
Laboratory Equipment
SterilElite24
User manual
Fisher Scientific SterilElite24 User Manual
Automatic steam sterilizer
Hide thumbs
1
Table Of Contents
2
3
4
5
6
7
8
9
10
11
12
13
14
15
16
17
18
19
20
21
22
23
24
25
page
of
25
Go
/
25
Contents
Table of Contents
Troubleshooting
Bookmarks
Advertisement
Table of Contents
1
Table of Contents
1
Chapter 1. Location
2
Chapter 2. Technical Details
3
Chapter 3. Preparation & Installation
4
Chapter 4. Operation - Control Panel
4.1
Chapter 4. Basic Step of Sterilization
4.2
Chapter 4. Operation
4.3
Chapter 4. Operation - Programs
5
Chapter 5. Warning & Caution
5.1
Chapter 5. Warning & Caution
6
Chapter 6. Appendix - a
6.1
Chapter 6
7
Chapter 7. Trouble Shooting
8
Chapter 8. Maintenance Requirements
Download this manual
User manual
TM
TM
SterilElite24
, SterilElite16
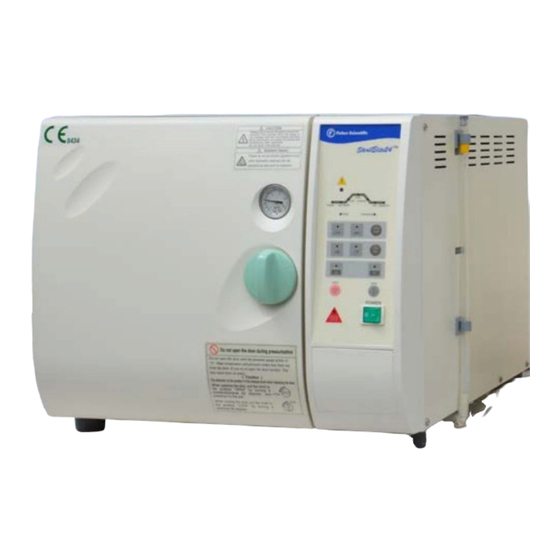
AUTOMATIC STEAM STERILIZER
Page 1 of 25
Table of
Contents
Previous
Page
Next
Page
1
2
3
4
5
Advertisement
Table of Contents
Need help?
Do you have a question about the SterilElite24 and is the answer not in the manual?
Ask a question
Questions and answers
Related Manuals for Fisher Scientific SterilElite24
Laboratory Equipment Fisher Scientific SterilElite16 User Manual
Automatic steam sterilizer (25 pages)
Laboratory Equipment Fisher Scientific 282A Instructions Manual
Fisher isotemp vacuum oven (26 pages)
Laboratory Equipment Fisher Scientific AccuSpin Micro 17 Instructions For Use Manual
Microcentrifuges (79 pages)
Laboratory Equipment Fisher Scientific MARATHON 3000 Operation Manuals
General purpose centrifuge (44 pages)
Laboratory Equipment Fisher Scientific accumet AR50 User Manual
(20 pages)
Laboratory Equipment Fisher Scientific Isotemp User Manual
Shaking and general purpose water baths (42 pages)
Laboratory Equipment Fisher Scientific Fisherbrand GT2 Instruction Manual
Centrifuge (41 pages)
Laboratory Equipment Fisher Scientific Isotemp Plus 13-986-120 Instruction Manual
Chromatography and general purpose laboratory refrigerators (20 pages)
Laboratory Equipment Fisher Scientific 88861047 Operation Manual
Multi function rotator (14 pages)
Laboratory Equipment Fisher Scientific Fisherbrand Isotemp FBG Series Installation And Operations
Laboratory & pharmacy refrigerators (39 pages)
Laboratory Equipment Fisher Scientific Finnpipette II Instructions For Use Manual
Digital variable & fixed volume (16 pages)
Laboratory Equipment Fisher Scientific Finnpipette Instructions For Use Manual
(16 pages)
Laboratory Equipment Fisher Scientific Isotemp Plus 13-986-142A Manual
General purpose laboratory freezers with alarm version controls (24 pages)
Laboratory Equipment Fisher Scientific Isotemp 600 Series Operation Manual And Parts List
Standard incubators (34 pages)
Laboratory Equipment Fisher Scientific Fisherbrand Isotem FBG Series Installation And Operation Manual
Laboratory & pharmacy refrigerators (84 pages)
Laboratory Equipment Fisher Scientific 15212985 Instruction Manual
Mini vortex mixer (2 pages)
This manual is also suitable for:
Sterilelite16
Table of Contents
Save PDF
Print
Rename the bookmark
Delete bookmark?
Delete from my manuals?
Login
Sign In
OR
Sign in with Facebook
Sign in with Google
Upload manual
Upload from disk
Upload from URL


Need help?
Do you have a question about the SterilElite24 and is the answer not in the manual?
Questions and answers