Advertisement
Quick Links
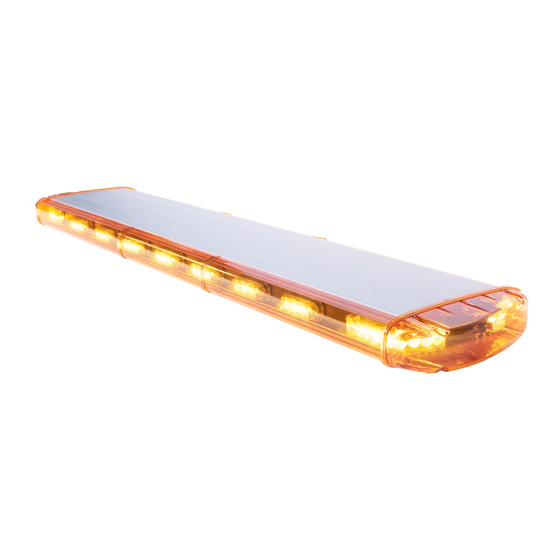
Vega
Thank you for choosing a product from Standby.
Safety
WARNING
!
This product contains high intensity LED devices. To prevent eye damage, do not look into the
light beam at close range.
Technical Data
Attribute
Lens
Color, lens
Color, LED, End modules
Color, LED, Inboard modules
Cable
Voltage
Power consumption
Length
Height
Width
Approvals
WAM8VEGAA
Units
Polycarbonate
Amber, blue or clear lenses with coating
Amber, blue or white
Amber, blue or white
Amber and blue 5 m
White 6 m
10-24 V DC
5 A @ 13.5 V
Max 4.3 A @ 13.5 V
Amber 835 mm, 1280 mm or 1590 mm
Blue 1280 mm or 1590 mm
White 1280 mm
67 mm
267 mm
Blue and amber ECE R65 I
Blue, amber and white ECE R10, EMC
1
Standby AB – standbygroup.se
Vega – Manual
Advertisement

Subscribe to Our Youtube Channel
Related Manuals for Standby Vega


Summary of Contents for Standby Vega
- Page 1 Vega – Manual Vega Thank you for choosing a product from Standby. Safety WARNING This product contains high intensity LED devices. To prevent eye damage, do not look into the light beam at close range. Technical Data Attribute Units Lens...
-
Page 2: Parts Overview
Vega – Manual Parts Overview Front Rear Front module Rear module Corner module T-rail 5 or 6 m cable Control panel with fixing system Dimensions WAM8VEGAA Standby AB – standbygroup.se... -
Page 3: Installation
2. Pre install lightbar with the brackets on the vehicle roof rails. 3. Align the lightbar with the lines of the B-pillar. The Standby label is placed on the lightbar FRONT part. 4. Cabling preparations: 5. Pre install the lightbar and brackets on the vehicle 1. - Page 4 Vega – Manual Connections Table 2. Vega Lightbar Blue. Wire Functions Connect to Black Power supply Good and suitable ground Power supply 9-32 V DC via a 5 A fuse Blue Warning light, ON 9-32 V DC via a 5 A...
- Page 5 Vega – Manual Table 3. Vega Lightbar Amber. Wire Functions Connect to Black Power supply Good and suitable ground Power supply 9-32 V DC via a 20 A fuse Blue Running light, IN – OUT 9-32 V DC Purple Running light, LEFT –...
- Page 6 Vega – Manual Table 4. Vega Lightbar White. Wire Functions Connect to Cable 1 Rear LED, LEFT – 9-32 V DC via a 5 A RIGHT fuse Cable 2 Alley / 45" LED light 9-32 V DC via a 5 A...
- Page 7 Vega – Manual Maintenance Note Use a mild car wash shampoo and a sponge that is gentle/appropriate to the lightbar surface as well as the vehicle surface. CAUTION When using high-pressure cleaner: Water pressure at a maximum of 80 bar.
Need help?
Do you have a question about the Vega and is the answer not in the manual?
Questions and answers