Advertisement
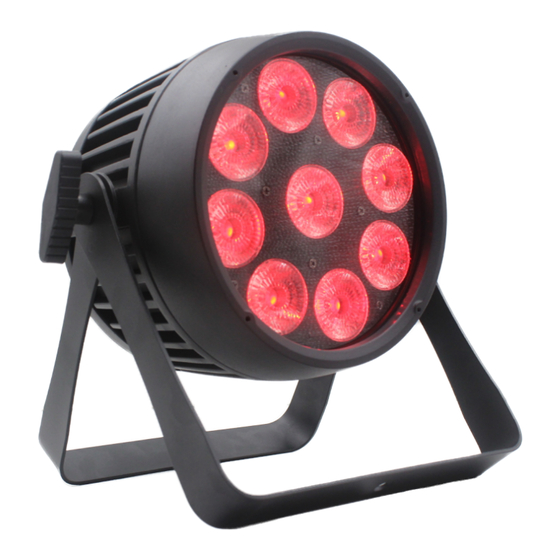
PAR9X12OB
9x 12W RGBWAU 4-in-1 Outdoor Battery LED PAR
USER MANUAL
For your safety, please read this user manual carefully before use.
Event Lighting reserves the right to revise the manual at any time. Information and specifications
within this manual are subject to change without notice. Event Lighting assumes no liability or
responsibility for any errors or omissions. Please consult Event Lighting for any clarification or
information regarding this item.
Version 1.0
Advertisement
Table of Contents

Related Manuals for Event Lighting PAR9X12OB


Summary of Contents for Event Lighting PAR9X12OB
- Page 1 For your safety, please read this user manual carefully before use. Event Lighting reserves the right to revise the manual at any time. Information and specifications within this manual are subject to change without notice. Event Lighting assumes no liability or responsibility for any errors or omissions.
-
Page 2: Safety Instructions
Use of other cables will cause the cable to become stuck in the port, requiring the unit to be repaired. Product Installation PAR9X12OB can be mounted in many orientations, provided each individual device is secured by the use of the correct mounting bracket. Use a safety chain when mounting PAR9X12OB overhead. - Page 3 www.event-lighting.com.au Dimensions Lux Chart...
-
Page 4: Control Operation
www.event-lighting.com.au Control Operation Button Operation Menu: Return to the previous screen. Up: Move selection up. Down: Move selection down. Enter: Confirm the selection. Button Lock While on the home screen, press Down for 3 sec to lock all buttons, preventing accidental input. - Page 5 www.event-lighting.com.au Menu Set DMX Address Code 1. Press Menu until “Address Set” is highlighted then press Enter. 2. The screen will display “Address Set: 001”. Press Up or Down to change. 3. Press Enter to save and exit, or press Menu to exit without saving. Menu Description Level 1 Level 2...
-
Page 6: Dmx Chart
Auto program speed IR Remote To use the IR Remote, PAR9X12OB must be in DMX mode without an active DMX connection. If a DMX signal is received, PAR9X12OB will prioritise the DMX signal and ignore the IR Remote. Use On/Off to turn PAR9X12OB on or off. The current IR settings will be saved automatically when PAR9X12OB is powered off and reloaded when it is turned on again. -
Page 7: Technical Specifications
Cooling: Fanless Housing Materials: Die Cast Aluminium. Finishing: Matte Black. IP Rating: IP65. Net Weight: 6.5kg Overall Size: 238x195x160 mm. Optional: Barn Door. Warranty Please refer to your local dealer or contact Event Lighting.
Need help?
Do you have a question about the PAR9X12OB and is the answer not in the manual?
Questions and answers