Advertisement
Advertisement
Table of Contents

Related Manuals for fantastic furniture Opus


Summary of Contents for fantastic furniture Opus
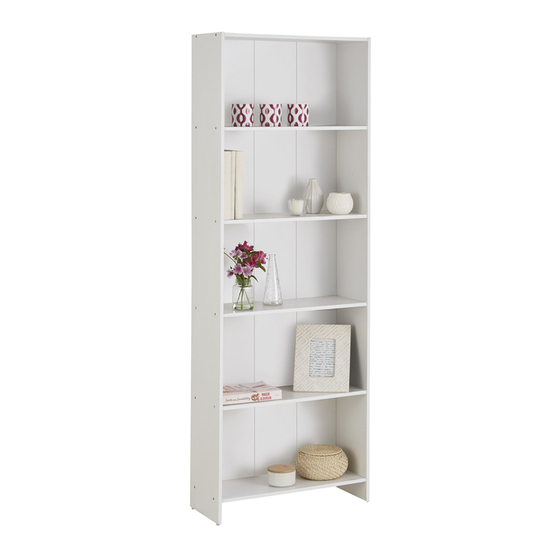
- Page 1 Version 1.0 Opus Bookcase fantasticfurniture.com.au...
- Page 2 Secure it! Reduce the risk of furniture tip-over accidents ARNIN N UR TH TRAP I ATTACH RI U IN UR ATH. included since di erent surface materials require di erent attachments. Please seek professional advice if you are in doubt of what fixing device to use. Recommended weight capacity: 10kg per Shelf •...
- Page 3 We’re thrilled you’ve chosen Fantastic Furniture to help create a home you’ll love! Love it? Share it! Fantastic buy! Share how it looks at home on Instagram for your chance to win a $250 Fantastic Furniture Gi t Card! @fantasticfurniture fantasticfurniture.com.au Page 3...
-
Page 4: Assembly Checklist
Assembly checklist Read through the instructions carefully Make sure you have all the required tools. before you begin. Never use power tools unless instructed. Identi y and lay out all of the compenents Unless instructed, do not fully tighten screws before you begin assembly. -
Page 5: What You Need
What you need to assemble the product Top Panel (P3) Side Back Panel Panel Right (P6) (P2) Other tools you need: Shelf Panel Phillips head screwdriver; (P4) Mallet. Back Panel (P6) Shelf Panel (P4) Side Back Panel Parts list Panel Le t (P6) Side Panel Le t (P1);... - Page 6 Step 1 You will need 24 x Wood Mallet Dowels (H2) (H2) (P4) (P3) x 4pcs (P5) Using a mallet, gently tap 24x Wood Dowels (H2) into pre-drilled holes in Top Panel (P3), 4x Shelf Panels (P4) and Bottom Panel (P5). Step 2 You will need No Lamination...
- Page 7 Step 3 (P6) (P6) (P3) (P6) (P4) (P6) (P4) (P6) (P4) (P1) (P4) (P5) Slide 5x Back Panels (P6) into grooves of Top Panel (P3), 4x Shelf Panels (P4) and Bottom Panel (P5). Step 4 You will need 12 x Long 4 x Plastic Phillips Head (H1)
- Page 8 Step 5 You will need 24 x Stickers (H6) (P2) (H6) (P1) Place 24x Stickers (H6) to cover screws. Step 6 (P3) You will need (P6) (P6) 1 x Webbing 1 x Pan Head 1 x Flat Washer Phillips head (H4) Screw (H7)
-
Page 9: Job Complete
Step 7 Move furniture to its final position, then connect the end of the Webbing (H4) to the wall, ensuring it is firmly attached. Seek advice from a qualified trades person on how to attach this to your specific wall. Screws and wall plugs are not supplied. Please use appropriate fixtures for your wall.
Need help?
Do you have a question about the Opus and is the answer not in the manual?
Questions and answers