Table of Contents
Advertisement
Quick Links
Advertisement
Table of Contents

Related Manuals for Microtek 211SD


Summary of Contents for Microtek 211SD
- Page 2 Copyright © 2005 Microtek International,Inc. Microtek® is a registered trademark of Microtek International, Inc. All other trademarks or registered trademarks are the property of their respective holders. Specifications, software and hardware bundles are subject to change without notice. Delivery of technical support services subject to change without notice. Not responsible for typographical errors.
- Page 3 CE mark for Class B ITE (Following European standard EN55022/ 1998; EN61000-3-2/1995; EN61000-3-3/1995, EN55024/1998, EN60950/1992+A1+A2+A3+A4+A11) Radio Frequency Interference Statement Warning: This is a Class B product. In a domestic environment, this product may cause radio interference in which case the user may be required to take adequate measures. Canadian Doc Notice For Class B Computing Devices This digital apparatus does not exceed the Class B limits for radio noise emissions...
-
Page 4: Table Of Contents
Connecting the Monitor ... 4 Adjusting the Viewing Angle ... 5 Operating the Monitor ... 6 A. The LCD Monitor’s Control Panel ... 6 B. Hot Keys ... 6 C. Adjusting the Monitor’s Display ... 7 The Menu Table ... 8 TFT LCD Monitor Specifications ... -
Page 5: Introduction
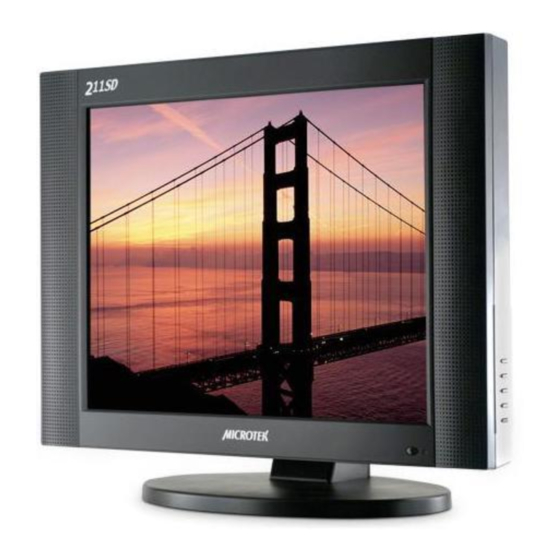
With a 21" TFT active matrix color crystal display and offering a maximum resolution of 1024 x 768 pixels, your Microtek 21" LCD monitor offers sharp and vibrant color display with low radiation emission. And with its low power consumption, the monitor helps you reduce your power bill as well. -
Page 6: Unpacking
Before unpacking your LCD monitor, prepare a stable, level, and clean surface near a wall outlet for your LCD monitor. 1. Set the LCD monitor box in an upright position and open from the top of the box before removing the right/left cushions. -
Page 7: Cleaning
• Do not scratch or rub the screen with a hard object. • Never use any of the following solvents on the LCD monitor: Thinner; spray-type cleaners; benzene; wax; abrasive cleaners; and acid or alkaline solvents. Such harsh chemicals may cause damage to the cabinet and the LCD screen. -
Page 8: Connecting The Monitor
• Usage of incorrect voltage will cause malfunction and may cause fire or electric shock. • Do not pull or bend the power cable or place the monitor or any heavy objects on the cables. If the cables are damaged, they may cause fire or electric shock. -
Page 9: Adjusting The Viewing Angle
Adjusting the Viewing Angle For optimal viewing, the viewing angle of the monitor can be adjusted 35 degrees up and 5 degrees down. Figure-2: Tilting the LCD Monitor... -
Page 10: Operating The Monitor
OSD setting. Power switch: Turns power for the LCD monitor ON or OFF . 6. Power LED: Indicates various status levels for the monitor, such as Green - Normal operation, Orange - Power management, depending on its operating mode. -
Page 11: Hot Keys
B. Hot Keys 1. Volume adjust hot key —: Decreases the volume. 2. Volume adjust hot key +: Increases the volume. C. Adjusting the Monitor’s Display 1. Pressing the OSD Menu button causes the screen below (Figure 4) to appear. -
Page 12: The Menu Table
Resets all of the DISPLAY ADJUST settings to their default values. Returns to the previous menu. Adjusts the colors in the LCD monitor to a warmer or cooler shade, depending on the selected color temperature. Changes the OSD language, including English, French, German, Italian, Spanish, and Chinese. -
Page 13: Tft Lcd Monitor Specifications
TFT LCD Monitor Specifications LCD Type Display Area Input Signal Dot Pitch Resolution Display Color Contrast Ratio Brightness Contrast Ratio Response Time Display Mode Viewing Angle Dimensions (H x W x D) Gross/Net Weight AC Input Power Consumption Regulatory Compliance... -
Page 14: Supported Timing
Supported Timing... -
Page 15: Troubleshooting
PROBLEM: There is no LCD display If there is no display on the LCD, refer to the following: 1. Make sure that the power indicator on the LCD monitor is lit, that all connections are secure, and that the system is running on the correct timing.
Need help?
Do you have a question about the 211SD and is the answer not in the manual?
Questions and answers