HighPoint SSD6540M Quick Installation Manual
4-bay m.2 nvme raidenclosure
Hide thumbs
Also See for SSD6540M:
- User manual (36 pages) ,
- Quick installation manual (9 pages) ,
- Installation manual (28 pages)
Advertisement
Advertisement
Table of Contents

Related Manuals for HighPoint SSD6540M


Summary of Contents for HighPoint SSD6540M
- Page 1 11/13/19 Shorten to 8 pages...
- Page 2 SSD6540M 4-Bay M.2 NVMe RAID Enclosure Quick Installation Guide V1.02...
-
Page 3: Kit Contents
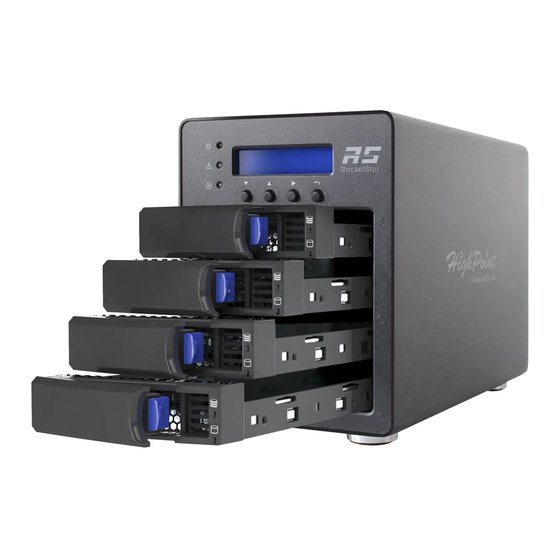
1x PCIe 3.0 x16 RAID Controller 4x Drive Trays 4x M.2 Drive to U.2 Host Adapter 2x HD mini-SAS cable (1 meter) 1x UL Power Cord 1x Quick Installation Guide SSD6540M Hardware Controller Card Back Port: SFF-8644... - Page 4 Panel Layout-Front View Disk Present LED: Solid Blue Disk Active LED: Flash Blue Disk Fail LED: Solid Red Enclosure Power LED: Solid Blue Temperature Warning LED: Solid Yellow Fan/Temperature Fail LED: Solid Red...
- Page 5 Panel Layout-Rear View M.2 Drive to U.2 Host Adapter and Tray...
-
Page 6: System Requirements
Enclosure Setup Insert the Controller card into a PCIe x16 slot in your system. Place the SSD6540M enclosure on a level surface and remove each disk tray. Remove the ‘M.2 Drive to U.2 Host Adapter’ from the disk tray. - Page 7 After installing the hard drives, connect the SSD6540M to a power source. With the power cord connected to the power source, turn on the SSD6540M using the power button on the rear panel (click the button to power on the SSD6540M).
- Page 8 Please download the Linux Software Package from the HighPoint Website: http://highpoint-tech.com/USA_new/series-ssd6540m-download.htm Please follow the Linux Installation guide included with the software package to install and setup the SSD6540M. Install the HighPoint RAID Management software. Download the HighPoint RAID Management Software (WebGUI) from HighPoint Website: http://highpoint-tech.com/USA_new/series-ssd6540m-download.htm...
-
Page 9: Customer Support
(For more information, refer to the SSD6540M user manual posted online) Customer Support If you encounter any problems while utilizing the SSD6540M, or have any questions about this or any other HighPoint Technologies, Inc. product, feel free to contact our Customer Support Department or check our FAQ for more information.
Need help?
Do you have a question about the SSD6540M and is the answer not in the manual?
Questions and answers