Advertisement
Setup
Power-on
Plug the power cable into the camera, and then plug the power adapter into an outlet as shown in the figure below. The LED indicator will flash red and blue when the camera is ready for setup.

LED Indicator Status

![]() Blue Flicker: The network is properly connected.
Blue Flicker: The network is properly connected.
![]() Solid Red: The device is activating.
Solid Red: The device is activating.
Slow Red Flicker: Invalid network connection.
Fast Red Flicker: MicroSD card or other error occurred.
![]() Alternating Blue and Red Flicker: Camera is ready for Wi-Fi setup.
Alternating Blue and Red Flicker: Camera is ready for Wi-Fi setup.
 Turn on the Mini 360 Plus and let it power up. The camera will completely rotate sideto-side and tilt up-and-down once.
Camera Setup
- Create a user account
- Connect your mobile phone to Wi-Fi using your 2.4GHz network.
- Search for "EZVIZ" in the App Store or Google Play™.
- Download and install the EZVIZ app.
- Launch the app.
- Create, and register an EZVIZ user account by following the startup wizard.
- Adding a camera to EZVIZ
- Log in to your account using the EZVIZ app.
- Tap "+" on the Home page to go to the Scan QR Code interface.

- Scan the QR Code on the bottom of the camera or the front cover of the Quick Start Guide.
- Enter the password for your Wi-Fi network.
- Select the correct time zone and DST information.
- Tap "Finish" to finish setup.

Scan the QR Code

![information]()
- If the camera fails to connect to your Wi-Fi network, press and hold the RST button for 3s and repeat Step 2.2.
- To select another Wi-Fi network, press and hold the RST button for 3s to reboot the device. When the LED indicator flickers red and blue, you can choose a new Wi-Fi network.
- To Change the Default Password
The camera uses the verification code found on the bottom of the camera as the default password. After adding the camera to your network, you will be required to change the device password to ensure video security. The password is used for Image Encryption, too. If you turn on the Image Encryption, you will be required to input your password when you view live video or playback stored video from the camera.- r- Go to the camera settings screen to change the default password.
- Tap on "Change Password".

- Tap on "Edit".
- Enter the original verification code located on the bottom of the camera.
- Enter the new password. Please use letters and numbers to make a password anywhere from 6 to 12 characters in length.
- Angle Adjustment
You can adjust the camera via the EZVIZ app to get an optimum angle. The panning angle ranges from 0° to 340°, and the tilting angle ranges from -10° to 80°.


Wall Mounting (Optional)
The camera can be mounted on the wall or ceiling.
- Make sure the wall is strong enough to withstand three times the camera's weight.
- The installation surface should be clean and flat.
- (Optional) If you want to install the microSD card, insert the microSD card into the microSD card slot on the rear side of the camera. Otherwise, you can skip this step.

- Attach the supplied drill template to the place where you want to affix the camera.
- (Optional) If the wall is solid, drill and insert three expansion screws.
- Affix the camera base onto the template using the three metal screws.

Solid Wall

Wooden Wall - Install the camera on the base, and turn it 15° to secure it.

- Connect the power cable to the camera. If the camera was previously connected to the Wi-Fi network, it will automatically connect to the same Wi-Fi network.


Box Content

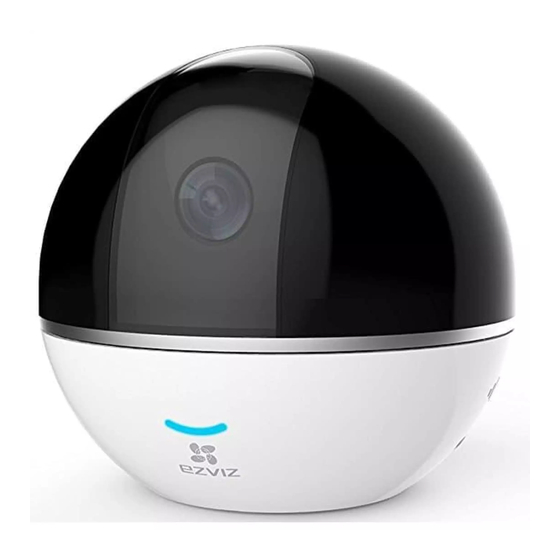
Mini 360 Plus (x1)

Base (x1)

Power Cable (x1)

Drill Template (x1)

Screw Kit (x1)

Power Adapter (x1)

Quick Start Guide (x1)

VideosEZVIZ Mini 360 Plus - How to setup (video)
Documents / ResourcesDownload manual
Here you can download full pdf version of manual, it may contain additional safety instructions, warranty information, FCC rules, etc.
Advertisement


Need help?
Do you have a question about the Mini 360 Plus and is the answer not in the manual?
Questions and answers