Advertisement
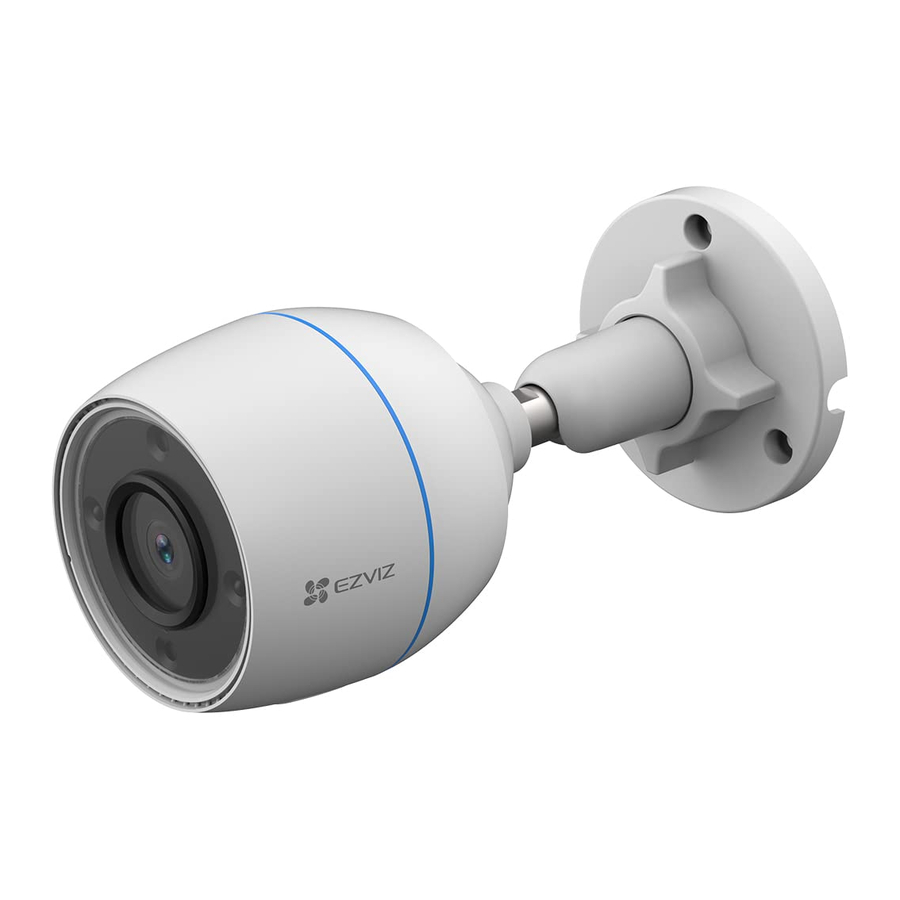
Overview
Package Contents

 The power adapter's appearance is subject to the one you have bought.
Basics


| Name | Description | |
| RESET Button | When the camera is working, press and hold for about 4s until the LED indicator is solid red, and all parameters will be restored to default settings. | |
| LED Indicator |  | Solid Red: Camera starting up. |
 | Slow-flashing Red: Network exception. | |
 | Fast-flashing Red: Camera exception (e.g. Micro SD card error). | |
 | Solid Blue: App visiting camera. | |
 | Slow-flashing Blue: Camera running properly. | |
 | Fast-flashing Blue: Camera ready for Wi-Fi connection. | |
Get the EZVIZ App
- Connect your mobile phone to Wi-Fi (suggested).
- Download and install the EZVIZ app by searching for "EZVIZ" in the App Store or Google PlayTM.
- Launch the app and register an EZVIZ user account.
 | |
| EZVIZ App | |
 |  |
If you have already used the app, please make sure that it is the latest version. To find out if an update is available, go to the app store and search for "EZVIZ".
Connect to the Internet
- Wired Connection: Connect the camera to a router. Refer to Option A.
- Wireless Connection: Connect the camera to Wi-Fi. Refer to Option B.
Option A: Wired Connection
- Connect the power adapter cable to the camera's power port.
- Plug the power adapter into an electrical outlet.
- Use power adapter and power cable come with the camera in the box.
- The LED turning fast-flashing blue indicates that the camera is powered on and ready for network configuration.
- Connect the camera to the LAN port of your router with the Ethernet cable (purchase separately).

![information]() The LED turning slow-flashing blue indicates that the camera is connected to the Internet
The LED turning slow-flashing blue indicates that the camera is connected to the Internet - Add your camera to EZVIZ.

- Log in to your account using the EZVIZ app.
- On the Home screen, tap "+" on the upper-right corner to go to the Scan QR Code interface.
- Scan the QR code on the Quick Start Guide cover or on the body of the camera.
![]()
- Follow the EZVIZ app wizard to add the camera to the app.

Option B: Wireless Connection
- Connect the power adapter cable to the camera's power port.
- Plug the power adapter into an electrical outlet.


- Use power adapter and power cable come with the camera in the box.
- The LED turning fast-flashing blue indicates that the camera is powered on and ready for network configuration.
- Add camera to EZVIZ.
- Log in to your account using the EZVIZ app.
- On the Home screen, tap "+" on the upper-right corner to go to the Scan QR Code interface.
- Scan the QR code on the Quick Start Guide cover or on the body of the camera.
![]()
- Follow the EZVIZ app wizard to add the camera to EZVIZ.

- Please choose to connect your camera to the Wi-Fi to which your mobile phone has connected.
- The band of the Wi-Fi must be 2.4 GHz.
Press and hold the reset button for about 4s, and you can restart the camera and restore all parameters to default.
Press and hold the reset button for about 4s in any of the following cases:
- The camera fails to connect to your Wi-Fi network.
- You want to connect the camera to another Wi-Fi network.
Installation
Micro SD Card Installation (Optional)
- Remove the cover on the camera.
- Insert the micro SD card (sold separately) into the card slot.
- Place the cover back on.

![information]() After installing the micro SD card, you should initialize the card in the EZVIZ app before using it.
After installing the micro SD card, you should initialize the card in the EZVIZ app before using it. - In the EZVIZ app, tap the Storage Status in the Device Settings interface to check the SD card status.
- If the memory card status displays as Uninitialized, tap to initialize it.
![information]() The status will then change to Normal and then videos can be stored.
The status will then change to Normal and then videos can be stored.

Installation Location
- Choose a location with a clear, unblocked field of view and with a good wireless signal.
- Make sure that the wall is strong enough to withstand three times the weight of the camera.
- Camera cannot be installed with the lens facing direct sunlight.
Installation Procedure
- Remove protective film from the lens.
- Stick the drilling template onto a clean and flat surface.
- (For cement wall only) Drill screw holes according to the template, and insert anchors.
- Use screws (PA4×25) to fix the camera on the installation surface.
- Loosen the adjusting screw.
- Rotate the upper part of the camera to get an appropriate detection effect.
- Tighten the adjusting screw again.

![information]() Make sure that the micro SD card slot is facing downward.
Make sure that the micro SD card slot is facing downward.


Operations on the EZVIZ App
The app interface may be different due to version update, and the interface of the app you installed on your phone shall prevail.
Live View
When you launch the EZVIZ app, the device page displays as shown below. You can watch a live feed, take snapshots, record videos, or choose video definition as needed.

| Icon | Description |
 | Share. Share your device with anyone you want. |
 | Settings. View or change the device settings. |
 | Popup. View the video displayed on top of another app you are using. |
 | Snapshot. Take a snapshot. |
 | Record. Manually start/stop recording. |
 | Definition. Select video resolution. |
 | Multi-screen Live. Tap to select window layouts. |
Settings

| Parameter | Description |
| Intelligent Detection | You can select between different detection types for your device. |
| Notification | You can manage the device message and EZVIZ APP notification. |
| Audio Settings | You can set relevant audio parameters for your device. |
| Image Settings | You can set relevant image parameters for your device. |
| Light Settings | When disabled, the device indicator will be off. |
| CloudPlay | You can subscribe and manage the cloud storage. |
| Record List | You can see micro SD card capacity, used space and free space here, and also you can enable or disable cloud storage service here. |
| Security Settings | You can encrypt your videos with encryption password and customize the privacy area. |
| Network Settings | You can see the connection status. |
| Device Information | You can see the device information here. |
| Share device | You can share the device to your family members or guests. |
| Restart Device | Tap to restart the camera. |
| Delete Device | Tap to delete the device from the Ezviz App. |
EZVIZ Connect
Use Amazon Alexa
These instructions will enable you to control your EZVIZ devices with Amazon Alexa. If you run into any difficulties during the process, please refer to Troubleshooting.
Before you start, make sure that:
- EZVIZ devices are connected to the EZVIZ app.
- In the EZVIZ app, turn off the "Image Encryption" in the Device Settings page.
- You have an Alexa-enabled device (i.e Echo Spot, Echo-Show, All-new EchoShow, Fire TV (all generations), Fire TV stick (second generation only), or Fire TV Edition smart TVs).
- The Amazon Alexa app is already installed on your smart device, and you have created an account.
To Control EZVIZ devices with Amazon Alexa:
- Open the Alexa app and select "Skills and Games" from the menu.
- On the Skills and Games screen, search for "EZVIZ", and you will find "EZVIZ" skills.
- Select your EZVIZ device's skill, then tap ENABLE TO USE.
- Enter your EZVIZ username and password, and tap Sign in.
- Tap the Authorize button to authorize Alexa to access your EZVIZ account, so that Alexa can control your EZVIZ devices.
- You will see "EZVIZ has been successfully linked", then tap DISCOVER DEVICES to allow Alexa to discover all your EZVIZ devices.
- Go back to Alexa app menu and select "Devices", and under devices you will see all your EZVIZ devices.
Voice Command
Discover a new smart device via the "Smart Home" menu in the Alexa app or the Alexa Voice Control function.
Once the device is found, you can control it with your voice. Speak simple commands to Alexa.
Your device's name for example: "show xxxx camera," can be changed in the EZVIZ app. Each time you change the name of the device, you will need to discover the device again to update the name.
Use Google Assistant
With the Google Assistant, you can activate your EZVIZ device and watch live by speaking Google Assistant voice commands.
The following devices and apps are required:
- A functional EZVIZ app.
- In the EZVIZ app, turn off the "Image Encryption" and turn on the "Audio" in the Device Settings page.
- A TV with functional Chromecast connecting to it.
- The Google Assistant app on your phone.
To get started, follow the steps below:
- Set up the EZVIZ device and make sure it works properly on the app.
- Download the Google Home app from the App Store or Google Play Store and log into your Google account.
- On the Myhome screen, tap "+" on the upper-left corner, and select "Set up device" from the menu list to go to the Set up interface.
- Tap Works with Google, and search for "EZVIZ", where you will find "EZVIZ" skills.
- Enter your EZVIZ username and password, and tap Sign in.
- Tap the Authorize button to authorize Google to access your EZVIZ account, so that Google can control your EZVIZ devices.
- Tap Return to app.
- Follow the above steps to complete the authorization. When synchronization is completed, EZVIZ service will be listed under your list of services. To see a list of compatible devices under your EZVIZ account, tap on the EZVIZ service icon.
- Now try some commands. Use the name of the camera that you created when you set up the system.
Users can manage devices as a single entity or in a group. Adding devices to a room allows users to control a group of devices at the same time using one command.
See the link for more information:
https://support.google.com/googlehome/answer/7029485?co=GENIEPlatform%3DAndroid&hl=en
Troubleshooting
What should I do if Alexa fails to discover my device?
Check if there are any Internet connecting problems.
Try to restart the smart device and re-discover the device on Alexa.
Why the device's status is Offline on Alexa
Your device might have been disconnected from the network. Restart the smart device and re-discover on Alexa.
Check if your router is connected to the Internet and try again.
For details about countries where Amazon Alexa is available, see Amazon Alexa's official website.
FAQ
If the camera is offline on the App, will the video recording continue?
If the camera is powered on but disconnected from the Internet, then local recording will continue but cloud recording will stop. If the camera is powered off, both video recordings will stop.
Why the alarm is triggered when nobody in the image?
Configure a lower value for the detection sensitivity. Please notice that vehicle and animals are also alarm triggering sources.
How to use the micro SD card for local storage?
- Make sure that there is a micro SD card inserted and the camera is added to your EZVIZ account. Open the EZVIZ app and enter the "Device Details" interface, if the "Initialize Storage Card" button appears, you need to initialize the micro SD card first.
- The micro SD card recording for the motion detection is enabled by default.
The mobile phone cannot receive alarm prompts when the camera is online.
- Make sure that the EZVIZ app is running on your mobile phone and that the Motion Detection Notification is enabled.
- For Android system, make sure that the app is running in background; and for iOS, enable the message push function in "Settings > Notification".
- If still no alarm prompts, press and hold the RESET button for about 4 seconds to restore the camera settings.
Live view or playback failed
Make sure that your network is well connected. Watching live videos needs a good bandwidth. You can refresh the video, or change a network and try again.
For additional information about the device, please refer to www.ezviz.com/eu.
Documents / Resources
References
Set up your Google Nest or Home speaker or display - Android - Google Nest Help
![www.apple.com]() App Store - Apple
App Store - Apple![play.google.com]() Google Play
Google PlaySet up your Google Nest or Home speaker or display - Android - Google Nest Help
![www.ezviz.com]() EZVIZ - Creating Easy Smart Homes
EZVIZ - Creating Easy Smart Homes
Download manual
Here you can download full pdf version of manual, it may contain additional safety instructions, warranty information, FCC rules, etc.
Advertisement


Need help?
Do you have a question about the H3c and is the answer not in the manual?
Questions and answers