CLEAR DESIGN BLLBFV2 Assembly Instructions Manual
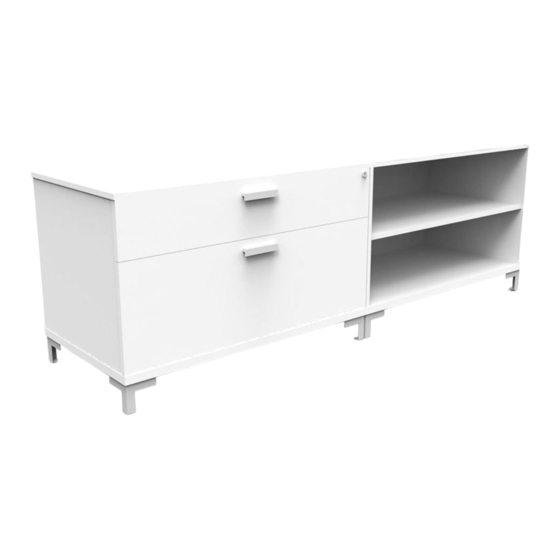
Laminate low lateral
Hide thumbs
Also See for BLLBFV2:
- Quick start manual (8 pages) ,
- Assembly instructions manual (44 pages)

Related Manuals for CLEAR DESIGN BLLBFV2


Summary of Contents for CLEAR DESIGN BLLBFV2
- Page 1 BLLBFV2 & BLLOSV2 LAMINATE LOW LATERAL OPEN SHELF AND BOX/FILE MERGING TOP General Installation Guide...
- Page 3 EDITION CODE BLLBFV2 :: Low Open-Shelf Lateral .........1 BLLOSV2 :: Low Box/File Lateral ........9 GBLLT2 :: Merging Top ............13...
- Page 4 OPEN SHELF OVERVIEW Laminate Low Lateral All parts listed are for a single open-shelf lateral; additional parts will be needed for additional open-shelf lateral.
- Page 5 PARTS LIST CODE DESCRIPTION Top Panel* Bottom Panel Fixed Shelf Panel BLLOSV2 End Panels Back Panel Corner Feet *If installing a merging topper, disregard top panel item.
- Page 6 1 | SCREW CAM PINS INTO BOTTOM PANEL Requires 6 cam pins. Cam Pin 2 | INSERT HARDWARE INTO END PANELS Requires 4 wooden dowels, 4 cam locks, and 4 cam pins. Wooden Dowel Cam Lock Cam Pin...
- Page 7 3 | INSERT HARDWARE INTO BACK PANEL Requires 2 cam pins and 8 cam locks. Cam Pin Cam Lock 4 | INSERT CAM LOCKS INTO FIXED SHELF Requires 6 cam locks. Cam Lock...
- Page 8 5 | SECURE FIXED SHELF TO BACK PANEL Align the cam pins so they sit inside of open cam locks. Use a screwdriver to turn cam locks clockwise and lock into place. Tighten Cams 6 | SECURE END PANELS If working with a surface 72” or longer, use 10 wood screws to install support bar under the surface.
- Page 9 7 | SECURE BOTTOM PANEL Align the cam pins so they sit inside of open cam locks. Use a screwdriver to turn cam locks clockwise and lock into place. Tighten Cams 8 | SECURE TOP PANEL Note: DO NOT Install top panel if you are merging storage. Align the cam pins so that they sit inside of open cam locks.
- Page 10 9 | SECURE FEET TO BOTTOM PANEL Attach corner feet to the bottom panel with 4 wood screws per foot.
- Page 12 BOX/FILE OVERVIEW Laminate Low Lateral All parts listed are for a single low box/file lateral; additional parts will be needed for additional low box/file laterals.
- Page 13 PARTS LIST CODE DESCRIPTION Low Box/File Lateral BLLBFV2 Handles Corner Feet...
- Page 14 1 | SECURE FEET TO STORAGE AND FLIP Flip storage piece so it is laying on its back; secure foot to each corner using 4 wood screws. 2 | ATTACH HANDLES Using 2 bolts each, attach handles to front of drawers.
- Page 16 MERGING TOP OVERVIEW Laminate Low Lateral All parts listed are for a single merging top; additional parts will be needed for additional merging tops.
- Page 17 PARTS LIST CODE DESCRIPTION BLLBFV2 Low Box/File Lateral BLLOSV2 Low Open-Shelf Lateral GBLLT2 Laminate Merging Top PLB.1 Laminate Storage L-Bracket WD.2 Wood Screws...
- Page 18 1 | REMOVE DRAWERS FROM LOW BOX/FILE LATERAL 2 | REMOVE STORAGE TOP Locate the 6 cam locks across top edge on the inside of the storage piece. Then, use a screwdriver to turn cam locks counterclockwise to unlock. Carefully lift top from storage.
- Page 19 3 | CONNECT BRACKETS TO TOP PANEL Attach 12 laminate storage L-brackets to inside of storage using wood screws in the places shown below. Top View 4 | ATTACH TOP TO STORAGE Set storage side-by-side then align top panel so it is flush with sides, back, and front of storage.
- Page 20 5 | INSERT DRAWERS...
- Page 22 1-866-304-7197 | inspire@mycleardesign.com | mycleardesign.com © 2022 Clear Design | Version 22.1.4...
Need help?
Do you have a question about the BLLBFV2 and is the answer not in the manual?
Questions and answers