CLEAR DESIGN BLLOSV2 Quick Start Manual
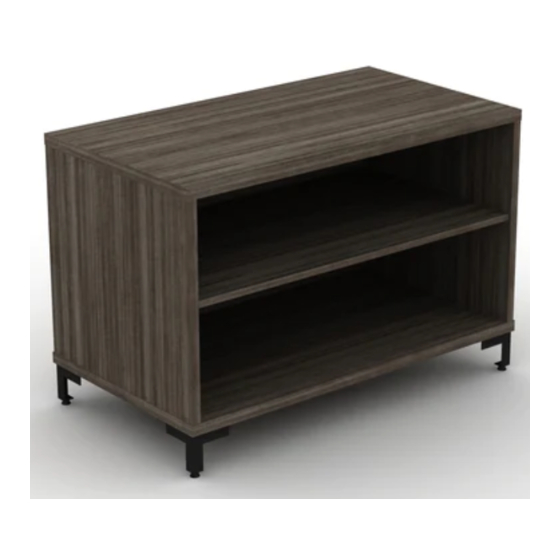
Low open shelf lateral
Hide thumbs
Also See for BLLOSV2:
- Assembly instructions manual (44 pages) ,
- Assembly instructions manual (22 pages)

Related Manuals for CLEAR DESIGN BLLOSV2


Summary of Contents for CLEAR DESIGN BLLOSV2
- Page 1 BLLOSV2 LOW OPEN SHELF LATERAL Includes options install of BLLBF Merging Top *General Guide | See Master Plan...
- Page 3 LOW OPEN SHELF LATERAL PARTS LIST ITEM PRODUCT CODE CODE Top Panel (not needed) Bottom Panel Fixed Shelf Panel End Panels Back Panel Corner Foot...
- Page 4 1 | SCREW CAM PINS INTO BOTTOM PANEL Requires 6 cam pins. Cam Pin 2 | INSERT HARDWARE INTO END PANELS Requires 4 Wooden Dowels, 4 cam locks and 4 cam pins. Wooden Dowel Cam Pin Cam Lock...
- Page 5 3 | INSERT HARDWARE INTO BACK PANEL Requires 2 cam pins and 8 cam locks Cam Pin Cam Lock 4 | INSERT CAM LOCKS INTO FIXED SHELF Requires 6 cam locks. Cam Lock...
- Page 6 5 | SECURE FIXED SHELF TO BACK PANEL Align the cam pins so that they sit inside of open cam locks. Use a screwdriver to turn cam locks clockwise and lock into place. 6 | SECURE END PANELS Align the cam pins so that they sit inside of open cam locks. Use a screwdriver to turn cam locks clockwise and lock into place.
- Page 7 7 | SECURE BOTTOM PANEL Align the cam pins so that they sit inside of open cam locks. Use a screwdriver to turn cam locks clockwise and lock into place. 8 | SECURE TOP PANEL Align the cam pins so that they sit inside of open cam locks. Use a screwdriver to turn cam locks clockwise and lock into place.
- Page 8 9 | SECURE FEET TO BOTTOM PANEL Attach corner feet to the bottom panel with 4 wood screws per foot.
- Page 9 OPTIONAL MERGING TOPPER PARTS LIST ITEM PRODUCT CODE CODE BLLBFV2 Low Bow/File Lateral BLLOSV2 Low Open Shelf Lateral GBLLT2 Laminate Merging Top...
- Page 10 4 | CONNECT BRACKETS TO TOP PANEL Attached 12 corner brackets to top panel using wood screws in the places shown below. 5 | ATTACH TOP TO STORAGE Set storage side-by-side then align top panel so it is flush with sides, back and front of storage.
- Page 11 3 | REPLACE DRAWERS & COMPLETE!
- Page 12 210.648.2095 | mycleardesign.com © 2021 Clear Design. All rights reserved.
Need help?
Do you have a question about the BLLOSV2 and is the answer not in the manual?
Questions and answers