Advertisement
QUICK-START GUIDE
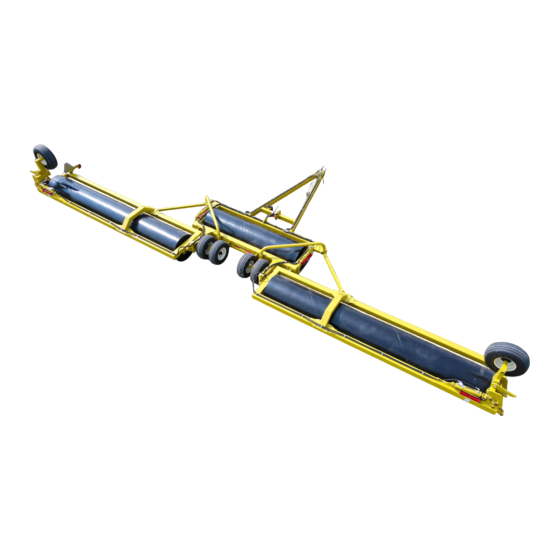
LANDROLLER | 45 | 51
for
* Refer to operators manual for complete safety and operation info.
A
Connect Hydraulics
B
Backing Into Field Position
1) Drive landroller onto level ground, straight behind the
tractor.
Ensure there is plenty of room behind and to the sides
•
of the landroller for backing into field position.
2) Remove all five red transport bars.
and 1 on float hitch)
Place the transport bars onto the storage brackets
•
provided and secure with lock-pin.
Note: You may need to activate (extend) the hydraulic cylinders
to allow removal of the cylinder transport bars.
1-1/4"
3) Raise the floatation plate to allow an 1-1/4" gap using
the ratchet jack to place it into field "float" position.
Float position will allow the hitch pole to contour more
effectively and prevent strain and possible damage to
the machine.
4) Activate the End Wheel Circuit
drums to the ground but stop lowering before the drums
make contact with the ground.
*
1
2
(4 located on cylinders,
.
2
2
1
to start lowering the
REMEMBER! You must complete Product
Registration to be eligible for Warranty.
ROLLER LIFT CIRCUIT..............
CENTER WHEELS..................
5) Slowly back-up the landroller spreading the wings until
they are almost fully in field position.
3
6) Fully lower the drums to the ground and raise endwheel
struts by closing the hydraulic cylinders
7) Continue backing up until Swing-Arms lock in place.
4
8) The roller is now in field ready position.
WARRANTY
End Wheel Cylinders
Center Wheel Cylinders
5
5
6
7
7
8
&
.
1
2
6
142691 v1.0
Advertisement
Table of Contents

Related Manuals for Degelman LANDROLLER 45


Summary of Contents for Degelman LANDROLLER 45
- Page 1 QUICK-START GUIDE WARRANTY LANDROLLER | 45 | 51 REMEMBER! You must complete Product * Refer to operators manual for complete safety and operation info. Registration to be eligible for Warranty. Connect Hydraulics ROLLER LIFT CIRCUIT....End Wheel Cylinders CENTER WHEELS....Center Wheel Cylinders Backing Into Field Position 1) Drive landroller onto level ground, straight behind the...
- Page 2 (Check Machine Daily) • Check for missing, worn or damaged parts. • Working points & pins • Hydraulic Connections & Hoses • Hubs & Spindles * Refer to operators manual for complete safety and operation info. © 2021 Degelman Industries LP...
Need help?
Do you have a question about the LANDROLLER 45 and is the answer not in the manual?
Questions and answers