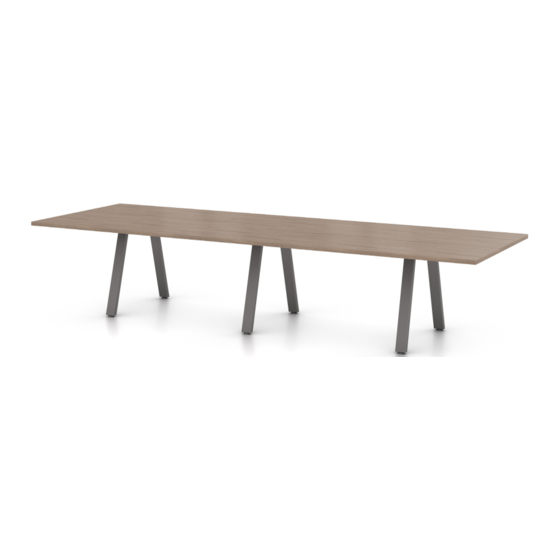
Summary of Contents for Enwork Sawhorse
- Page 1 Sawhorse C O N F E R E N C E TA B L E S TI0001 Sawhorse Conference Table Installation Guide – Rev 11.14.22...
- Page 2 1 – Included Parts and Fasteners Sawhorse Legs #10 x 1” Panhead Phillips Tight Joint Multi Piece Work Surface 2 – Tools and Supplies Required Drill Square Driver Bit 5mm Allen Wrench...
- Page 3 3 – Assembly: Sawhorse Leg Installation (multi-piece) Lay tops face down on a non marring surface. Figure 3.1 Attach 4 Saw Horse Legs to 1 of the work surfaces Figure 3.2 using the leg predrilled holes and the provided #10 x 1”...
- Page 4 3 – Assembly: Sawhorse Leg Installation (multi-piece) Repeat steps 2 & 3 to all top pieces. Figure 3.4 5. Align the preassembled tops into position. Figure 3.5 Figure 3.6 Install tight joint connectors, assuring all surfaces are aligned and tight . Attach the Saw Horse Legs to the work surfaces using the predrilled holes and the provided #10 x 1”...
- Page 5 3 – Assembly: Sawhorse Leg Installation (multi-piece) Figure 3.7 Alternative leg position (optional) To add stability, maximizes leg clearance or change the table look, the outer legs may be mounted at a splayed 45 angle no more then 72in apart.
- Page 6 1.800.815.7251 enwork.com 12900 Christopher Dr. Lowell, MI 49331 Specifications subject to change without notice. Rev 11.14.2022...


Need help?
Do you have a question about the Sawhorse and is the answer not in the manual?
Questions and answers