Advertisement
Quick Links
Advertisement

Related Manuals for FUFU & GAGA KF330038


Summary of Contents for FUFU & GAGA KF330038
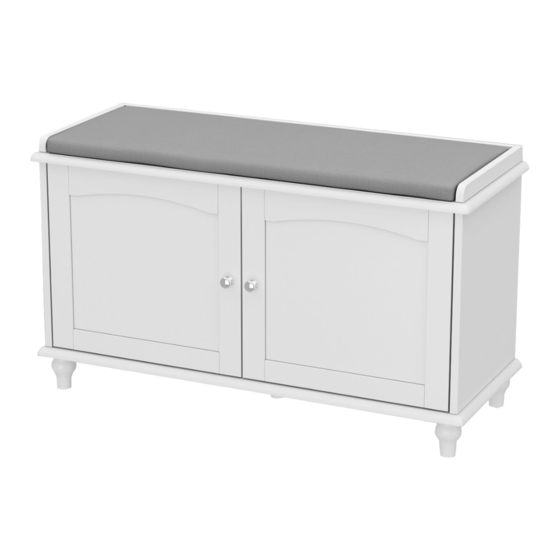
- Page 1 Sideboard Version:05/26/2022 1/12...
- Page 2 IMPORTANT INFORMATION! please read the entire manual before starting to assemble and/or using this product.follow the manual thoroughly and keep it for further reference. AVOID SCRATCHES! In order to avoid scratching this furnuture should be assembled on a soft layer-could be a rug. IMPROVE EFFICIENCY ! Try to find a partner to install with you, which can speed up...
- Page 3 Please prepare the following tools When installing, please carefully confirm whether each screw corresponds to the manual, accessories with similar shapes can be distinguished by size A x 6 B x 6 C x 18 D x 14 E x 2 6 x 30 mm 4 x 35 mm 7 x 35 mm...
- Page 4 4/12...
- Page 5 Please prepare the following tools When installing, please carefully confirm whether each screw corresponds to the manual, accessories with similar shapes can be distinguished by size 5/12...
- Page 6 A x 6 7 x 35 mm Fix quickfit screw A to panel 1 as shown. Please note don't use an electric screwdriver or use force to rotate, may cause crack. D x 2 4 x 35 mm Connect panel 7&8 to panel 9 using screw D as shown. 6/12...
- Page 7 D x 6 C x 6 4 x 35 mm 6 x 30 mm Attach the assembled component to panel 1 using screw D and wooden dowel C as shown. D x 6 C x 6 4 x 35mm 6 x 30 mm Connect panel 3,4,5 to panel 2 using screw D and wooden dowel C as shown.
- Page 8 Fix leg 10 and 11 to panel 11 as shown. B x 6 C x 6 15 x 9 mm 6 x 30 mm Slide panel 6 to available slot in 3&4. Attach the 2 assembled components using wooden dowel C, turn cam locks B clockwise to tighten as shown.
- Page 9 E x 2 G x 4 J x 24 K x 2 3 x 14 mm 4 x 16 mm Fix hinge G to panel 12&13 using screw J. Then fix 2 doors to assembled un t as shown. Please note don't use an electric screwdriver or use force to rotate, may cause crack. H x 8 J x 8 3 x 14 mm...
- Page 10 F x 8 5 x 20 mm Insert dowel pin F to panel 3&4, put panel 14 as shown. Put pad 15 on top. 10/12...
-
Page 11: Warranty Claims
WARRANTY WARRANTY CLAIMS feedbackstation@163.com Type of Warranty Claim Scope of responsibility The Warranty Relates to All Bought in The Us and Covers The Following Areas... - Page 12 RETURNS CHANGED YOUR MIND AND NEED TO RETURN YOU ITEM? PLEASE FOLLOW THE BELOW INSTRUCTIONS: DEFECTIVE ITEMS DAMAGED ITEMS...
Need help?
Do you have a question about the KF330038 and is the answer not in the manual?
Questions and answers