Advertisement
Quick Links
Advertisement

Related Manuals for FUFU & GAGA KF200148


Summary of Contents for FUFU & GAGA KF200148
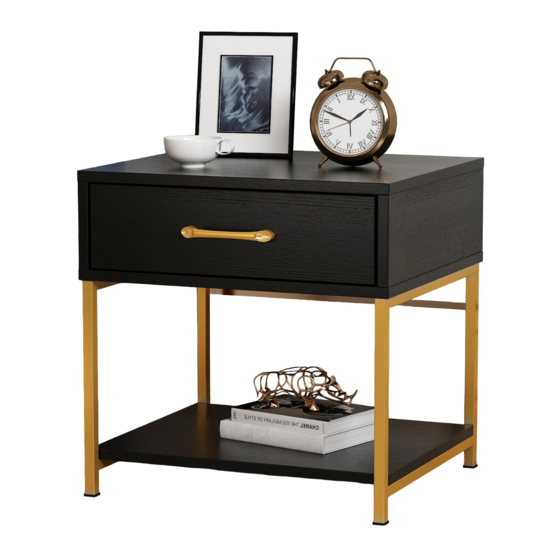
- Page 1 Nightstand Version:09/14/2022 1/10...
- Page 2 IMPORTANT INFORMATION! please read the entire manual before starting to assemble and/or using this product.follow the manual thoroughly and keep it for further reference. AVOID SCRATCHES! In order to avoid scratching this furnuture should be assembled on a soft layer-could be a rug. IMPROVE EFFICIENCY ! Try to find a partner to install with you, which can speed up...
- Page 3 Please prepare the following tools When installing, please carefully confirm whether each screw corresponds to the manual, accessories with similar shapes can be distinguished by size A x 8 B x 6 C x 6 D x 10 E x 2 4 x 35 mm 6 x 35 mm 15 x 9 mm...
- Page 4 4/10...
- Page 5 B x 6 E x 2 F x 1 6 x 35 mm 4 x 18 mm Insert quickfit screw(B) into No.1 and No.9 plate with a screwdriver as shown. Fix handle(F) to No.9 plate with screw(E). 5/10...
- Page 6 A x 4 C x 2 D x 2 4 x 35 mm 15 x 9 mm 6 x 30 mm Connect No.10 and No.11 plate with No.12 using screw(A) as shown. Slide No.8 plate into available grooves, and attach No.9 plate, turn cam lock(C) clockwise to tighten as shown.
- Page 7 G x 4 DL x 1 DR x 1 3 x 12 mm 300 mm 300 mm Fix runner(DL) and (DR) to No.10 and No.11 plate respectively with screw(G) as shown. G x 4 CL x 1 CR x 1 3 x 12 mm 300 mm 300 mm...
- Page 8 C x 4 D x 4 15 x 9 mm 6 x 30 mm Connect No.2 and No.3 plate with No.1 using wooden dowel(D) and turn cam lock(C) clockwise to tighten as shown. 180° 8/10...
- Page 9 Slide No.4 plate into available grooves as shown. A x 4 D x 4 4 x 35 mm 6 x 30 mm Cover No.5 to No.2 and No.3 plate with wooden dowel(D) and fix with screw(A) as shown. 9/10...
- Page 10 L x 8 M x 1 6 x 25 mm Fix No.5 and No.6 plate to No.7 leg frame with screw(L) as shown. Align rails, slide the drawer. 10/10...
Need help?
Do you have a question about the KF200148 and is the answer not in the manual?
Questions and answers