Table of Contents
Advertisement
Quick Links
Documentation Center
RAK7289 Quick Start Guide
Prerequisites
What Do You Need?
1.
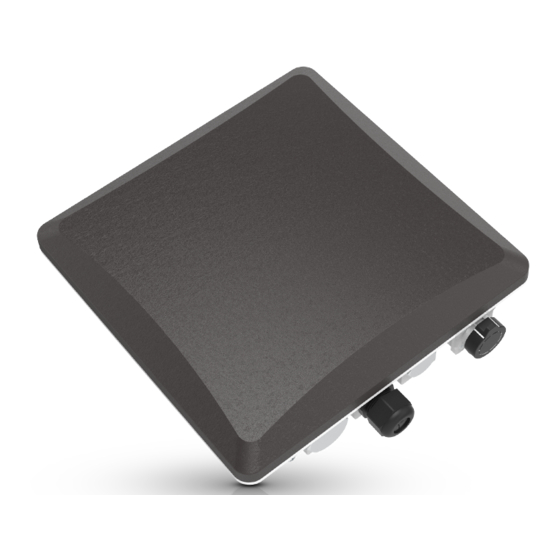
RAK7289 WisGate Edge Pro
2. A Windows/Mac OS/Linux Computer
⚠
WARNING
The SIM card slot of the cellular versions is not hot-swappable. Make sure the gateway is switched off
before inserting or ejecting the SIM card.
What Is Included in the Package?
NOTE
Thе product does not include the LoRa antenna/s out of the box. The antennas are sold separately.
Product Configuration
Figure 1: RAK7289 package contents
Advertisement
Table of Contents

Related Manuals for RAK WisGate Edge Pro RAK7289


Summary of Contents for RAK WisGate Edge Pro RAK7289
- Page 1 Documentation Center RAK7289 Quick Start Guide Prerequisites What Do You Need? RAK7289 WisGate Edge Pro 2. A Windows/Mac OS/Linux Computer ⚠ WARNING The SIM card slot of the cellular versions is not hot-swappable. Make sure the gateway is switched off before inserting or ejecting the SIM card.
-
Page 2: Installation
Documentation Center Installation This section provides the instructions on mounting and securing the mounting kit to the enclosure and the mounting pole. Mounting 1. Fix the bracket included in the mounting kit on the bottom of the enclosure with four M6*12 screws. Figure 2: Mounting the bracket to the enclosure 2. - Page 3 Documentation Center Figure 4: Mounting using hose clamps 3. Hang up the enclosure and fasten it with two M6*12 screws. Figure 5: Fastening the enclosure to the bracket Connecting the PoE Adapter 1. Connect the Ethernet cable from the enclosure to the Ethernet port labeled PoE adapter. 2.
-
Page 4: Weather Protection
Documentation Center Weather Protection To better protect the Ethernet cable gland and the antenna connector from the weather, you need to cover them with PVC tape. 1. Clean the surface area of the connector that will be wrapped. Wrap a layer of PVC tape with a 50% overlap according to the rotation direction of the connector. -
Page 5: Lightning Protection
Documentation Center Figure 9: Final PVC wrapping Lightning Protection In this section, how to set up a lightning surge protection system, whether your RAK7289 WisGate Edge Pro is situated outdoor or indoor, will be discussed. Such a protection system must be taken into consideration to ensure a fully functional gateway without interruption or damage from the lighting. -
Page 6: Recommended Equipment
Documentation Center Gateway Grounding - Additionally, it is recommended to use another 10 AWG or better grounding wire to connect the screw terminal on the bottom left side of the gateway casing to the grounding rail (bar). NOTE No additional protection for the Ethernet cabling is required at the gateway side. There is a surge protection system built in (GDT + Anti-surge resistor). - Page 7 Documentation Center Figure 11: RAK7289 with attached antennas 2. Power on the gateway. It is recommended to use CAT5 Cable to provide power to the gateway. Attach one end to the PoE injector and the other to the Ethernet Port on the bottom of the casing. Figure 12: Powering the gateway using PoE Access the Gateway In this section, several ways of accessing the gateway are provided to have different alternatives for you to choose...
- Page 8 Documentation Center Wi-Fi AP Mode By default, the gateway will work in Wi-Fi AP Mode, which means that you can find an SSID, named RAK7289_XXXX on your PC's Wi-Fi network list. "XXXX" is the last two bytes of the gateway's MAC address. 1.
- Page 9 Documentation Center Figure 14: Web UI login page WAN Port (Ethernet) 1. Connect the Ethernet cable to the port marked ETH on the gateway and the other end to the PoE port of the PoE injector. Connect the LAN port of the PoE injector to your PC. Figure 15: Accessing the gateway via WAN Port (Ethernet) 2.
-
Page 10: Access The Internet
Documentation Center Figure 16: Internet properties 1. Select Use the following IP address and set the IP address (for this example to 169.254.15.100 Figure 17: Setting IP address of the PC In this example, you can access the gateway on the address. - Page 11 Documentation Center Figure 18: Accessing the Internet using Wi-Fi 1. Access the gateway's Web UI. Navigate to Network > Wi-Fi. Make sure the wireless network is enabled. Figure 19: Wi-Fi settings 2. From the drop-down Mode menu choose Client (or Access Point + Client if you want to see the gateway's AP).
- Page 12 Documentation Center Figure 20: Enable client Wi-Fi interface NOTE Assuming you have entered the correct parameter values, you should get an IP address assigned by your Wi-Fi router's (AP) built-in DHCP server. You can use this new IP address to log in via a web browser (the same way as in AP mode).
Need help?
Do you have a question about the WisGate Edge Pro RAK7289 and is the answer not in the manual?
Questions and answers