Table of Contents
Advertisement
Quick Links
H-10152
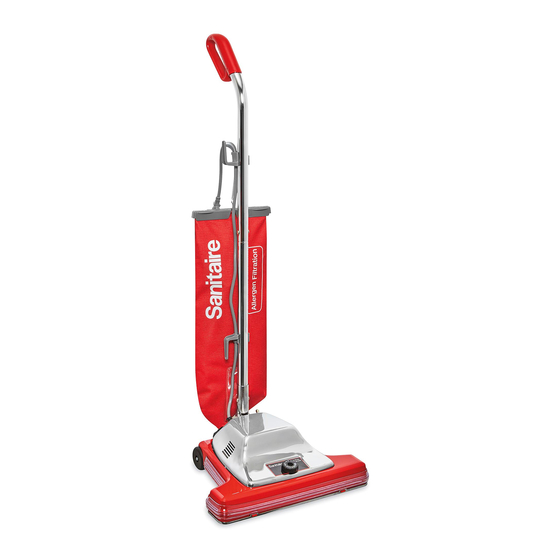
SANITAIRE
WIDE TRACK
®
INDUSTRIAL VACUUM
TOOLS NEEDED
Phillips Screwdriver
3/8" Socket Wrench
IMPORTANT! Read all instructions before using
this vacuum.
WARNING! To reduce the risk of fire, electric
shock or injury, basic precautions should be
observed, including the following:
• Connect to a properly grounded outlet only.
See grounding instructions on page 2. Do not
modify the three-prong grounded plug.
• Do not leave vacuum when it is plugged in. Unplug
from outlet when not in use and before servicing.
• Do not use outdoors or on wet surfaces.
• Do not use motorized nozzle on wet surfaces.
• Do not allow to be used as a toy. Plastic film
can be a suffocation hazard. Close attention is
necessary when used by or near children.
• Do not use for any purpose other than described in
these instructions.
• Do not use with damaged cord or plug. If vacuum
is not working as it should, has been dropped,
damaged, left outdoors or dropped into water,
do not attempt to operate; have it repaired at an
authorized service center.
• Do not pull or carry by cord, use cord as a handle,
close door on cord or pull cord around sharp
edges or corners. Do not run vacuum over cord.
Keep cord away from heated surfaces.
• Do not unplug by pulling on cord. To unplug, grasp
the plug, not the cord.
• Do not handle plug or vacuum with wet hands.
PAGE 1 OF 7
1-800-295-5510
uline.com
Pliers
SAFETY
• Do not put any object into openings. Do not use
with any opening blocked. Keep openings free of
dust, lint, hair or anything that may reduce airflow.
• Keep hair, loose clothing, fingers and all parts of
body away from openings and moving parts of the
vacuum and its accessories.
• Turn vacuum off before plugging or unplugging.
• Use extra care when cleaning on stairs.
• Do not use to pick up flammable or combustible
materials (lighter fluid, gasoline, kerosene, etc.) or
use in areas where they may be present.
• Do not pick up anything that is burning or smoking,
such as cigarettes, matches or hot ashes.
• Do not use without dust bag and/or filters in place.
• Use only three-wire SJT extension cords that have
three-prong grounding plugs and grounding
receptacles that fit the vacuum plug.
• Ensure extension cord is in good condition and is
the correct size for your vacuum.
• Maintain vacuum with care – inspect extension
cords periodically and replace if damaged.
• Do not turn your vacuum on until you are familiar
with all instructions and operating procedures.
Keep vacuum on a level surface.
• Do not use vacuum in an enclosed space
filled with vapors given off by oil-based paint,
paint thinner, some moth-proofing substances,
flammable dust or other explosive or toxic vapors.
• Do not use to pick up toxic material (chlorine
bleach, ammonia, drain cleaner, etc.).
• Do not pick up hard or sharp objects such as glass,
nails, screws, coins, etc.
0922 IH-10152
Advertisement
Table of Contents

Subscribe to Our Youtube Channel
Related Manuals for U-Line SANITAIRE H-10152


Summary of Contents for U-Line SANITAIRE H-10152
- Page 1 H-10152 1-800-295-5510 uline.com SANITAIRE WIDE TRACK ® INDUSTRIAL VACUUM TOOLS NEEDED Phillips Screwdriver 3/8" Socket Wrench Pliers SAFETY IMPORTANT! Read all instructions before using • Do not put any object into openings. Do not use this vacuum. with any opening blocked. Keep openings free of dust, lint, hair or anything that may reduce airflow.
-
Page 2: Grounding Instructions
SAFETY CONTINUED GROUNDING INSTRUCTIONS WARNING! Improper connection of the equipment-grounding conductor can result This vacuum must be connected to a grounded in a risk of electrical shock. Check with a wiring system. If it should malfunction or break down, qualified electrician or service person if you grounding provides a safe path of least resistance for aren't sure if the outlet is properly grounded. -
Page 3: Operation
ASSEMBLY CONTINUED 4. Insert bag adapter clip on 5. Push bag collar up and Figure 5 Figure 4 bottom of bag collar into forward so the locator lug bag adapter retainer. slides into slot. Turn cam (See Figure 4) latch to lock bag onto rivet. Attach bag spring to back of the upper cord hook. -
Page 4: Maintenance
MAINTENANCE CHANGING THE DUST BAG 5. Tuck bottom of dust bag Figure 11 into the lower portion of the 1. Grasp top of bag and outer bag. (See Figure 11) release both zippers by pulling down on dual zipper connector. (See Figure 7) Figure 7 6. - Page 5 MAINTENANCE CONTINUED REPLACING A WORN BELT REPLACING BRISTLE STRIPS WARNING! Belt pulleys can become hot during Remove rubber end cap cover (A) from one end. normal use. To prevent burns, avoid touching Unscrew locknut (B). Remove end cap (C) – sleeve the belt pulley when servicing the drive belt.
-
Page 6: Clearing A Blockage
MAINTENANCE CONTINUED CLEARING A BLOCKAGE CLEARING CLOG IN FAN CHAMBER If a clog is not around the brush roll, there may be a CLEARING CLOG IN DIRT TUBE clog in the clear fan chamber. Remove the dust bag (refer to page 4). •... - Page 7 TROUBLESHOOTING CONTINUED OPERATING ISSUE RECOMMENDATIONS Vacuum does not clean. Dust bag may be full. Replace the dust bag if 2/3 or more full. Adjust carpet height setting to lower position. Check for clogs that restrict airflow. Check for worn or broken belt and replace if necessary. Vacuum is hard to push.
Need help?
Do you have a question about the SANITAIRE H-10152 and is the answer not in the manual?
Questions and answers