Custom Audio Electronics TK180 Short Manual
Hide thumbs
Also See for TK180:
- User manual (108 pages) ,
- Short manual (32 pages) ,
- User manual (152 pages)
Table of Contents
Advertisement
Quick Links
Advertisement
Table of Contents

Subscribe to Our Youtube Channel
Related Manuals for Custom Audio Electronics TK180


Summary of Contents for Custom Audio Electronics TK180
- Page 1 AVIATION SHORT GUIDE TK180...
- Page 3 Thank you for choosing a Custom ® product...
- Page 4 This document provides a description of the main features of the device. MANUAL For a detailed description of all functions please refer to the user manual code 76200000005300. For details about using of tool "PrinterSet", please refer to the manual code 78200000001800.
-
Page 5: Identification Of The Models
IDENTIFICATION OF THE MODELS NOMENCLATURE DESCRIPTION TK180 base coniguration with metal chassis TK180 MET TK180 MET with autocutter and presenter TK180 MET PRES TK180 MET PRES with RFID reader/writer TK180 MET PRES UHF TK180 MET with RFID reader/writer TK180 MET UHF... -
Page 6: Box Contents
BOX CONTENTS Make sure that all the components illustrated below are present in the box and that there are no signs of damage. TK180 MET, TK180 MET PRES, TK180 MET PRES UHF, TK180 MET UHF TK180 PLAS, TK180 PLAS UHF 1. -
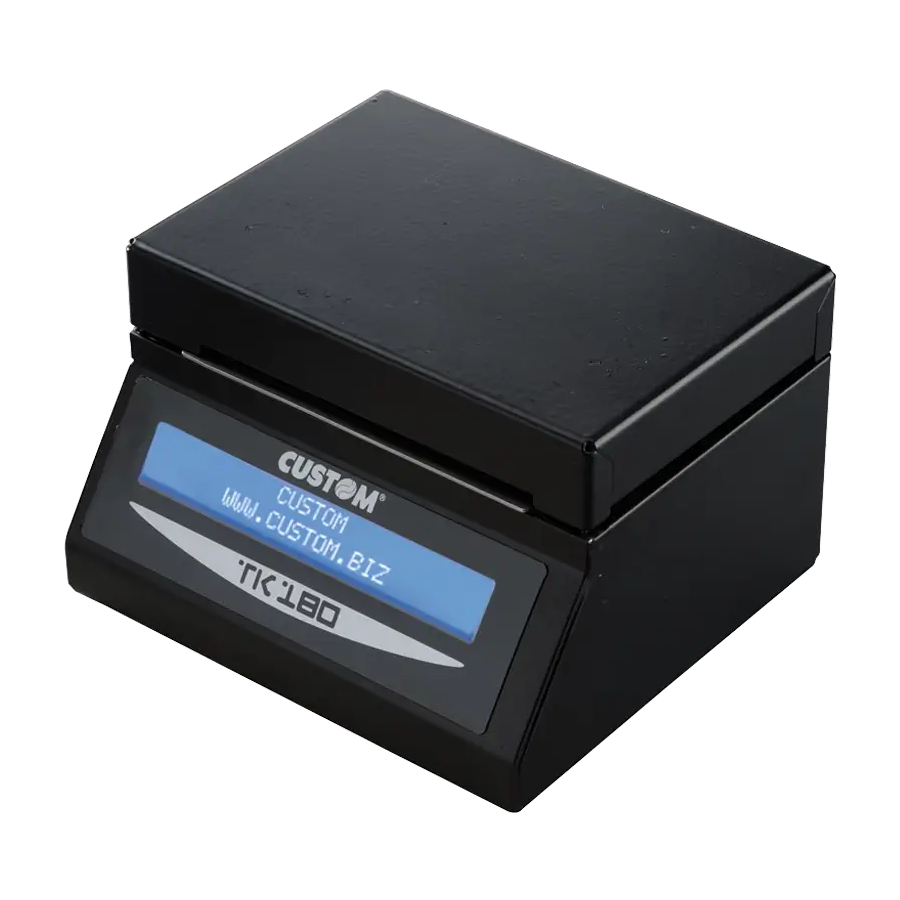
Page 7: Device Description
DEVICE DESCRIPTION TK180 MET TK180 MET PRES 1. Display 1. Paper out 2. Display 2. Paper out 3. Device cover 3. Autocutter 4. Device chassis 4. Device cover 5. Adjustable cursor for 5. Device chassis paper in 6. Adjustable cursor for 6. - Page 8 TK180 MET PRES UHF TK180 MET UHF 1. Paper out 1. Paper out 2. Display 2. Display 3. Autocutter 3. Device cover 4. Device cover 4. Device chassis 5. Device chassis 5. RFID reader 6. RFID reader 6. Adjustable cursor for paper in 7.
- Page 9 TK180 PLAS TK180 PLAS UHF 1. LF front key 1. LF front key 2. FF front key 2. FF front key 3. Paper out 3. Paper out 4. ON/OFF key 4. ON/OFF key 5. Display 5. Display 6. Connectors cover 6.
- Page 10 OPEN DEVICE COVER TK180 MET, TK180 MET PRES, TK180 MET PRES UHF, TK180 MET UHF Open the Push the opening lever Open the metallic cover. shown in figure. device cover.
- Page 11 TK180 PLAS, TK180 PLAS UHF Push the opening lever Open the in the direction shown in the figure. device cover.
-
Page 12: Switch The Device On
SWITCH THE DEVICE ON TK180 MET, TK180 MET PRES, TK180 MET PRES UHF, TK180 MET UHF Power cord (optional) product label <codice prodotto> IN DC 24V 4.10A Power supply (included) Correctly insert the power supply connector Power supply with the flat side upwards. - Page 13 X.XX ONLINE ON/OFF Switch the device on The display turns on with by pressing the ON/OFF key. the standby message.
- Page 14 TK180 PLAS Place the ferrite core Correctly insert the of the power supply cable power supply connector inside the connectors with the flat side compartment. upwards. Power supply (inclued) Remove the cover of the connector compartment Connect the power supply to the device.
- Page 15 Power cord (optional) Power supply (included) Close the connectors compartment by placing Connect the power cord (optional) to the the cover previously removed. power supply and to the mains outlet.
- Page 16 X.XX ONLINE ON/OFF Switch the device on The display turns on with by pressing the ON/OFF key. the standby message.
- Page 17 TK180 PLAS UHF Place the ferrite core Correctly insert the of the power supply cable power supply connector inside the connectors with the flat side compartment. upwards. Power supply (inclued) Lift the RFID reader by rotating it Connect the power adapter to the device by placing the cable as shown.
- Page 18 Power cord (optional) Power supply (included) Lower the RFID reader by rotating it Connect the power cord (optional) to the in the shown direction. power supply and to the mains outlet.
- Page 19 X.XX ONLINE ON/OFF Switch the device on The display turns on with by pressing the ON/OFF key. the standby message.
-
Page 20: Setup Mode
SETUP MODE • To enter the setup mode, hold the LF key and switch on the device. The device prints the report with settings parameters. • To conigure the device with a PC, the "PrinterSet" software tool is available on www.custom4u.it. •... -
Page 21: Display Messages
DISPLAY MESSAGES The display shows the emulation currently set, the irmware release and a device status message on the upper row. The lower row reports an error code (for example, ERR8) and the error description, in case of not successful outcome of commands (see following image). The possible status messages are the following: ONLINE The device is ready (standby message) -
Page 22: Status Messages
STATUS MESSAGES YELLOW Device of Printhead overheated Paper end GREEN Paper jam Device on: no error Power supply voltage incorrect Receive data Cover open Reception errors (parity, frame error, overrun error) Command not recognized Command reception time out RAM error... -
Page 23: Loading Paper
LOADING PAPER The following procedure is the same for all the models described in this document. 82.5 mm 54 mm Paper guide to the end point Paper block guide assembled and paper guide to the end point Open the device cover Adjust the paper width properly (see previous paragraphs). - Page 24 Adjust the position of the two black mark sensors Close the device cover (be careful not to damage the sensors). (see previous paragraphs).
- Page 25 ROOM thermal side thermal side ROOM thermal side thermal side Insert the paper into the input mouth so that it unrolls correctly. Wait until the paper is Be sure that the paper is correctly positioned into paper guides. automatically loaded.
-
Page 26: Printer Paper Jam
PRINTER PAPER JAM TK180 MET, TK180 MET UHF, TK180 PLAS Open the device cover Remove the damaged paper and check the presence of paper scraps inside (see previous paragraphs). the device. Carefully remove all paper scraps. If necessary use tweezers. - Page 27 ROOM thermal side Close the device cover Insert the paper (see previous paragraphs). (see previous paragraphs).
-
Page 28: Autocutter Paper Jam
AUTOCUTTER PAPER JAM TK180 MET PRES, TK180 MET PRES UHF Open the device covers Start the automatic unlocking procedure Push the presenter opening lever (see previous paragraphs). by pressing the LF key. and remove the presenter cover. - Page 29 Inspection window Try to remove the paper. Locate the inspection window for the autocutter If the operation fails, see the next point. placed in the bottom of the presenter.
- Page 30 Blade Insert a screwdriver in the inspector window and Remove the damaged paper and check the presence for paper scraps inside the printer; turn the worm screw to lower the autocutter blade. carefully remove all scraps of paper. If necessary, use tweezers.
-
Page 31: Technical Specifications
TECHNICAL SPECIFICATIONS POWER SUPPLY cod. 963GE020000053 PRINTER 203 dpi (8 dot/mm) Power supply voltage from 100 Vac to 240 Vac Resolution Thermal, ixed head Frequency from 50 Hz to 60 Hz Printing method High speed: 200 mm/s Output 24 V, 2.5 A (1) (2) Printing speed Normal: 150 mm/s... - Page 32 If you use the device in dusty, should reduce the cleaning intervals. (1) Use isopropyl alcohol (2) Use pneumatic air (3) Only for TK180 MET PRES, TK180 MET PRES UHF (3) Use tweezers (4) Use a soft cloth (5) Don't use any ammonia-based products...
- Page 33 TECHNICAL SERVICE In case of failure, contact the technical service accessing the website www.custom4u.it and using the support tools on the homepage. It is advisable to keep the identiication data of the product at hand. The product code, the serial number and the hardware release number can be found on the two product labels. The irmware release number (SCODE) can be found: •...
- Page 34 CUSTOM S.p.A. GENERAL SAFETY INFORMATION THE CE MARK AFFIXED TO THE PRODUCT CERTIFY Via Berettine 2/B Your attention is drawn to the following actions that could compromise THAT THE PRODUCT SATISFIES THE BASIC SAFETY 43010 Fontevivo (PARMA) - Italy REQUIREMENTS. the characteristics of the product: Tel.
Need help?
Do you have a question about the TK180 and is the answer not in the manual?
Questions and answers