Subscribe to Our Youtube Channel
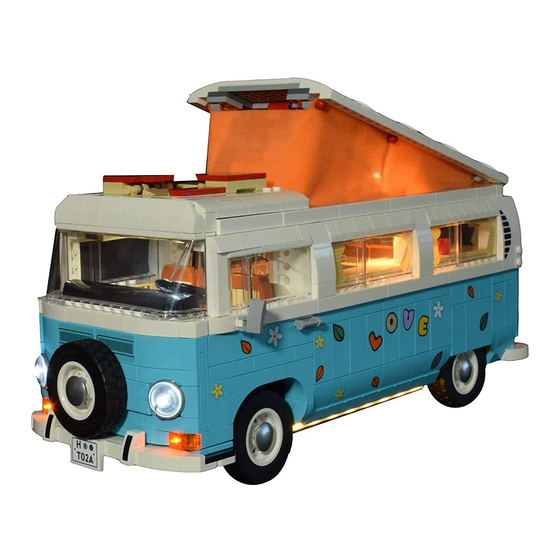
Summary of Contents for Glow Bricks Lego Volkswagen T2 Camper Van 10279
- Page 2 Take the lighting parts at the bottom of the picture And detach the front part of the car as shown...
- Page 3 Install the lighting parts on the plate, and place the clear orange tiles on the lights Place the clear orange slope on the lights of blue plate, then restore the bumper like this...
- Page 4 Recorp the upper bumper with the car, also the parts of the side Restore the parts of previous step and the front car light...
- Page 5 Restore the upper part, to restore the 2x4 tiles you need to stable the wires in between the studs to avoid breaking the wires when restoring the tiles...
- Page 6 Place the connector to the bottom of the car Then the front part lighting installation is done...
- Page 7 Now take this lighting part for the top Install it as shown Beware of the position of the fire...
- Page 8 Now it’s turn for the rear side, detach the following parts Replace the grey part by the lighting parts...
- Page 9 Before restoring the parts, need to pull the connector to the bottom by getting through the hole Then you can restore the rear side...
- Page 10 Place the front top on the car first To place to the male connector to the bottom, remove the slope on the edge, stable the wire in between the studs then restore the slope...
- Page 11 Now connect the connector of the remain top as well the fire on the stove Then restore the top, and remember to check does the top able to flip up...
- Page 12 Place three connectors to bottom, stable the wires by the plates provided...
- Page 13 Now you can choose to power by battery or USB...


Need help?
Do you have a question about the Lego Volkswagen T2 Camper Van 10279 and is the answer not in the manual?
Questions and answers