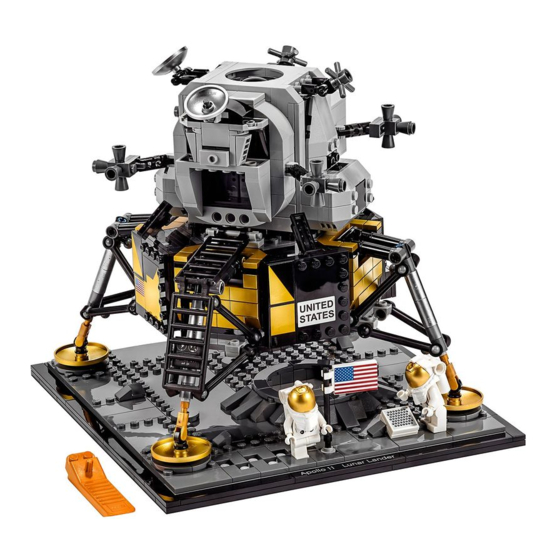
Summary of Contents for Glow Bricks Apollo 11 Lunar Lander Lego 10266
- Page 2 Part A Part B Start from Part A Remove 2 grey arches from the top and separate front and rear big parts as shown...
- Page 3 Plug the 2pcs of 1x2 grey parts onto the position Install 4 grey round plates on both arms Pass 3 parts through the body...
- Page 4 Install the 1x4 grey part onto the ceiling Pass the wire to the top and install 2 grey arches (can clip the wires like the way shown in red circle below) Install 4 grey round plates to both arms and hide wire under the 2 2x4 tiles in the middle...
- Page 5 Part A finished Now it’s Part B’s turn (The side with “United States is the front and we’ll put the usb plug close to the rear side) Turn the model upside down and the rear side face to you...
- Page 6 Install the first 1x4 from the usb plug as the picture shown Install all 4 1x4’s Pass 4 1x1 lights parts from the bottom thru the middle space...
- Page 7 Install the all 4 of the 1x1 light parts Install the top part and pass the connecting wire thru the middle space Connect the wire plugs of Part A and B...


Need help?
Do you have a question about the Apollo 11 Lunar Lander Lego 10266 and is the answer not in the manual?
Questions and answers