Advertisement
Advertisement
Table of Contents

Related Manuals for Inside Weather JORN CONSOLE


Summary of Contents for Inside Weather JORN CONSOLE
- Page 1 JORN CONSOLE...
- Page 2 Gather Your Eggs... Shelves (Large or Small) Back Left Leg Right Leg 2x Mounting Screws Ratchet Long Hex Bit Note: Please retain all boxes until you are certain that your product isn’t damaged and that you do not wish to return it. Disposal of boxes may prevent/delay our ability to resolve your request.
- Page 3 Step 1: Attach Shelves to Back Panel Grab your shelves (Large or small depending on your Start by placing the back custom order). panel with the keyhole side down on a soft surface so that Align connectors on the shelf you don’t damage your peice.
- Page 4 Step 2: Attach First Leg Grab the Right Leg and align the hole on the interior of the leg with the connector on the shelf and tighten with ratchet. Step 3: Attach Second Leg Repeat Step 3 for the other leg.
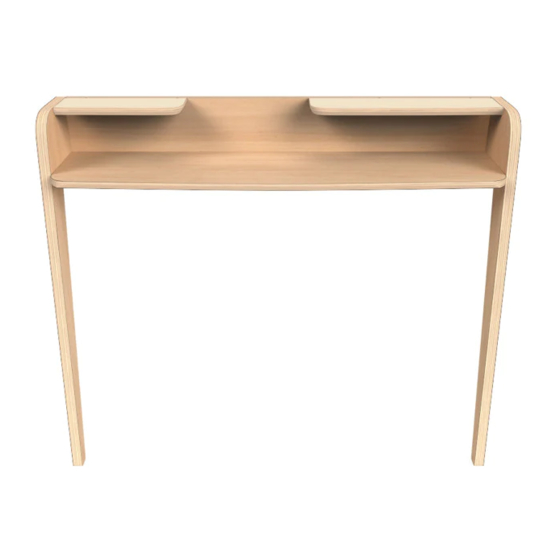
- Page 5 Step 4: Attach Console Top Align connectors on the Console Top with the holes on the back panel and legs, attach. Detail View...
- Page 6 Step 5A: Wall Mount Prep: Measure Next you want to secure your console to wall. It is not advised to use this product without safely anchoring to the wall. Place the console against the wall Make a small mark along the top edge and the side edges.
- Page 7 Step 6: Mount to the Wall Wall Rear of Unit Keyhole Opening Side View With the back of your console facing the wall, Lift the unit slightly and place the head of the drywall screws into the bottom opening of the keyholes on the back. Press the console against the wall and slide it down onto the screw until the feet touch the floor.
Need help?
Do you have a question about the JORN CONSOLE and is the answer not in the manual?
Questions and answers