Advertisement
Quick Links
Advertisement

Related Manuals for Inside Weather ELM STORAGE


Summary of Contents for Inside Weather ELM STORAGE
- Page 1 ELM STORAGE...
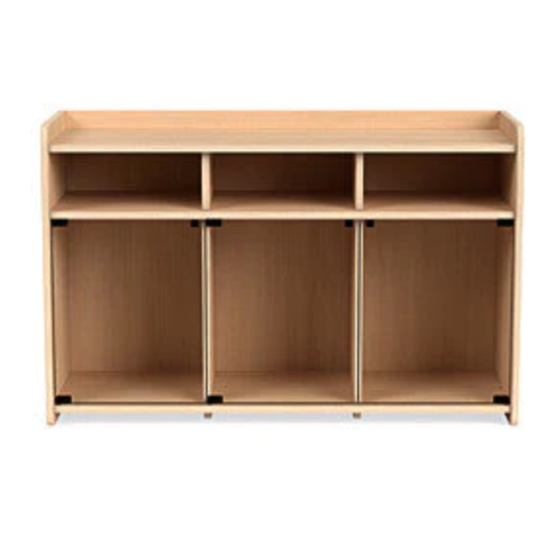
- Page 2 Gather Your Eggs... Top Lip Side Panels Top Shelf Mid Shelf Divider Panel Bottom Shelf Small Shelf Door Door Hinge Diffuser Strip Back Panels Hinge Screw Sticky Tab Note: Please retain all boxes until you are certain that your product isn’t damaged and that you do not wish to return it.
- Page 3 Step 1: Attach Top to Right Side Panel Right Side Panel Top Shelf Place the top shelf face down on a soft material to avoid scratching. Connect the top shelf to the right side panel using the installed fastners. Fastened Top and Side Panel...
- Page 4 Step 2: Attach Mid and Bottom Shelf Repeat Step 1 to attach the mid and bottom shelves. Mid Shelf Bottom Shelf Step 3: Attach Left Side Panel Left Side Panel Attach left side panel using the installed fasteners.
- Page 5 Step 4: Inster Divider Panels Slide the divider panels into the divider slots. Step 5: Insert Back Panel Tilt the right back panel into the side slot...
- Page 6 Step 5: Insert Back Panel (Continued) Flatten the back panel and slide it up into the top slot Note: When fitting the peices together, make sure the connecting screws are retracted inside their housing. Having the screw out could damage your surfaces. Use the installed fasteners to attach the back panel.
- Page 7 Step 6: Insert Remaining Panels Repeat Step 5 to install the left panel Next, side in any center panels. Attach with installed fasteners.
- Page 8 Step 7: Insert Remaining Panels Slide the top lip into place. Use the installed fasteners to attach the lip. Step 8: Place Caps Place caps over all the installed fasteners.
-
Page 9: Step 9: Install Shelves
Step 9: Install Shelves Flip the unit upright. Insert the shelf pins and adjust shelves. - Page 10 Step 10: Install Lighting Install the lighting strip before installing the doors. Use the light channels to install the light strip. Light Channel Attach the reciever to the bottom of the unit. Feed the light strip up through the hole in the bottom shelf on either end of the unit and feed the strip through each cubby.
-
Page 11: Step 11: Install Doors
Step 11: Install Doors Place sticky tabs onto the corners of the glass. These will be under the door hinges. Insert the door hinges into the hinge holes. Slide the door into the hinges. Frosted glass will have the frosted side on the inside. - Page 12 Step 12: Add Strike Plate Place the strike plate on the inside of the door about .5” from the outer edge. Step 13: Install Remaining Doors DONE!
Need help?
Do you have a question about the ELM STORAGE and is the answer not in the manual?
Questions and answers