Advertisement
Quick Links
Advertisement

Related Manuals for Inside Weather VOSS SIDEBOARD


Summary of Contents for Inside Weather VOSS SIDEBOARD
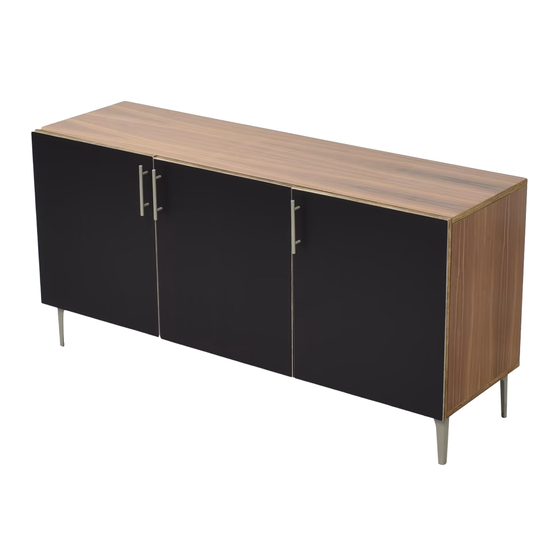
- Page 1 VOSS SIDEBOARD...
- Page 2 Gather Your Eggs... 1x Top Panel 2x Back Panels 3x Middle Shelves 2x Side Panels 2x Dividers 1x Bottom Panel 3x Doors More Eggs... 6x Hinge Connector Hardware with 12x Screws 3x Door Handles with 6x Screws 6x Door Hinges with 12x Screws (2x will be arced) 3x Adhesive Plastic Bumpers...
- Page 3 Step 1: Attach the Hinge Connector Hardware Grab your side panels, divider with mounting holes, hinge connector hardware and matching screws. Identify the mounting holes in the side panel. They look like vampire bites. Repeat for divider. • Check the orientation: the C-shaped groove should face the nearest edge •...
- Page 4 Step 2: Attach Lower Back Panel to Bottom Panel Lower Back Panel Place your bottom panel with the leg holes facing down. Align and center the grooves of the lower back panel to the corresponding grooves in the bottom panel and press down. Bottom Panel Side View...
-
Page 5: Step 3: Attach Side Panels
Step 3: Attach Side Panels Side Panels Align the plastic connectors on the side panel with the corresponding holes on the bottom panel. Fasten using provided ratchet. Repeat for both sides. Note: When fitting the pieces together, make sure the connecting screws are retracted inside their housing. - Page 6 Step 4: Attach Upper Back Panel Slide upper back panel between side panels and onto lower back panel. Step 5: Attach Inside Divider Panel Door Hinge Connectors Press down divider panel into the corresponding holes. Make sure the divider panel on the right has the door hinge connectors facing out.
- Page 7 Step 6: Attach the Top Panel Grab your Top Panel. Line up the connectors in the side panels and center dividers with the holes on the top panel. Ensure the back is aligned with the grove on the top. Fasten using provided ratchet. Side View...
-
Page 8: Step 7: Attach The Legs
Step 7: Attach the Legs Rotate the unit onto its back. Attach the legs using the leg screws. There are 4 screws to each leg. Note: flared legs should each point outward towards their respective corners. Repeat for remaining legs Flip the Sieboard back onto its feet... -
Page 9: Step 8: Install The Shelves
Step 8: Install the Shelves Shelf Pins Add shelf pins to the desired height and place the shelves groove side down on top of the pins from above. Use four pins per shelf. - Page 10 Step 9: Install the Hinges 6x Door Hinges with 12x Screws Arced Hinge Note: Two of the hinges have an arc. The arced hinges will be used for the center door. Straight Hinge Place a hinge into each well on the inside of Insert a screw into each mounting hole and the door panel.
-
Page 11: Step 10: Attach The Doors
Step 10: Attach the Doors Rest the hinges over their receiving hardware. Make sure the doors are right-side up. Press the hinges into the hardware. They should just snap into place. See below. Push end down onto Slide hinge up against receiving hardware and receiving hardware. - Page 12 Step 12: Adjust the Hinges and Center the Doors Moves door left and right • Hinges are adjustable in 3 different locations. Moves door • Each adjusts the position of the doors differently. in and out • Note the locations indicated in the image TIPS: •...
- Page 13 Adjustment 2: Move the door closer or farther away from the side panel. Moves door Use this adjustment to: in and out • Make the edges of the door parallel with the edges of the credenza. • Widen or narrow the gap between the doors and credenza Note: Check that the gap between the open door and side panel is vertical and does not taper.
- Page 14 Step 13: Add Plastic Bumpers Stick a small plastic bumper to the top corner of each door. This will help with door adjustment DONE!
Need help?
Do you have a question about the VOSS SIDEBOARD and is the answer not in the manual?
Questions and answers