Advertisement
Advertisement
Table of Contents

Related Manuals for Inside Weather ATLAS SHELF


Summary of Contents for Inside Weather ATLAS SHELF
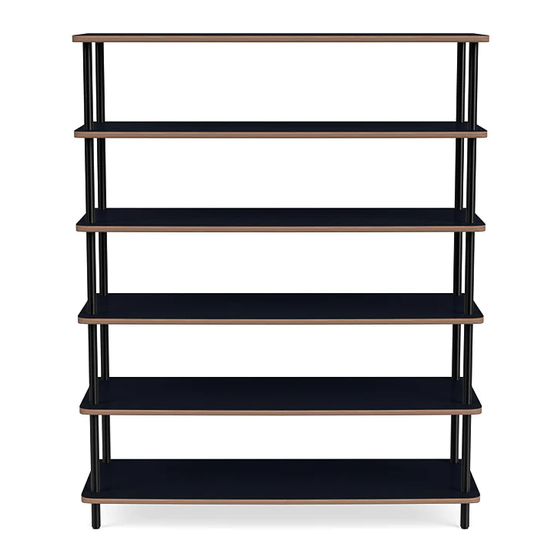
- Page 1 ATLAS SHELF...
- Page 2 Gather Your Eggs... Top (Holes do not go all the way through) Shelves (Holes go all the way through) Number of shelves depend on option chosen Poles Wood Screws Dry Wall Anchors Ratchet Screw Caps Long Hex Bit L-Bracket Note: Please retain all boxes until you are certain that your product isn’t damaged and that you do not wish to return it.
- Page 3 Step 1: Attach Top Shelf Note: Make sure the connecting screws are retracted inside their housing. Having the screw out could obstruct the pole fitting through. Place cardboard on the ground to protect the floor and the back of the shelves. You can use the box it came in.
- Page 4 Step 2: Place The Other Shelves Place the other shelves into position. You can use a tape measure to determine the distance of each shelf. Once the shelves are in their desired positions, tighten the connecting screws using the provided ratchet and long hex bit.
- Page 5 Step 3: Add Remaining Poles Gently slide the remaining poles through each shelf and secure into the top shelf holes. Tighten the connecting screws in the top shelf. Again, use a tape measure to check the distance of each shelf. Tighten the connecting screws.
- Page 6 Step 5: Adjust Feet Using two people, carefully lift the completed shelf upright. If your shelving unit needs to be leveled, you can adjust each foot by rotating them in or out until it is just right. Step 6: Mounting to Wall Next you’ll want to secure your shelving unit to the wall.
- Page 7 Step 7: Enjoy DONE!
Need help?
Do you have a question about the ATLAS SHELF and is the answer not in the manual?
Questions and answers