Advertisement
Quick Links
Advertisement

Related Manuals for Inside Weather SOFETTE


Summary of Contents for Inside Weather SOFETTE
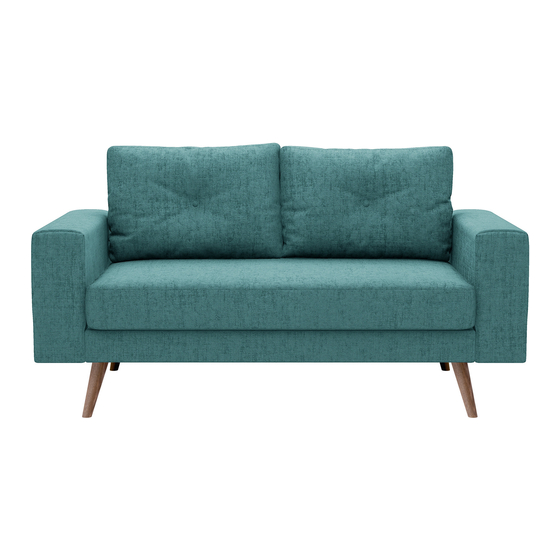
- Page 1 SOFETTE...
-
Page 2: Seat Cushions
Gather Your Eggs... BACK PILLOWS BACK PLATE 2 ARMS SEAT CUSHIONS INNER SUPPORT BRACE FRONT PLATE 18 SLATS Note: Please retain all boxes until you are certain that your product isn’t damaged and that you do not wish to return it. Disposal of boxes may prevent/delay our ability to resolve your request. - Page 3 You should have: 4x LEGS 16x SOCKET HEAD CAP SCREW 32x BUTTON HEAD HEX SCREW (5 MM HEX BIT) 4x CORNER BRACKETS 8x NEOPRENE STICKY PADS DRILL + EXTENSION 5MM HEX BIT 4MM BALL HEAD BIT USB CHARGER Note: Drill may need to be charged before use Note: Don’t be surprised if you find a few extra screws, washers and even an extra support brace among your supplies.
- Page 4 Step 1: Connect the Arms Let’s start by connecting the arms to the back panel. Lay the back panel flat on the floor, workbench or other stable surface with the metal strip is facing up. The process is identical for both arms. Connect the Hooks Stand the arm on its side.
- Page 5 Connect the Arms (Continued) Place a corner bracket to connect the back and arm panels. Put a 5mm button head socket cap screw in each of the three holes in the back panel. Losely hand tighten only for now. Screws will be tightened after they have all been placed.
- Page 6 Step 2: Install the Inner Support Brace You’ll Need: 1x INNER SUPPORT BRACES 8x BUTTON HEAD SOCKET CAP SCREW (5 MM HEX BIT)
- Page 7 Install the Inner Support Brace (Continued) Line up the holes in the support brace with the corresponding holes on the frame. Make sure the edges are flush Hand tighten before finishing with the drill to make sure everything is properly aligned.
- Page 8 Step 3: Attach the Front Plate You’ll Need: FRONT PLATE CORNER BRACKETS 5MM BUTTON HEAD SCREWS In this step we’ll be adding the front plate. But first let’s make sure everything is ready! Set the front plate between the two arms as shown.
- Page 9 Attach the Front Plate (Continued) Attach a corner bracket to the front plate using 3 bolts. Hand tighten only Hold the corner bracket flat against the front plate and add 3 more bolts to attach the bracket to the arm. Use the drill to fasten each bolt until secure.
- Page 10 Step 4: Install the Legs You’ll Need: 4x LEGS Note: Our legs are universal, and are used across multiple products. All sofa and ottoman legs will 16x SOCKET HEAD CAP SCREW attach securely with 4 fasteners per leg. Start by aligning the leg over the mounting holes. Insert Once each bolt is started by hand, use the bolts into corresponding threaded holes as shown and drill to finish securing the leg.
- Page 11 Step 5: Add the Neoprene Pads To keep the cushions from sliding add the non-slip neoprene pads. 2 pads will be stuck onto a slat. Only 4 of the slats of the sofa will need pads. Please see diagram for correct placement.
- Page 12 Step 6: Place the Slats Lay a slat in each groove, as shown. Be sure they arch upward. NOTE: You may need to gently coax some slats into place depending on how tightly everything has been assembled. Step 7: Add the Cushions DONE!
Need help?
Do you have a question about the SOFETTE and is the answer not in the manual?
Questions and answers