Advertisement
Quick Links
Advertisement

Related Manuals for Inside Weather JORN DESK


Summary of Contents for Inside Weather JORN DESK
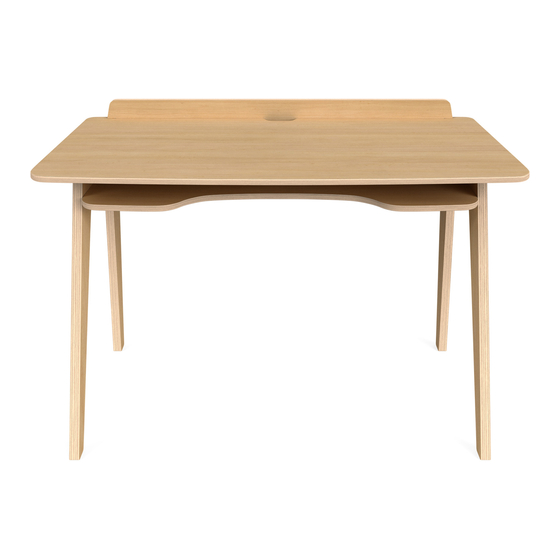
- Page 1 JORN DESK...
- Page 2 Gather Your Eggs... Base Desk Parts Desk Top Lower Shelf Left Leg Right Leg Back Ratchet Long Hex Bit Note: Please retain all boxes until you are certain that your product isn’t damaged and that you do not wish to return it. Disposal of boxes may prevent/delay our ability to resolve your request.
- Page 3 More Eggs... Optional Parts (Parts included based on options chosen) Monitor Stand Left Pedestal Long Shelf Right Pedestal Short Bolts Brackets + Thumb Note: Number of Thumb Screws, Screws & T-Slot Nuts Plastic Dots T-slot nuts and short bolts (2 Per Bracket) vary depending on set-up.
-
Page 4: Step 1: Attach The Legs
Step 1: Attach the Legs Place the Desk Top upside down on a soft surface to protect from scratches. Take your first leg and make sure that the plastic connectors of the leg are facing towards the center of the desk and the angled part of the leg is facing towards the front. - Page 5 Step 2: Install Second Leg Repeat previous instruction for the other leg Note: When fitting the peices together, make sure the connecting screws are retracted inside their housing. Having the screw out could damage your surfaces.
- Page 6 Step 3: Attach Back Panel Place the back panel down on a soft surface to protect from scratches. Rotate the desk top onto the back panel. The connectors on the desk top will align with the top row of holes on the back panel. Fasten the desk top and legs to the back panel.
- Page 7 Step 4: Attach the Lower Shelf Next take your bottom shelf, with connector openings facing towards the bottom of the legs, and align the connectors with the holes on the back panel and the legs. Fasten the shelf into place. Use plastic covers to cover bolt openings after all are tightened.
-
Page 8: Step 6: Attachment Options
Step 6: Attachment Options Monitor Stand Brackets + Thumb Screws & T-Slot Nuts Left Pedestal Long Shelf Right Pedestal Short Bolts The desk comes with different options. Your desk will include the parts you need for the option you chose at checkout. The assembly for any option is the same. - Page 9 Step 6: Attachment Options (Continued) First choose the height you would like your shelves to be. There are 2 options, either use the 2 top holes, or the 2 bottom holes. Next, insert 2 thumb screws through your selected holes on the bracket. Take your t-slot nuts and place them onto your screws and turn them once.
- Page 10 Step 7: Add Your Shelf Option Insert the bolts through the brackets into the shelf and tighten. Shelf can be adjusted forwards or backwards to your desired distance. If your shelves do not sit level at 90 degress, we have included sticky plastic dots to help level them out.
- Page 11 DONE!
Need help?
Do you have a question about the JORN DESK and is the answer not in the manual?
Questions and answers