Table of Contents
Advertisement
Quick Links
Advertisement
Table of Contents

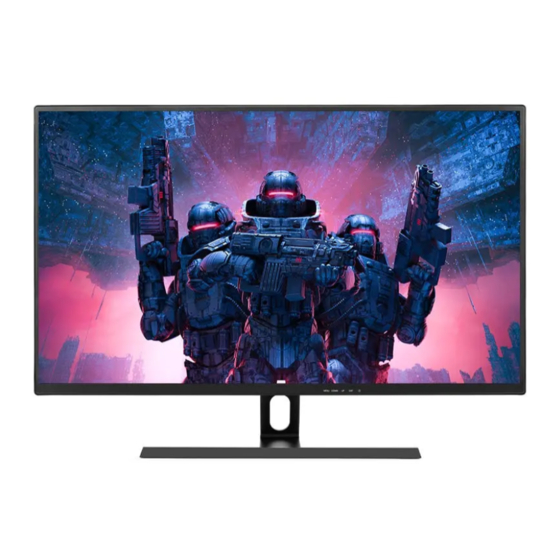
Summary of Contents for Kogan KAMN32F7SA
- Page 1 32” FULL HD IPS 75HZ FREESYNC MONITOR 1920 x 1080 KAMN32F7SA...
-
Page 3: Safety And Warnings
SAFETY & WARNINGS Ensure to read all instructions and warnings in this user guide prior to assembly and use. Retain this user guide for future reference. • Ensure the monitor is unplugged before cleaning. • This monitor is designed with ventilation holes on the back of the casing. Do not cover or block them. - Page 4 COMPONENTS A Monitor (x1) B Stand connector (x1) C Stand base (x1) D 10mm M4 stand base screw (x5) E 10mm M4 VESA F Cover (x1) screw (x4) G HDMI cable (x1) H Power cable (x1) I User guide (x1)
- Page 5 OVERVIEW Front view Menu button Press to display the OSD menu or enter sub-menus. 2 Down button Press to move down in the menu. 3 Up button Press to move up in the menu. 4 Exit button Press to exit. 5 Power button Press to turn the monitor ON/OFF.
- Page 6 Back view Audio output port VGA port HDMI port Power port...
-
Page 7: Stand Assembly
STAND ASSEMBLY Attention: The monitor is fragile. Keep the foam underneath the monitor while assembling the stand. 1. Open the packaging and remove the stand connector (B) and stand base (C). Using a Phillips head screwdriver (not supplied), secure the stand connector (B) to the stand base (C) with two 10mm M4 stand base screws (D). -
Page 8: Vesa Mount
VESA MOUNT 1. Open the packaging and take out the monitor (A) with the foam attached. Gently place it on a desktop or table. 2. Remove the stand connector (B), stand base (C), and foam covering the back of the monitor (A). - Page 9 CONNECTIVITY Power cable Power cable Connect one end of the power cable into the power port on the monitor. Connect the other end into a power socket. Earphones (audio out) Earphones and other audio devices (not included) can be connected to the audio output port on the monitor. The monitor may need to be set as the PC’s default Earphones sound output device.
-
Page 10: Operation
OPERATION 1. Connect the monitor to the input device via HDMI or VGA. 2. Connect one end of the power cable to the monitor, then connect the other end directly to a power socket. Turn on the power socket. 3. Press the power button to turn the monitor on. 4. - Page 11 1. Press the menu button to enter the OSD menu. 2. Press up and down buttons to browse the settings categories. With the desired category highlighted, press the menu button to enter the sub-menu. 3. Press the up and down buttons to browse the sub-menu. With the desired sub-menu setting highlighted, press the menu button to select the sub-menu setting.
- Page 12 Warm mode Red/green/blue Adjusts the red/green/blue levels Cool mode Red/green/blue Adjusts the red/green/blue levels Colour User mode Red/green/blue Adjusts the red/green/blue levels HDR mode On/Off Turns the HDR mode on/off. English, 简体中文, 한국어, Русский, Español, Deutsch, Language Sets the OSD language Italiano, Français, Portugues, Turkce, Polski, Nederlands...
- Page 13 ECO modes There are various pre-set colour modes suited for various use cases available on this monitor. These can be accessed using the ECO modes menu. The modes include the following: • Standard (suitable for most activities) • Text (best suited when reading text) •...
-
Page 14: Cleaning And Care
CLEANING & CARE • To clean the screen, turn it off, unplug it, and wait for it to cool completely. Wipe it with a dry micro-fibre cloth. • To clean the body, wipe with a clean, slightly dampened cloth. Note: Do not use cleaning alcohol, ammonia-based liquids, or other harsh cleaners. - Page 15 Audio Speakers Accessories Power cable HDMI cable Additional functions Low blue light Flicker-free Physical dimensions Dimensions (w. stand) 720.5 x 84.6 x 507.0mm Dimensions (without stand) 720.5 x 42.9 x 423.1mm Net weight 6.3kg Gross weight 8.2kg...
- Page 16 Need more information? We hope that this user guide has given you the assistance needed for a simple set-up. For the most up-to-date guide for your product, as well as any additional assistance you may require, head online to help.kogan.com...


Need help?
Do you have a question about the KAMN32F7SA and is the answer not in the manual?
Questions and answers