Table of Contents
Advertisement
Quick Links
Advertisement
Table of Contents

Related Manuals for Kogan KAMN32RQ1LA


Summary of Contents for Kogan KAMN32RQ1LA
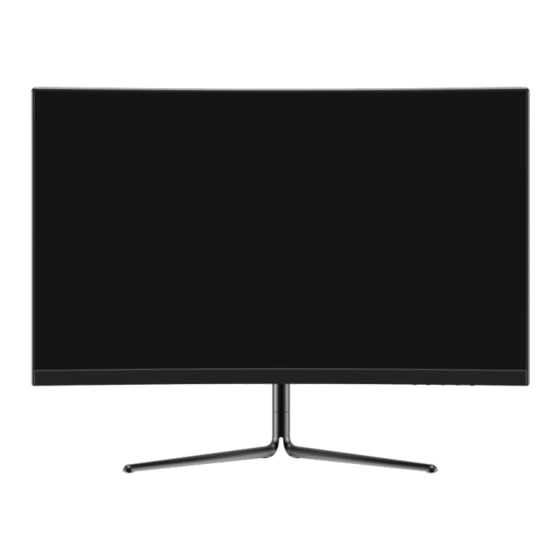
- Page 1 32" CURVED QHD 165HZ FREESYNC HDR GAMING MONITOR (2560 X 1440) KAMN32RQ1LA...
-
Page 3: Safety And Warnings
SAFETY & WARNINGS • Read all instructions before using the appliance and retain for reference. • Unplug the monitor before cleaning it. • Use a clean, slightly dampened cloth to wipe the main monitor body. • To clean the screen: Turn it off, unplug it and wait for it to cool completely, then wipe it with a dry microfibre cloth. - Page 4 COMPONENTS Monitor Stand Stem Stand Base Headphone Clip Screws VESA Connectors DP Cable Power Cable User Guide...
- Page 5 OVERVIEW Controls Menu/Enter Volume/Down Brightness/Up Input select/Exit Power On/Off LED indicator Ports Power Connector Audio output DisplayPort Connector (x2) HDMI Connector (x2)
- Page 6 ASSEMBLY Installing the Stand Base Installation method: Open the carton, remove the bracket and the base and lock them with one screw, then take out the rotating shaft assembly and install the two screws on the bracket. Removal method: Use a screwdriver to unscrew the screws of lock bracket, rotating shaft and base. Headphone Clip Shaft Assembly Stand...
-
Page 7: Vesa Mount
VESA MOUNT Follow the steps below to install onto a monitor arm or wall mount (not included) Open the package, take out the product with foam still attached and gently place it on a desktop or table. Remove the extra parts and the foam covering the back of the monitor. - Page 8 CONNECTIVITY Removable Rear Panel This monitor features a removable rear panel that covers the input ports. It may be easier to remove this panel before attempting to connect or remove cables from the monitor. Rear Panel Power Cable Connect the included power cable to the power connector and then plug the other end into a power outlet.
- Page 9 Earphones Plug in your earphones to receive audio signals from your monitor. If your earphones are connected to the monitor and audio devices are connected to your computer at the same time, the audio devices will not produce sound. Earphones and other audio devices not included.
- Page 10 HDMI For the monitor to receive HDMI signals from the computer, use the HDMI cable to connect the monitor to the computer. HDMI Cable (Included) HDMI Output PC...
-
Page 11: Operation
OPERATION Insert one end of the DisplayPort cable into your PC’s graphics card. An HDMI cable may also be used. An HDMI cable is not included. Connect the other end of the cable to the corresponding connector on your monitor. DP Connector HDMI Connector Connect the power cable to your monitor then connect the other end to your power... - Page 12 Indicator Light Indicator Light Solid blue light indicates power is on and the monitor is operating normally. Flashing blue light indicates no video source no horizontal or vertical signal has been detected. Please ensure your computer is on and all video cables are fully inserted and/or connected.
- Page 13 OSD Menu The On-Screen Display (OSD) Menu may be used to adjust your monitor’s settings and appears on the screen after turning on the monitor and pressing the M button. When using the monitor for the first time, settings will automatically adjust to optimal settings according to your computer’s configuration and parts etc.
- Page 14 List of Functions Main Menu Sub-Menu Options Description DP 1 NONE Switch to DP signal input DP 2 Input Switch to HDMI signal Source HDMI 1 NONE input HDMI 2 Brightness 0~100 Adjust display brightness Contrast 0~100 Adjust display contrast Brightness/ Contrast Turn on DCR function...
- Page 15 Mute On, Off Turn mute mode on/off Volume 0~100 Adjust audio volume Audio Auto Source, Select audio signal input Audio Source HDMI, DP via HDMI or DP Select PIP/PBP modes Off, PIP Mode, Multi-Window according to the number of PBP 2Win input signals etc.
-
Page 16: Display Modes
DISPLAY MODES )to activate the navigation window. Press any one of the buttons(M, , , E, Press button to switch Gameplus modes. According to the needs of your game, choose the corresponding game icon. These game icons are primarily designed to optimise your aim during shooting games, though they can be used for other scenarios. -
Page 17: Specifications
SPECIFICATIONS Screen Size 32" Aspect Ratio 16:9 Backlight E-LED Brightness 350cd/m Panel Resolution 2560x1440 Refresh Rate 165Hz Response Time 5ms (GTG) Viewing Angle Greater than equal to 178°(H) / 178°(V) Contrast Ratio 3000:1 VESA Mounting 75x75 Colours 16.7M FreeSync Signal Input DPx2, HDMI2.0x2 Power AC 100-240V 50/60Hz 1.5A... - Page 18 NOTES...
- Page 20 Need more information? We hope that this user guide has given you the assistance needed for a simple set-up. For the most up-to-date guide for your product, as well as any additional assistance you may require, head online to help.kogan.com...
Need help?
Do you have a question about the KAMN32RQ1LA and is the answer not in the manual?
Questions and answers