Table of Contents
Advertisement
Quick Links
Advertisement
Table of Contents

Related Manuals for Kogan KAMN32FCSA


Summary of Contents for Kogan KAMN32FCSA
- Page 1 32” FULL HD CURVED FREESYNC GAMING MONITOR 1920 X 1080, 75HZ KAMN32FCSA...
-
Page 3: Safety And Warnings
SAFETY & WARNINGS • Read all instructions before using this monitor and retain this user guide for future reference. • This monitor is designed with ventilation holes on the back of the casing. Do not cover or block them. • Do not insert any object or spray any liquid into the vents. - Page 4 COMPONENTS Monitor Stand arm Stand base M4x10mm Screw (x2) VESA screws (x4) HDMI cable Power cable User guide...
- Page 5 OVERVIEW Monitor Controls Power button • Press and hold the power button for 6 seconds to turn your monitor on/off. • If the monitor has gone to sleep, press the power button to wake up the display. • In addition to its power function, the power button also serves as a directional button. When navigating the on-screen menu, you can use the power button to move up, down, left, and right, just like a joystick.
- Page 6 Monitor Ports HDMI port VGA port Audio in (3.5mm) Power input port...
-
Page 7: Stand Assembly
STAND ASSEMBLY WARNING: The panel of the monitor is fragile. Keep the foam underneath the monitor screen while assembling the stand. Carefully remove the monitor, stand Attach the stand base to the stand arm and stand base from the box. arm using the M4 screws provided. -
Page 8: Vesa Mount
VESA MOUNT VESA mounting pattern 75 x 75mm, screw size M4. Note: VESA mount and mounting accessories are not included. Open the box, take out the monitor with protective foam attached and gently place it on a desktop or table. Remove all components and the protective foam from the back of the monitor. - Page 9 CONNECTIVITY Power Cable Connect the included power cable to the monitor power port, then connect the other end to a power outlet. Power cable Earphones (Audio Out) Earphones, headphones or other audio devices can be connected to the 3.5mm audio port (Audio Out) on the monitor.
- Page 10 HDMI In order for the monitor to receive HDMI signals from the computer, use the HDMI cable to connect the monitor to the computer. HDMI cable (included) Connect a computer, DVD/Blu-ray player or console to the monitor using a VGA cable. VGA cable (not included)
-
Page 11: Operation
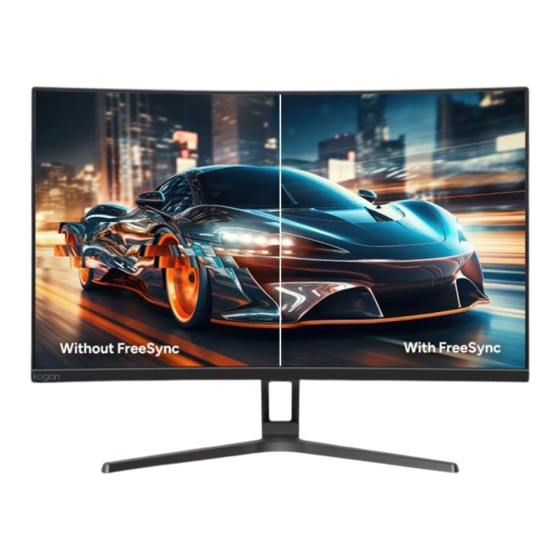
OPERATION Connect the monitor to the input device via HDMI or VGA. Connect the power cable to the monitor, then connect the other end directly to an electrical socket. Use the power button to turn the monitor on. FreeSync • In order to use this feature, ensure your hardware has FreeSync capability and the graphics drivers are fully up to date. - Page 12 On-Screen Display (OSD) Functions Main Menu Sub-Menu Options Description Picture ~0-100 Adjust display brightness Contrast ~0-100 Adjust display contrast Blacklight ~0-100 Adjust display Blacklight Low blue Enable/disable blue light reduction Brightness STANDARD/ TEXT/GAME/ Preset colour modes MOVIE/ FPS/RTS Enable/disable dynamic contrast ratio Horizontal Adjust video display area left to right...
- Page 13 English, 简体中文 ,한국어, Русский, Español, Deutsch, Language Italiano, Français, Set OSD language Portugues, Turkce, Polski, Nederlands OSD H- ~0-100 Adjust OSD horizontal position Position Setting OSD V- ~0-100 Adjust OSD vertical position Position ~0-100 Set OSD overall transparency Transparency OSD Time Set how long the OSD remains open 5~60 after last input...
-
Page 14: Specifications
SPECIFICATIONS Screen size 32” Aspect ratio 16:9 Brightness 300cd/m (typical) Panel Resolution 1920x1080 Refresh rate 75Hz Response time 20ms(G to G) Viewing angle ≥178°(H) / 178°(V) Contrast ratio 3000:1 VESA mounting 75 x 75mm Colours 16.7M Signal input HDMI 1.4 (x1), VGA (x1) Power 100-240V~ 50/60Hz 1.1A Audio... - Page 15 Physical dimensions Dimensions (w. Stand) 712.14x520.14x224.97 (mm) Dimensions (w/o Stand) 712.14x520.14x224.97 (mm) Net weight 6.07kg Gross weight 8.28kg...
- Page 16 Need more information? We hope that this user guide has given you the assistance needed for a simple set-up. For the most up-to-date guide for your product, as well as any additional assistance you may require, head online to help.kogan.com...
Need help?
Do you have a question about the KAMN32FCSA and is the answer not in the manual?
Questions and answers