Table of Contents
Advertisement
Quick Links
Advertisement
Table of Contents

Related Manuals for Digitus DN-82212


Summary of Contents for Digitus DN-82212
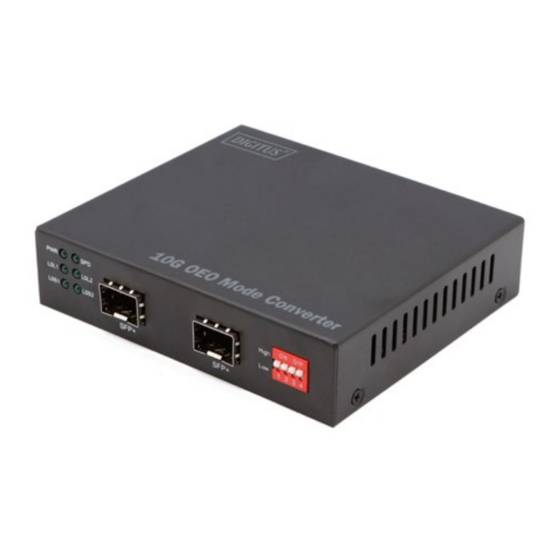
- Page 1 10G OEO Mode Converter Quick Installation Guide DN-82212...
- Page 2 1. Introduction The DN-82212 10G Converter combines two 10 Gbps fiber optic connections, e.g. for switching from single mode to the multi-mode area, which act as fiber optic media converters or fiber optic repeaters for transmission over large distances. OEO for network backbone (SAN, LAN, MAN).
- Page 3 3. Package Contents 1x Repeater/media converter 1x Power adapter 1x User manual 4. Specification 1. Protocols: 8.5G fiber channel, SONET OC-192, SDH STM-64 (9.95 Gbps), 10G WAN (10 Gbps),10G LAN (10.31 Gbps), OTN OTU-2 (G.709) (10.70 Gbps),10G LAN with 255/237 FEC coding (11.09Gbps) 2.
- Page 4 5. Protocol 8.5G Fiber Channel SONET OC-192, SDH STM-64 (9.95Gbps) 10G WAN (10Gbps) 10G LAN (10.31Gbps) OTN OTU-2 (G.709) (10.70Gbps) 10G LAN with 255/237 FEC coding (11.09Gbps) 10G Fiber Channel (11.32Gbps) 10G POS 6.
- Page 5 6.2 Indicator status description Function Status Description Power is ON Power Indicator Power is OFF Flashing 10G Speed Slow Indicator 1.25~8.5G flash The left module optical signal is received normally Loss of signal The left module optical signal reception is abnormal The link is connected properly and the CDR is locked 10G Loss...
- Page 6 6.3 DIP switch instructions DIP-Bit Number Switch Status Function Descriptions 10.3G or 14.025G 1.25~8.5G No Function No Function No Function 7. Installation and connection 7.1 Notes Please pay attention to the stability when placing the device. Dropping will have serious consequences. ...
- Page 7 The network cable can be inserted or removed at any time while the device is working, without interrupting the operation of the device. Before cleaning the equipment, pull out the power plug of the equipment, wipe it with a damp fabric, and do not use liquid to clean it.
- Page 8 7.3 Connection cable 1. Please turn off the power supply of each signal source and device to be displayed before installation. The live installation may cause damage to the transmission equipment 2. Connect the power supply to the device 3. Check whether the installation is correct, whether the equipment is damaged, ensure that all connections are reliable, and power on the system 4.
Need help?
Do you have a question about the DN-82212 and is the answer not in the manual?
Questions and answers