Advertisement
Quick Links
Advertisement

Subscribe to Our Youtube Channel
Summary of Contents for fantastic furniture Rackham
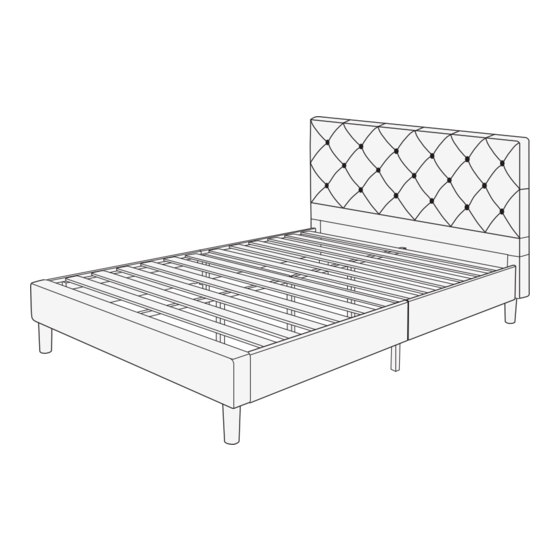
- Page 1 Version 1.0 Rackham Bed Queen Beige fantasticfurniture.com.au...
- Page 2 We’re thrilled you’ve chosen Fantastic Furniture to help create a home you’ll love! Love it? Share it! Fantastic buy! Share how it looks at home on Instagram for your chance to win a $250 Fantastic Furniture Gift Card! @fantasti cfurni ture fantasticfurniture.com.au Page 2...
-
Page 3: Useful Information
Read through the instructions carefully l l a . s l l l a y l l before you begin assembly. until the item is fully assembled. Useful information ifi y l l hardware if used incorrectly. components back to front. avoid scratching or damaging the surface of the product. -
Page 4: What You Need
What you need to assemble the product DO NOT USE (P6) (P9) (P10) (P4) (P1) (P10) (P3) (P2) (P7) (P9) (P5) (P11) (P8) Parts list 2 X Centre Rails (P1) 2 X Support Legs (P2) Centre Support Leg (P3) Cross Rail (P4) 2 X Side Support Legs (P5) Head Board (P6) Foot Board (P7) - Page 5 Step 1 With assistance, lay the head board (P6) down flat on its front. Open the zipper and take out all the parts. Step 2 You will need 2 x Bolts Allen Key (H2) (H1) Attach 1 x support leg (P2) to 1 x centre rail (P1) using 1 x bolt (H1) as shown, tightening with allen key (H2).
- Page 6 Step 3 You will need 2 x Bolts Allen Key (H2) (H1) With assistance, attach the 2 x centre rails (P1) to the centre support leg (P3) using 2 x bolts (H1), tightening with the allen key (H2). Step 4 You will need 2 x Bolts Allen Key (H2)
- Page 7 Step 5 You will need 1 x Bolt Allen Key (H2) (H1) With assistance, attach cross rail (P4) to centre support leg (P3) using 1 x bolt (H1) tightening with allen key ( H2). Step 6 Attach 2 x feet (P8) to the head board (P6) by hand as shown.
- Page 8 Step 7 You will need Allen Key (H2) Loosen the bolts attached to the centre of the head board (P6) so they are protruding about 15mm. With assistance, attach the centre rail (P1) to the head board (P6) as shown. Use the allen key (H2) to tighten the bolts so the centre rail (P1) is secure.
- Page 9 Step 9 You will need Allen Key (H2) Loosen the bolts attached to the centre of the foot board (P7) so they are protruding about 15mm. With assistance, attach the centre rail (P1) to the foot board (P7) as shown. Use the allen key (H2) to tighten the bolts so the centre rail (P1) is secure.
- Page 10 Step 11 You will need Allen Key (H2) Loosen the bolts attached to the left side of foot board (P7) and on 1 x side board B (P10) so they are protruding about 15mm. With assistance, attach side board B (P10) to the foot board (P7) and to the side support leg (P5) as shown.
- Page 11 Step 13 You will need Allen Key (H2) Loosen the bolts attached to the right side of foot board (P7) and on 1 x side board A (P9) so they are protruding about 15mm. With assistance, attach side board A (P9) to the foot board (P7) and to the side support leg (P5) as shown.
-
Page 12: Job Complete
Step 15 Job complete! In the interest of our environment please dispose of all packaging thoughtfully. fantasticfurniture.com.au Page 12...


Need help?
Do you have a question about the Rackham and is the answer not in the manual?
Questions and answers