Advertisement
Quick Links
Advertisement

Subscribe to Our Youtube Channel
Related Manuals for fantastic furniture Roselle


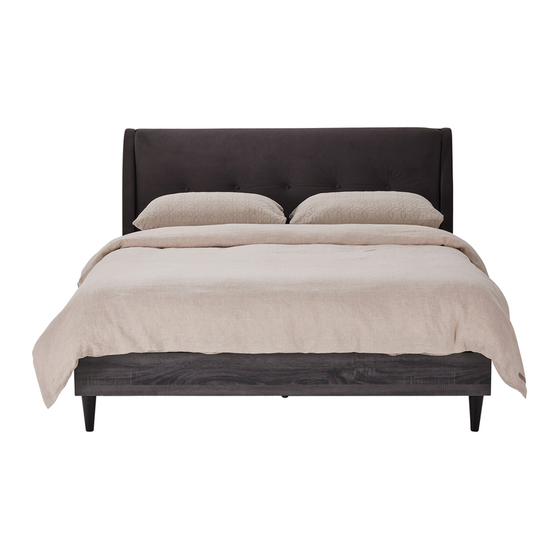
Summary of Contents for fantastic furniture Roselle
- Page 1 Version 1.0 Roselle Bed Queen fantasticfurniture.com.au...
- Page 2 We’re thrilled you’ve chosen Fantastic Furniture to help create a home you’ll love! Love it? Share it! Fantastic buy! Share how it looks at home on Instagram for your chance to win a $250 Fantastic Furniture Gift Card! @fantasticfurniture fantasticfurniture.com.au fantasticfurniture.com.au...
-
Page 4: What You Need
What you need to assemble the product Headboard (P1) Wing (P2-R) Other tools you need: Phillips head screwdriver Wing Side Rail-R (P4) (P2-L) Headboard and Footboard Legs (P6) Timber Cross Rail (P9) Side Rail-L (P5) Centre Rail (P7) Footboard (P3) Headboard and Support Leg (P8) Footboard Legs (P6) - Page 5 Step 1 You will need 1 x Allen Key 4 x Large Bolts 4 x Washers (H5) (H4) (H3) (H5) (H3) (H4) (P1) (P2-R) (P2-L) (P1) Attach 2 x Wings (P2-L; P2-R) to the Headboard (P1) with 4 x Washers (H4) and 4 x Large Bolts (H3), tightening with the Allen Key (H5) as shown.
- Page 6 Step 2 (P1) (P6) (P6) Attach 2 x headboard legs (P6) to the bottom of the headboard (P1) and rotate to secure. Step 3 (P3) (P6) (P6) Attach 2 x footboard legs (P6) to the bottom of the footboard (P3) and rotate to secure. Page 6...
- Page 7 Step 4 You will need 4 x 18mm Big Head Bolts 1 x Allen Key 4 x Small Bolts (H1) (H2) (H5) Headboard Footboard (P1) (P4/P5) (P1) (H5) (H2) (P4) (P5) (P3) (P3) (P4/P5) (H1) (H5) Insert 4 x Small Bolts (H2) into the nuts of the Headboard (P1) and 4 x Big Head Bolts (H1) into the brackets of Footboard (P3), tightening two thirds of the way with the allen Key (H5) as shown.
- Page 8 Step 5 You will need (H5) 2 x Small Bolts 1 x Allen key 2 x Washers (H2) (H4) (H5) (H2) (H4) (P8) (P7) Attach 2 x support legs (P8) to the centre rail (P7) using 2 x small bolts (H2) and 2 x washers (H4) as shown, tightening with the allen key (H5).
- Page 9 Step 7 You will need 16 x Centre (P12) (P12) 32 x End Connectors Connectors (P11) (P10) (P10) (P11) (P10) 32 x Slats (P12) Connect 2 x End Connectors (P10), 2 x slats (P12) and a Centre Connector (P11) together as shown.
- Page 10 Repeat for every bed slat until finished. Step 8 You will need Phillips head Screwdriver 1 x Allen Key 2 x Screws 1 x Felt Pad (not provided) (H5) (H7) (H6) Ensure the screws are fully tightened. (H7) (H5) (P9) (P9) (H6) (P7)
-
Page 11: Job Complete
Step 9 Job complete! In the interest of our environment please dispose of all packaging thoughtfully. fantasticfurniture.com.au Page 11...
Need help?
Do you have a question about the Roselle and is the answer not in the manual?
Questions and answers