Advertisement
Advertisement
Table of Contents

Related Manuals for fantastic furniture REED Series


Summary of Contents for fantastic furniture REED Series
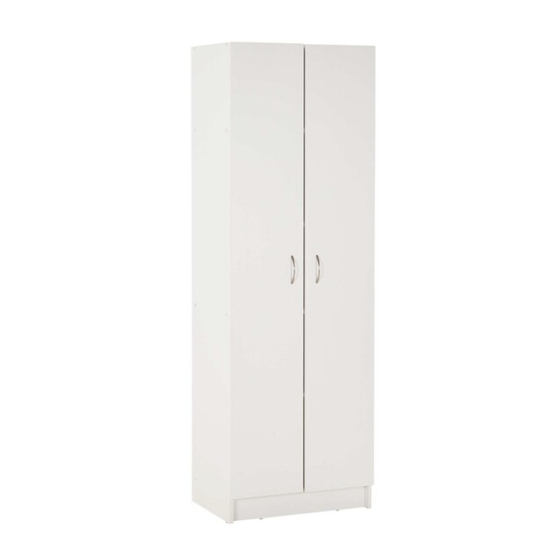
- Page 1 Version 2.0 REED PANTRY 2 DOOR NARROW www.fantasticfurniture.com.au...
- Page 2 Enjoy Your purchase from Australia’s Best Value Furniture Store WARNING: ENSURE THE WALL STRAP IS ATTACHED TO AVOID SERIOUS INJURY. To avoid any serious or fatal injury, this product has been fitted with a wall strap to prevent toppling. We strongly recommend that this product is permanently fixed to the wall or other suitable surface.
-
Page 3: Assembly Checklist
Assembly Checklist Read through the instructions carefully Make sure you have all the required tools. before you begin. Never use power tools unless instructed. Unless instructed, do not fully tighten screw s Identify and lay out all of the components until the item is fully assembled. -
Page 4: What You Need
What You Need Side Panel(R) (P2) to assemble the product Back Panel (P8) Back Panel Top Panel (P8) (P3) Fixed Panel (P5) Door Panel Door Panel (P9) (P9) Other tools you need Phillips head screwdriver; Hammer. Adjustable Panel (P6) Side Panel(L) (P1) Parts list Fixed Panel... - Page 5 Step 1 (H5) You will need (H4) Hinges Screw (P9) x2 (H5) (H4) Metal Handle Screw (H7) (H8) (H8) Phillips head screwdriver (H7) Fix Hinges (H4) to Door Panel (P9) by tightening with Screws (H5) , Line Handle (H7) to pre drilled holes and tighten with Screws(H8). Repeat for Second Door Panel (P9).
- Page 6 Ensure the pre-drilled hole Step 3 on top panel is facing upwards on the outside You will need of the unit Ensure the raw edges of the shelves are facing towards the back of the unit” Phillips head Screw (P3) screwdriver (H1) (P5)
- Page 7 Step 5 You will need Leg Stud Hammer (P1) (H13) (H13) (P2) (P7) (H13) (H13) Fix Leg Studs (H13) to the bottom of Panels (P1, P2 and P7) Step 6 You will need Shelf Support (H6) (H6) (P6) (P2) (P6) Place Shelf Supports (H6) into Side Panels (P1,P2) at preferred height.
- Page 8 Step 7 You will need Phillips head Screw (H5) s crewdriver (H5) (P9) (P2) (P1) (P9) Fix Door Panels (P9x2) to Side Panels ( P1,P2) using Screws (H5). Step 8 PAGE 8 www.fantasticfurniture.com.au...
- Page 9 Step 9 You will need Plastic Cap (H2) (H2) Use Plastic Caps (H2) to cover all screws. Step10 You will need You will need (P3) (H12) (H14) 1X Screw 1X Wall Strap (H12) (H11) (H11) 1X Washer Phillips head (H14) screwdriver Use the Screw (H12) and Washer (H14) to connect the Wall Strap (H11) to the Top...
-
Page 10: Job Complete
Step 11 You will need (H14) (H11) 1X Washer (H14) Screws and wall plugs are not provided please use appropriate fixtures for your wall. We strongly suggest using the wall strap to prevent this unit from toppling. Seek advice from a qualified trades person on how to attach this to your specific wall.
Need help?
Do you have a question about the REED Series and is the answer not in the manual?
Questions and answers