Advertisement
Quick Links
Advertisement

Summary of Contents for gofanco HD14Ext
- Page 1 HDMI 1.4 CAT Extender with Loopout User's Guide P/N: HD14Ext G4-0117A...
- Page 2 Thank you for purchasing from gofanco. Our products aim to meet all your connectivity needs wherever you go. For optimum performance and safety, please read the instructions carefully and keep this User’s Guide for future reference. If you need more information about our products, please visit www.gofanco.com.
- Page 3 • Shut off power and make sure environment is safe before installation • Do not plug the HDMI cables and IR cables in/out when the device is in use to avoid cable damage. Make sure they are plugged into the correct ports •...
- Page 4 Package Contents • HDMI 1.4 CAT Extender with Loopout (1 Transmitter & 1 Receiver) • 1x IR Blaster cable and 1x IR Receiver cable • 1x Power adapter (5VDC/1A) • User's guide Installation Requirements HDMI source device (computer, DVD player, XBOX, PS3, etc) HDMI display device (SDTV/Monitor, HDTV/Monitor, projector, etc.) UTP/STP CAT6/7 cable following...
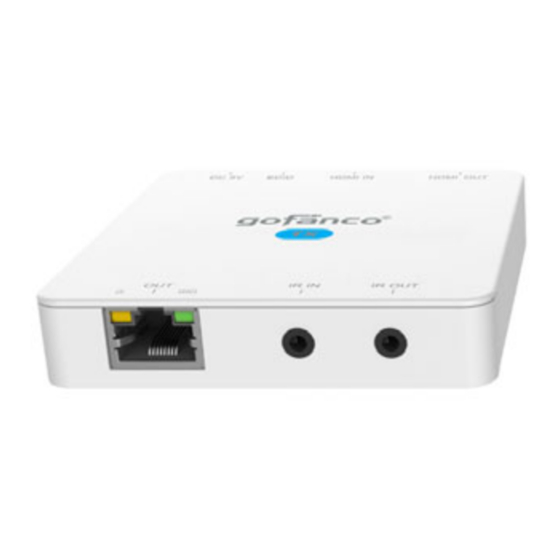
- Page 5 Product Layout Transmitter TX Front and Rear Panel HDMI Out: Connects to an HDMI display for local monitoring of the remote display HDMI In: Connects to your HDMI source EDID Management: • EDID Bypass: Press the button to learn the EDID from the remote display connected to the Receiver's HDMI Out •...
- Page 6 RJ45 Out: Connects to the Receiver's RJ45 In using a CAT cable. It supports PoC to power the Receiver. The orange LED illuminates when there is a valid HDMI signal. The Green LED illuminates when power is applied IR In: Connects to the included IR Receiver cable to control the remote display device from the HDMI source location IR Out: Connects to the included IR Blaster...
- Page 7 Product Layout Continued IR In: Connects to the included IR Receiver cable to control the HDMI source from the remote display device location IR Out: Connects to the included IR Blaster cable to control the remote display device from the HDMI source location CAT Cable Wiring We suggest both RJ45 connectors be wired identically using T568B wiring standard for the...
- Page 8 Hardware Installation Power off all devices including your HDMI source and HDMI display(s). Connect your HDMI source device to the Transmitter's HDMI In connector with an HDMI cable (HDMI cable not included). Optional: Connect your HDMI display to the Transmitter's HDMI Out connector with an HDMI cable (HDMI cable not included) for local monitoring of the HDMI signal.
- Page 9 Plug the included power adapter into the Transmitter's power jack, then plug the power adapter into a reliable power source. One power adapter will power both the Transmitter and Receiver. Power on all connected devices. The HDMI extender is ready for use.
-
Page 10: Connection Diagram
Connection Diagram Source Device IR Control Remote Display Device IR Control... - Page 11 Disclaimer The product name and brand name may be registered trademarks of related manufacturers. TM and ® may be omitted on the user’s guide. The pictures on the user’s guide are just for reference, and there may be some slight differences with the actual products.
- Page 12 Thank you for choosing gofanco www.gofanco.com...


Need help?
Do you have a question about the HD14Ext and is the answer not in the manual?
Questions and answers