Table of Contents
Advertisement
Quick Links
Advertisement
Table of Contents

Related Manuals for Kidzone 060-ROT-02V2


Summary of Contents for Kidzone 060-ROT-02V2
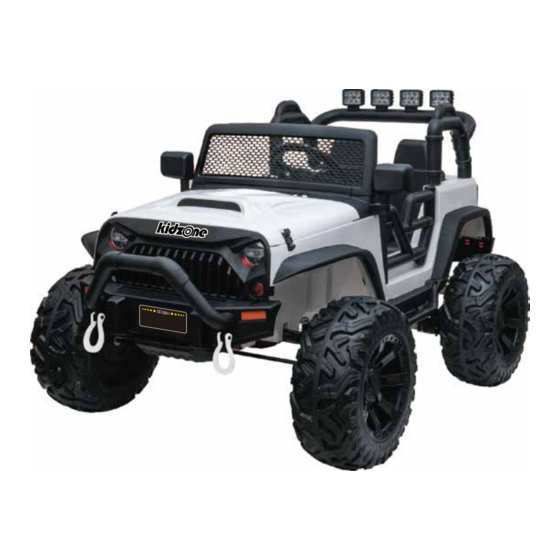
- Page 1 Ride On SUV Personalize License Plate (24V) item number: 060-ROT-02V2 Warning! The foam on the product belongs to the packaging, please remove it when using it ATTENTION This product is packed with the battery disconnected. Connect the battery before use.
-
Page 2: Safety Instruction
Do not use this product in the dark. Only operate this product during daytime or well lit area. • For your chlid's safety, pls make sure fasten the seat belt when using this product. • Personal protective equipment such as helmet is needed when using this product. Item: 060-ROT-02V2 Battery:12V7AH*2(24V) Motor:200W*2,550,20000rpm Age:37-96 Months Max Weight:77.2LB Product Dimension:48.4”... - Page 3 Parts and Feature N (Lamp Frame) L (Lamp Holder) H (Wind Shield) D (Motor) M (Seat) (Rear bumper) I (Rear View Mirror) (Car Body) (Rear mudguard) J (Fender) C (Rear Axle) K (Bracket) E (Front Bumper) B (Front Axle Assembly) G (Rear Wheel) O (Wheel Cover) F (Front Wheel)
-
Page 4: Assembly Instruction
Assembly Instruction Align the rear bumper to the vehicle body. Hold the support the vehicle body with 1 hand, press and click the bumper into place. screw xing position indication Assemble the rear bumper to the car body. Assemble rear mudguard to the side of the car body and secure using M4x10 screws... - Page 5 Assembly Instruction Complete the front axle Assemble. Turn the car body and assemble the front axle assemble and secure using 8 M4x16 screws. Connect the direction lever with a washer and cotter pin. The membrane on the rear shock spring cannot be removed Connect the shock spring to the rear axle arm.
- Page 6 Assembly Instruction Right side Left side Washer Assemble the motor, rear wheel, nut to the rear axle and secure with provided nut. Then cover it with the wheel cover. Make sure the motors are asseble on the correct side. M4×10 screws Install the brackets and fender to the car body and fix it with screws.
- Page 7 Assembly Instruction Assemble the washer, front wheel, follow by another washer to the front axle and secure with provided nut. Then cover it with the wheel cover. Remove the screw and nut from the steering wheel. Slide the steering wheel to the car body and align the screw hole. Then secure it with the previously removed screw and nut.
- Page 8 Assembly Instruction Insert the windshield and rear view mirrors on the vehicle body. Insert the light frame on the car body. Then connect the electric terminals of that to the car and to the light. Insert the light holder to the light frame. Note: after the wire terminal is inserted on the rear tailstock, insert the wire terminal into the hole of the rear tailstock, so that it will be installed the rear tailstock better 【As shown on the picture, press the two buckles of the rear bumper by hand for better installing】...
- Page 9 Assembly Instruction The terminals can be plugged in either ways Connect the motor wiring under the seat. Open the front engine hood and connect the battery wiring. Assemble the seat on the car body and secure with 2 M4 x 16 screws.
- Page 10 Assembly Instruction Insert the front bumper to the front of the car.
-
Page 11: User Instruction
User Instruction Fast MODE Slow LAMP PREV VOL- Back NEXT VOL+ Control the vehicle 1. Light Button 2. Multifunction Button 3. Speed Button Choose between high and low speed. 4. Forward Button Press the button to enable the vehicle to move forward. 5. - Page 12 User Instruction (Remote Control) Pause Forward Right Back Left Swift to Slow and fast Using the remote control The remote control should only be used by adult. Remote conttrol will over ride all control input from the vehicle To pair the remote control to the vehicle, 1.
- Page 13 User Instruction (Charging) The battery should only be charged by an adult. Charging the battery 1. Insert the charging cable to the charging port located below the vehicle seat. 2. Insert the charger plug into a wall outlet. · The vehicle must be OFF when cha rging . •...
-
Page 14: Care And Maintenance
Care and Maintenance • Check the product regularly and make sure there is no missing or loose parts. Re-tighten any loose parts if necessary. • Make sure there is no cracked or broken plastic parts. • When not using store the product away from heat source, cover it with a tarp and away from wet weather. - Page 15 Troubleshooting Problem Possible Reason Solution Check if the battery connectors Poor wire connection Contact Customer service if Vehicle needs a push to go necessary forward “Dead spot” on motor Contact customer service Loud grinding sound or clicking Damaged motor or gear box Contact customer service sound from the motor or gear box Disconnected / Badly connected...
-
Page 16: Warranty Terms
It is the retailer’s responsibility consumer, or other parties not authorized by to contact KIDZONE with a claim. We will not KIDZONE will void this warranty. handle claims from consumers directly; all 3.
Need help?
Do you have a question about the 060-ROT-02V2 and is the answer not in the manual?
Questions and answers