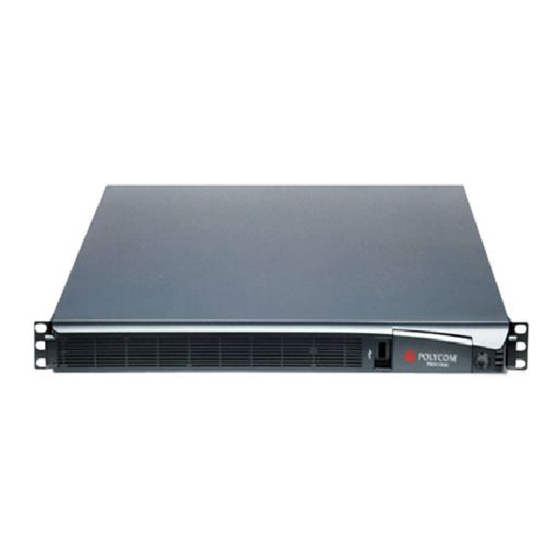
Polycom RMX 1500 Installation & Quick Start Manual
Hide thumbs
Also See for RMX 1500:
- Administrator's manual (1118 pages) ,
- Getting started manual (192 pages) ,
- Hardware manual (34 pages)
Advertisement
Table of Contents
RMX
Installation Quick Start Guide for RMX 1500
Basic Setup
Before installing the RMX 1500 and performing the Basic Setup, please read the
General Safety Precautions described in the Polycom RMX 1500 Hardware Guide.
For a detailed description of Unpacking and Rack mounting instructions, see
the Polycom RMX 1500 Hardware Guide.
If your system package includes the RTM ISDN card, it is recommended to install it
before mounting the RMX on the rack. Refer to the RMX 1500/2000/4000 Getting
Started Guide for Installation instructions.
Front Panel
USB Slot
Keyboard Slot
VGA Slot
Connecting the Cables to the RMX
1
Insert the power cable into the power connector on the rear panel of the RMX 1500.
2
Connect the Media cable to LAN 2 port.
3
Connect the network cables to the MNG (Signaling) port & MNG B (Management
Network) port.
4
Optional. Connect the Shelf Management cable to the Shelf port.
5
Optional. Connect the E1/T1 cables to their PRI (1-4) ports.
Rear Panel
Power
E1/T1 PRI
LAN 2
MNG/MNG B
Cable
Connection(s)
Connection
Connections
The LAN3 & LAN4 ports are not be used and the plastic caps covering those ports
should not be removed.
1
®
1500
Configuring the LAN Properties on the USB Key
1
Insert the USB key provided with your system into the PC workstation.
The Polycom Documentation window opens.
In Windows XP:
a
The Polycom Documentation option is automatically selected. Click OK.
In Windows 7:
a
Select Open Folder to view files using Windows Explorer.
b
Double-click the index.hta file.
The Language Menu opens.
2
Select the documentation language.
3
In the License Agreement window, click the Accept Agreement button.
4
In the Initial Setup Utility, click the RMX LAN Configuration Utility hyperlink.
ON/OFF button
Front
LEDs
Mouse slot
The LanConfigUtility dialog box opens.
5
Modify the parameters in the utility's dialog box using the information supplied by
your network administrator.
6
Click OK.
7
Remove the USB key from the PC.
First-time Power-up and Connection to MCU
1
Insert the USB key containing the modified IP addresses in the USB port on the
RMX's front panel.
2
Power the RMX ON. The ON/OFF button is lit (ON).
System power-up sequence may take approximately 10 minutes.
During this time, the parameters in the lan.cfg file are uploaded from the USB key
to the RMX's memory and applied during the power-up sequence.
Wait for the upload process to complete. Initially all the READY/IN USE/ERROR
LEDs flicker and flash. Upload is completed when all the LEDs turn off and only
the red ERROR LED remains ON.
It remains ON until the Default IP Network Service is configured.
In the browser, enter the IP address of the RMX Control Unit and press Enter.
3
4
Once the RMX Welcome screen is displayed, remove the USB key from the RMX.
5
6
Enter POLYCOM.
Enter POLYCOM.
Click Login.
Click to connect to Polycom
web site and register the
RMX.
Click Product Registration
and follow the on screen
instructions to obtain the
Product Activation Key.
Enter or paste the Product
Activation Key obtained.
Click OK.
.
DOC2664A
Advertisement
Table of Contents

Summary of Contents for Polycom RMX 1500
- Page 1 Once the RMX Welcome screen is displayed, remove the USB key from the RMX. Connecting the Cables to the RMX Insert the power cable into the power connector on the rear panel of the RMX 1500. The LanConfigUtility dialog box opens.
- Page 2 14 Set the RMX time (Setup > RMX Time) and click OK. For more information, see On the RMX 1500, IPv4 is the default protocol for setting the Network Service in the the RMX 1500/2000/4000 Administrator’s Guide, "RMX Time” on page 19-41.


Need help?
Do you have a question about the RMX 1500 and is the answer not in the manual?
Questions and answers