
Related Manuals for Durafly Spitfire MK2A Plug and Fly 1100mm Supermarine


Summary of Contents for Durafly Spitfire MK2A Plug and Fly 1100mm Supermarine
- Page 1 Duraffy 1100mm Su p ermarine INSTRUCTION MANUAL Please read this manual carefully before operating this plane.
-
Page 2: Safety Precautions
A WARNING: Read this instruction manual fully so as to become completely familiar with the features of this product before operating. Failure to operate this product correctly could result in damage to the product, personal property and cause serious injury. This is a sophisticated hobby product and is NOT a toy. - Page 3 CONTENTS...
-
Page 4: Specification
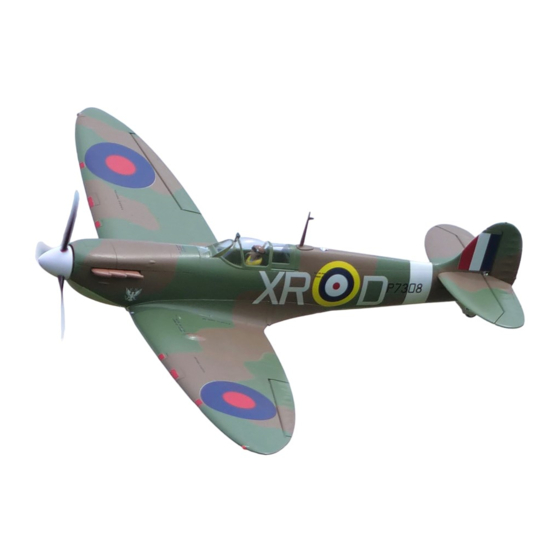
Very simply, you will not find a better rendition of a Spitfire Mk2a at this scale from anyone other than Durafly. It will appeal to both British and American model airplane pilots for its tribute of a Spitfire flown by one of the extrordinary Eagle Squadrons that were formed using eager, young Americans, who wanted to help make a difference, particularly during the "Battle of Britain". -
Page 5: Required To Complete Model
8. Decal Sheet. REQUIRED TO COMPLETE MODEL: In its ‘Plug n Fly’ format the Spitfire Mk will still require some additional electronic components to get it ‘flight ready’. Durafly recommends the products below for optimum performance and great value. Available at hobbyking.com... - Page 6 Dura y 1100mm Supermarine SPITFIRE MK2A NOTE: ecommended BEFORE you begin assembly of the model. Please refer to ‘Decal application’ on pages 1 - of this manual for illustrated guide on how to apply, and the separate guide for their positions. ASSEMBLY: 1.
- Page 7 3. Using a pair of pliers (ball link pliers preferably) connect the elevator push rod to the elevator control horn (A). To ensure both the elevator and rudder are neutral (with the servos centered) loosen the grub screw of the piano wire fastener until both surfaces and slide the push rods until both are neutral if required (B).
- Page 8 Dura y 1100mm Supermarine SPITFIRE MK2A 5. Offer the wing up to the fuselage and ensure the servo wires pass through into the battery area of the fuselage (A). Check again that no servo wires are caught between the wing and fuselage before securing in place using the four 3x10mm bolts supplied (B) 3x10mm 6.
- Page 9 the fish tail exhaust stacks onto the fuselage. 9. Install you choice of 6 channel receiver (Orange X620 shown) in approximately the area shown below. Ensure all wires are held away from the servo horns. Also shown is the exact location of a 40C 2200mah 4S lipo (as far forwards as possible) to achieve the correct CG as detailed in the following pages.
-
Page 10: Setting Up Your Model
Dura y 1100mm Supermarine SPITFIRE MK2A SETTING UP YOUR MODEL: 1. With your receiver installed and all servos plugged into their corresponding channels, connect the flight battery to the ESC to power up the electronics. With the model now armed, ensure all servos are centered and all control surfaces are level. - Page 11 3. The Spitfire Mk handles very well in flight and that’s not down to good design alone, but a good pre-flight set-up too. Before you fly your Spitfire please follow the recommended settings below for optimum handling and performance. Control throws: 15-35mm 10-20mm 10-20mm...
- Page 12 Measure with the gear retracted and the model inverted. With assembly and set-up now complete, your Durafly Mk Spitfire should now be ready for flight. However we recommend you read and follow the advice given in the following pages of this...
-
Page 13: Model Flying Precautions
MODEL FLYING PRECAUTIONS: Select your flight area carefully. Always choose an open space that is unobstructed from trees and buildings and away from crowed areas. Avoid flying in area’s with roads, electric/telephone poles/wires and water near by or within close proximity to full size air traffic. Do not fly this model in poor weather. - Page 14 Dura y 1100mm Supermarine SPITFIRE MK2A FLYING YOUR SPITFIRE MK2a:...
- Page 15 Spitfire from flying tail heavy. Ensure you follow exactly the guidelines for CG, and set-up, shown on pages 7, 8, and 9 before flying your Spitfire. Thank you again for purchasing the Durafly Spitfire Mk2a. We hope you’ll have many happy days of flying and look forward to bringing you more Durafly models in the future.
-
Page 16: Spare Parts
Dura y 1100mm Supermarine Spitfire Mk SPITFIRE MK2A Durafly 1100mm Supermarine SPARE PARTS:... -
Page 17: Decal Application Guidelines
DECAL APPLICATION GUIDELINES: Applying the supplied decals will take you longer than assembling the model. This is because great care must be taken when doing so. Please follow carefully the guidelines below to achieve the best possible finish on your Spitfire Mk Note: * The decals supplied are vinyl type decals and are supported on a clear adhesives fronting film. -
Page 18: Decal Tips
Dura y 1100mm Supermarine SPITFIRE MK2A Finally the use of a covering iron is STRONGLY recommended to seal the decals to the painted foam surface and prevent them from lifting at the edges over time. Set the iron to a low temperature and gently run the iron lightly over the surface of the decal as illustrated on the following page. -
Page 19: Troubleshooting
TROUBLE SHOOTING: Problem Cause Solution 1. Charge the batteries. Battery is not fully charged. 2. Install a full charged battery. Transmitter battery low. 3. Check for connection Motor not connected. between the ESC and motor. 4. Replace motor. Motor does The motor is damaged. - Page 20 Dura y 1100mm Supermarine SPITFIRE MK2A If you wish to contact us directly please email: durafly@hobbyking.com...
- Page 21 APEX CE SPECIALISTS LIMITED UK REP M1 4HT, UK APEX CE SPECIALISTS LIMITED...
Need help?
Do you have a question about the Spitfire MK2A Plug and Fly 1100mm Supermarine and is the answer not in the manual?
Questions and answers