Table of Contents
Advertisement
Advertisement
Table of Contents

Related Manuals for Durafly Ugly Stick


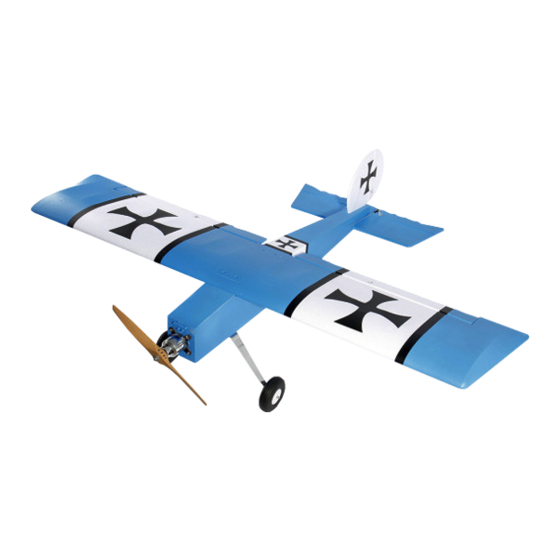
Summary of Contents for Durafly Ugly Stick
- Page 2 - This is a radio controlled flying model and as such must always be flown with caution and care. This is not a toy. - The Ugly Stick brief was to design a model for intermediate to advanced pilots. - Alway exercise great caution when using the recommended battery to power this product.
-
Page 3: Table Of Contents
Contents Introduction Specifications Contents of box Required to complete Assembly Setting up your model Model flying precautions Pre-flight checks Flying the Ugly Stik UglyStik tips Spare parts listing Trouble shooting Contact information... -
Page 4: Introduction
Version 2 INTRODUCTION: Thank you for purchasing the Durafly Ugly Sti k . The Ugly Sti k design has been a popular nitro sports model for almost half a century and this iconic airframe is known throughout the RC world for its exceptional flight characteristics and charming yet simple lines. -
Page 5: Contents Of Box
8. Main Wing REQUIRED TO COMPLETE MODEL: In its ‘Plug n Fly’ format the Ugly Stick V2 requires some additional electronic components to get it flight ready. Durafly recommends the products below for optimum performance and great value. Available at hobbyking.com... -
Page 6: Assembly
Version 2 ASSEMBLY: 1. Locate the bag marked ‘Aileron’ and install aileron control horns and rods for each side of the wing as shown. Ensure the servo horn is at 90 degrees to the wing when installing the control rod. M1.7 x 10mm 2. - Page 7 3. Following the illustration below, screw the remaining control horns to both the elevator and rudder control surfaces until firmly installed. M1.7 x 10mm M1.7 x 10mm 4. Turn the fuselage over and with the supplied screws, secure the horizontal and vertical tail plane to the rear of the fuselage as shown.
- Page 8 Version 2 5. With the supplied M2.6x10mm screws, attach the landing gear to the plastic plate on the underside of the fuselage. Screw down firmly to avoid any play at the mounting point. M2.6 x 10mm 6. Install the tail wheel up through the elevator and tighten into the metal collet with the supplied hex tool as shown.
- Page 9 7. Now mount the wing to the fuselage using the four 3x30mm provided. Make sure no servo wires are caught between the wing and the fuselage when the two are tightened together. M3 x 30mm 8. The final stage of assembly is to mount the propeller. the propeller onto the motor shaft and firmly tighten into place (see note below before doing this).
-
Page 10: Setting Up Your Model
Version 2 Assembly of your Durafly Ugly Stick V2 is now complete. Before you move onto the final set-up of the model, we suggest you perform a final check on all screws, bolts and components to ensure all are secure and firmly in place. - Page 11 2. Check all control surfaces are moving in the correct direction with the applicable stick input (see below) 3. The Durafly Ugly Stick V2 handles very well in flight but requires setting up beforehand. Please follow the recommended settings below for good all round flight...
- Page 12 (on the aileron servo wire). We recommend the heaviest 3s pack you can fit in the Ugly Stick, you will need at least a 2600mah 3S, a Graphene Panther 3000mah is ideal, even then you may need to add a small amount of weight to the nose to get the model to balance.
-
Page 13: Model Flying Precautions
MODEL FLYING PRECAUTIONS. - Select your flying area carefully and always choose an open space that is unobstructed from trees and buildings and is away from crowded areas. Avoid flying in areas where there are roads, electric or telephone poles and wires, water or within close proximity of full size air traffic. - Do not fly the model in poor weather such as high winds, low visibility, inclement temperatures or in rain or storms. -
Page 14: Pre-Flight Checks
Version 2 PRE-FLIGHT CHECKS: Always range check your model before any flight (especially when flying a new model for the first time). Follow your radio manufacturers guidelines for performing this check. 2. Check that all screw/bolts and mounting points are firmly secured, including control horns and clevises. -
Page 15: Flying The Ugly Stik
FLYING THE UGLY STICK V2: The Durafly Ugly Stick V2 not only looks as good as the original, but flies just as well, capturing perfectly those excellent flight qualities that established the Ugly Stick as such a popular RC sports flyer all those years ago. -
Page 16: Uglystik Tips
Version 2 SPARE PARTS LISTING: Main wing Fuselage 9306000506-0 9306000503-0 Landing gear Horizontal stabilizer & 9306000505-0 9306000504-0... -
Page 17: Trouble Shooting
TROUBLE SHOOTING: Problem Cause Solution 1.Charge the batteries. 1. Battery is not fully charged. 2. Install a full charged battery. 2. Transmitter battery low. 3. Check for connection 3. Motors not connected. between the ESC and motor. Motor does 4. Replace motor. 4.
Need help?
Do you have a question about the Ugly Stick and is the answer not in the manual?
Questions and answers