Table of Contents
Advertisement
Available languages
Available languages
Quick Links
H-9385
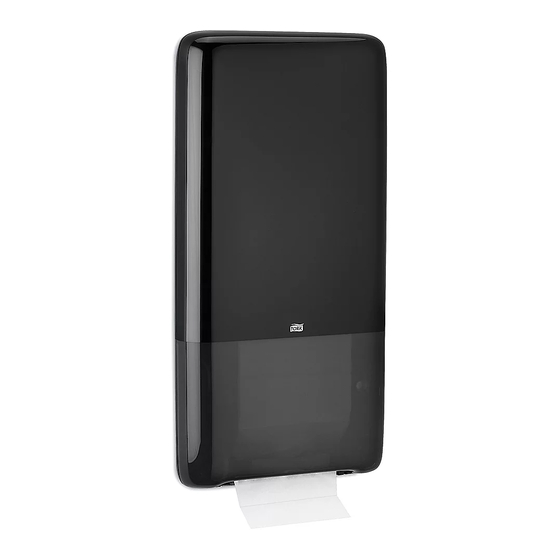
TORK
PEAKSERVE
®
TOWEL DISPENSER
TOOLS NEEDED
Electric
6 mm Drill Bit
Drill
Dispenser x 1
USING THE KEY AND OPTIONAL PUSH BUTTON MODE
USING THE KEY
1. To open dispenser while keeping it locked, insert key
at position A. (See Figure 1)
2. Turn and hold key clockwise to open dispenser.
(See Figure 2)
NOTE: Release key back to position A after
closing to lock dispenser.
PAGE 1 OF 9
1-800-295-5510
uline.com
®
Phillips
Screwdriver
Measure
Dispenser Key x 1
Figure 1
Figure 2
Tape
PARTS
Wall Anchor x 4
USING PUSH BUTTON MODE
1.
Insert key at position A. (See Figure 1)
2. Turn counterclockwise to position B. (See Figure 3)
3. Remove key and push in lock to open dispenser.
(See Figure 4)
Screw x 4
Mounting Bracket x 1
Figure 3
Figure 4
0221 IH-9835
Advertisement
Table of Contents

Related Manuals for U-Line TORK PEAKSERVE H-9385


Summary of Contents for U-Line TORK PEAKSERVE H-9385
- Page 1 H-9385 1-800-295-5510 uline.com TORK PEAKSERVE ® ® TOWEL DISPENSER TOOLS NEEDED Electric 6 mm Drill Bit Phillips Tape Drill Screwdriver Measure PARTS Dispenser x 1 Dispenser Key x 1 Wall Anchor x 4 Screw x 4 Mounting Bracket x 1 USING THE KEY AND OPTIONAL PUSH BUTTON MODE USING THE KEY USING PUSH BUTTON MODE...
-
Page 2: Mounting Instructions
MOUNTING INSTRUCTIONS 3. Slide dispenser down onto mounting bracket, NOTE: Ensure proper mounting hardware is used for appropriate wall composition. ensuring it locks into place. (See Figure 7) Enclosed hardware may not be compatible with user's wall surface. Figure 7 Measure 70"... -
Page 3: Maintenance
LOADING INSTRUCTIONS CONTINUED 3. Insert pack through slot at bottom of dispenser. 4. Take leading towel from top of dispenser and pull Insert up to five packs at once or until dispenser is down in front of towel slot. Begin feeding towel full, pushing packs up as each is inserted. - Page 4 H-9385 800-295-5510 uline.mx TORK PEAKSERVE ® ® DESPACHADOR DE TOALLAS HERRAMIENTAS NECESARIAS Taladro Broca de 6 mm Desarmador de Cinta de Eléctrico Cruz Medir PARTES 1 Despachador 1 Llave del Despachador 4 Taquetes 4 Tornillos 1 Soporte de Instalación USO DE LA LLAVE Y EL MODO DE BOTÓN OPCIONAL USO DE LA LLAVE USO DEL MODO DE BOTÓN Para abrir el despachador y mantenerlo con seguro,...
-
Page 5: Instrucciones De Instalación
INSTRUCCIONES DE INSTALACIÓN NOTA: Asegúrese de utilizar la tornillería de 3. Deslice el despachador hacia abajo sobre el soporte instalación adecuada para el tipo de pared. de instalación, asegurándose de que quede fijo en su Es posible que la tornillería incluida no sea lugar. -
Page 6: Mantenimiento
CONTINUACIÓN DE LAS INSTRUCCIONES DE CARGA 3. Inserte el paquete en la ranura de la parte inferior 4. Tome la toalla principal de la parte superior del del despachador. Introduzca hasta cinco paquetes despachador y jale al frente de la ranura para toallas. o hasta que el despachador esté... - Page 7 H-9385 1-800-295-5510 uline.ca TORK PEAKSERVE DISTRIBUTEUR DE SERVIETTES OUTILS REQUIS Perceuse Mèche de Tournevis Ruban à électrique perceuse de 6 mm cruciforme mesurer PIÈCES Distributeur x 1 Clé du distributeur x 1 Ancrage mural x 4 Vis x 4 Support de fixation x 1 UTILISATION DE LA CLÉ...
- Page 8 INSTRUCTIONS DE FIXATION REMARQUE : Assurez-vous le matériel de fixation 3. Faites glisser le distributeur vers le bas sur le support utilisé est adapté à la composition du mur. Le de fixation, en vous assurant qu'il se verrouille en place. (Voir Figure 7) matériel d'installation fourni peut ne pas être adapté...
-
Page 9: Entretien
INSTRUCTIONS DE CHARGEMENT SUITE 3. Insérez le paquet dans la fente située au bas du 4. Prenez la première serviette en haut du distributeur distributeur. Insérez jusqu'à cinq paquets à la fois ou et tirez-la vers le bas devant la fente à serviette. jusqu'à...
Need help?
Do you have a question about the TORK PEAKSERVE H-9385 and is the answer not in the manual?
Questions and answers