Sign In
Upload
Download
Table of Contents
Contents
Add to my manuals
Delete from my manuals
Share
URL of this page:
HTML Link:
Bookmark this page
Add
Manual will be automatically added to "My Manuals"
Print this page
×
Bookmark added
×
Added to my manuals
Manuals
Brands
CAME BPT Manuals
Intercom System
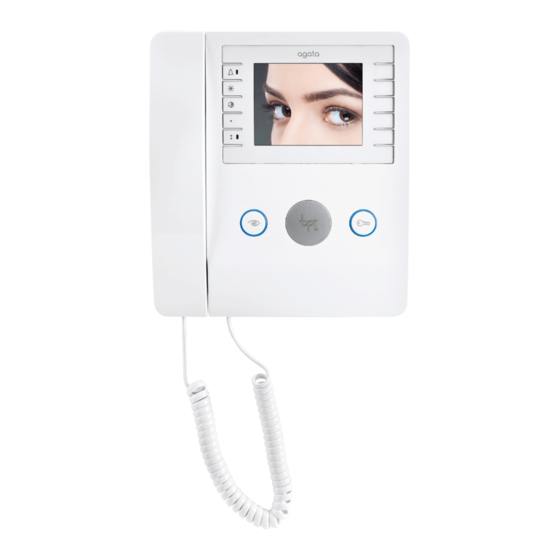
AGATAKIT/X1-LVC
Installation instructions manual
CAME BPT AGATAKIT/X1-LVC Installation Instructions Manual
Hide thumbs
1
2
3
4
5
6
7
8
9
10
11
12
Table Of Contents
13
page
of
13
Go
/
13
Contents
Table of Contents
Bookmarks
Table of Contents
Wall Mounting
Technical Features
Installation
Recessed Installation
Terminal Function
LED Functions and Adjustments
Advertisement
Quick Links
1
Installation
Download this manual
FA01395-EN
AGATAKIT/X1-LVC
EN English
INSTALLATION INSTRUCTIONS
Table of
Contents
Previous
Page
Next
Page
1
2
3
4
5
Advertisement
Table of Contents
Need help?
Do you have a question about the AGATAKIT/X1-LVC and is the answer not in the manual?
Ask a question
Questions and answers
Related Manuals for CAME BPT AGATAKIT/X1-LVC
Intercom System CAME BPT LVC/01 Programming Manual
Audio and video entry panel (64 pages)
Intercom System CAME BPT AGATA AUDIO User Manual
Door entry system indoor receiver (16 pages)
Intercom System CAME BPT AGATA VIDEO User Manual
Video entry system internal receiver (16 pages)
Intercom System CAME BPT AGT V200 Installation Manual
Agt kit v200 + targha (17 pages)
Intercom System CAME BPT Agata C200 UK Installation Manual
(16 pages)
Intercom System CAME BPT AGATA V User Manual
Video entry system internal receiver (32 pages)
Intercom System CAME BPT FUTURA X1 User Manual
Video entry system internal receiver (17 pages)
Intercom System CAME BPT PEC IP Installation And Setting Manual
Ip indoor receiver intercom (48 pages)
Intercom System CAME BPT XTS 5IP WH Installation And Setting Manual
(17 pages)
Intercom System CAME BPT XTS 7 WIFI Series Installation And Configuration Manual
Wifi touch-screen speaker video-intercom (21 pages)
Intercom System CAME BPT DDVC/08 VR User Manual
Audio and video entry panel (48 pages)
Intercom System CAME BPT MTM AUDIO ENTRY KIT Installation Instructions Manual
(32 pages)
Intercom System CAME BPT MTMA/IP Programming Manual
(17 pages)
Intercom System CAME BPT PEC User Manual
Indoor receiver (33 pages)
Intercom System CAME BPT PEC IP User Manual
Ip intercom indoor receiver (33 pages)
Intercom System CAME BPT THANGRAM Programming Manual
Audio and video entry panel (64 pages)
This manual is also suitable for:
Agata vc-v
Vas-101
Lvc/01
Table of Contents
Print
Rename the bookmark
Delete bookmark?
Delete from my manuals?
Login
Sign In
OR
Sign in with Facebook
Sign in with Google
Upload manual
Upload from disk
Upload from URL


Need help?
Do you have a question about the AGATAKIT/X1-LVC and is the answer not in the manual?
Questions and answers