Table of Contents
Advertisement
Quick Links
FOLDING POCKET DOOR SYSTEM ALT-F
Installation Manual
Thank you for using our product. Before installation, please read this manual thoroughly to ensure correct
installation. Please keep this manual at hand for future reference.
ABOUT THE PRODUCT
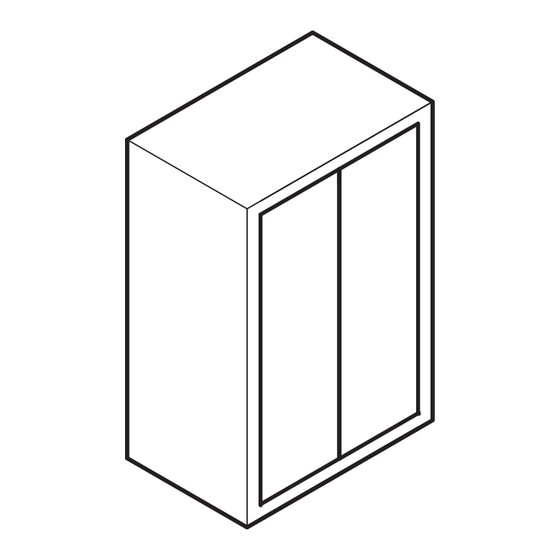
Pocket door hardware for folding
●
door systems.
The folding door can be stored inside
●
shallow cabinets.
SPECIFICATIONS
Max. door width
Max. door height
Door thickness
Max. door weight
FOR YOUR SAFETY AND CORRECT INSTALLATION
Meaning of symbols
Warning
Caution
Warning :
If not followed, death or serious injury may result.
Provide a cabinet that can withstand the weight and impact of opening and closing the door. Be sure to use the specified
screws and tighten them securely. If the mounting strength is insufficient, the door may fall and cause injury.
Do not use this product for any other purpose, or with doors that are outside the specifications of this manual.
Do not disassemble or modify any parts other than those described in this document.
Caution :
If not followed, injury or damage may result.
This product should be installed by a qualified person in accordance with this manual. If it is not installed correctly, the door
may fall and cause injury.
Follow the specified dimensions, specifications, and alignment of the cabinet. Warping, tilting or twisting of the cabinet or
door may cause failure.
If cutting any parts, make sure to remove any burrs before installation. Also check the upper track for any left-over burrs or
scraps and remove these.
This product is a part for furniture. After installation, please check the function and safety of the final product. Please inform
the end user how to use the product safely.
Make sure to check the screws for slack at regular intervals (one month from first usage, half a year, and then one time every
year is recommended).
2 Rail System
450 mm / door
1830 mm
23 - 30 mm
10 kg / door
Prohibited
Required
3 Rail System
1831 - 2400 mm
1
Advertisement
Table of Contents

Related Manuals for SUGATSUNE LAMP ALT-F


Summary of Contents for SUGATSUNE LAMP ALT-F
- Page 1 FOLDING POCKET DOOR SYSTEM ALT-F Installation Manual Thank you for using our product. Before installation, please read this manual thoroughly to ensure correct installation. Please keep this manual at hand for future reference. ABOUT THE PRODUCT Pocket door hardware for folding ●...
- Page 2 PARTS SET (Single folding door) 【1】2 Rail System: Max. door height: 1830 mm (Max. cabinet inside height: 1840 mm) Parts set Item Name: ALT-F18LV2, ALT-F18RV2, ALT-F20LV2, ALT-F20RV2 2 Rails Type Screws supplied ⑱Pan head screw (self-tapping) 4x20: 8 pcs (⑥) ⑲Truss head tapping screw 4x20: 18 pcs (①) Pats Name ①Rail ⑥Stationary block ②Rack...
-
Page 3: Installation Drawings
INSTALLATION DRAWINGS This shows the right-hand opening type. Installation for the left-hand opening type should be reversed. Item Name Opening direction Rail Length (A) Door Storing Cabinet Depth (B) ALT-F18LV2 Left 345.9 + Door 460.4 466.7 + Door thickness thickness ALT-F18RV2 Right ALT-F20LV2... -
Page 4: Cabinet Dimension
CABINET DIMENSION Use hardwood for core material where parts are installed. ⑬Upper Rail Middle Board Dimension A-A ※ ⑬Upper Rail : Position (center) of φ30 hole ※ When installing middle board φ30 Position middle board to avoid interference with handle and angle stopper. - Page 5 DOOR DIMENSION Use hardwood for core material where parts are installed. 【1】2 Rails Type ●Moving door ●Hanging door Hanging door Front Bottom guide rail length = Door width - 30 Moving door Front Rear Rear 40 depth 13 φ Drill 2 holes (for hexagon flange head tapping screw 4x16) Front Rear...
-
Page 6: Installation Procedures
INSTALLATION PROCEDURES Installing Parts on the Top Board Install parts in order of to ❻. ❶ ⑦Upper rail joint (Fix with ⑳screw 4x20.) ⑨Angle stopper ※ ( screw 4.5x20.) ⑬Upper rail ※ See p. 4 for the length of Upper rail⑬ ※... -
Page 7: Installing Parts
Installing Parts (1) Fix hinge set ⑯ into the hanging door. (2) Fix bottom guide rail ⑭ into the grooves in the upper blocks in hanging door. (3) Fix center hinge ⑮. 2 rail type: Fix as shown in the below drawing. 3 rail type: Fix 2 center hinges within 150 mm of the end. - Page 8 Assembling Interlock to Rail Assemble interlock⑪ to rail① with screw Interlock <As assembled> Rail screw M6x8 Installing Rails and Racks ❶Positions for rails 【1】2 Rails Type 【2】3 Rails Model Top Board Top Board Dimensions for 3 rails model Door height 1831 - 1903 1904 - 2400 Cabinet inside height: H...
- Page 9 Assembling Shaft and Gear 【1】If the shaft has been cut, remove burrs from the end of the shaft so that other parts can be easily Bush installed. Shaft 【2】Temporarily assemble the gears, shaft, and bushes Gear and bottom are correct. ※ If the gears are facing in the wrong direction, they will not mesh with the rack.
- Page 10 Installing End Guide Insert the end guide ⑧ into upper rail ⑬ after height adjustment. Upper rail Top Board Top Board Door Door thickness 23 - 30 Height adjustment 23 Screw 4x16 8 End guide End guide Spring washer 4 mm Screw 4x16 CAUTION Make sure to tighten screws...
- Page 11 Assembling Hinge Cover Bracket Assemble hinge cover bracket ⑫ to rail ①. (As for 3 slides model, assemble it to middle rail, too.) Rail Hinge cover bracket Screw M6x8 <Hinge cover bracket as assembled>...
- Page 12 SUGATSUNE AMERICA, INC Tokyo, JAPAN Shanghai, CHINA California, USA Phone: +81 (0)3 3866 2260 E-mail:export@sugatsune.co.jp Phone: +86 21 3632 1858 E-mail:lamp@sugatsune.com.cn Phone: +1 310 329 6373 E-mail:sales@sugatsune.com SUGATSUNE KOGYO (UK) LTD Guangzhou, CHINA Illinois, USA Reading, UK Phone: +86 20 6639 3552 E-mail:lamp@sugatsune.com.cn...
Need help?
Do you have a question about the LAMP ALT-F and is the answer not in the manual?
Questions and answers