Table of Contents
Advertisement
Quick Links
Advertisement
Table of Contents

Related Manuals for Gymstick FTR40


Summary of Contents for Gymstick FTR40
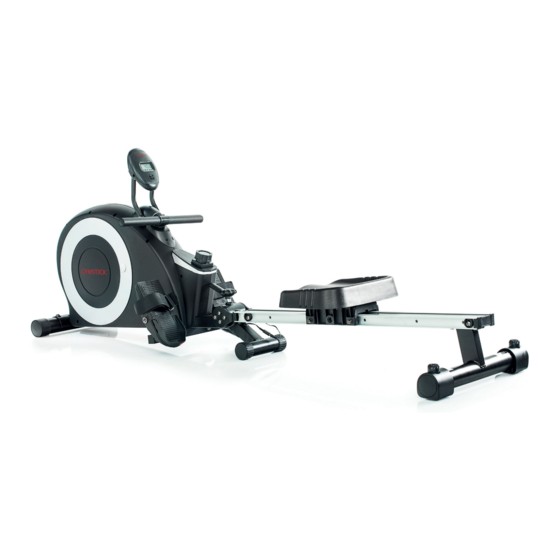
- Page 1 FTR40 ROWING MACHINE USER MANUAL IMPORTANT: Read all instructions carefully before using this product. Retain this owner’s manual for future reference. The specifications of this product may vary from this photo, subject to change without notice.
-
Page 2: Table Of Contents
BEFORE YOU BEGIN Thank you for choosing the Gymstick FTR40 rowing machine. We take great pride in producing this quality product and hope it will provide many hours of effective exercise to make you feel better, look better and enjoy life to its fullest. -
Page 3: Safety Instructions
15. The device is intended for home (indoor) use. 16. Maximum user weight 120kg. WARNING! BEFORE BEGINNING THIS OR ANY EXERCISE PROGRAM, CONSULT YOUR PHYSICIAN FIRST. THIS IS ESPECIALLY IMPORTANT FOR INDIVIDUALS OVER THE AGE OF 35 OR PERSONS WITH PRE-EXISTING HEALTH PROBLEMS. FTR40 ROWING MACHINE... -
Page 4: Hardware Packing List
Nylon Lock Nut x 2 (M10) Plastic Cover x 4 Right End Cap of Aluminum Track x 2 (ø5x15) Screw x 2 Tool list: (L6) Allen Key x 1 (L13~17) Turing Axle Key x 1 Allen Key x 2 FTR40 ROWING MACHINE... -
Page 5: Assembly Diagram
ASSEMBLY DIAGRAM FTR40 ROWING MACHINE... -
Page 6: Parts List For Assembly
Before assembling, make sure that you will have enough space around the item; Use the present tooling for assembling; before assembling please check whether all needed parts are available. It is strongly recommended this machine to be assembled by two or more people to avoid possible injury. FTR40 ROWING MACHINE... -
Page 7: Assembly Instruction
Attach the Front Stabilizer (2) to the Main Frame (1), fasten it with 2 sets of Allen Bolt (3) & Arc Washer (4). STEP 2. Connect the Rail (5) & Rear Stabilizer (16), fasten it with 4 sets of Allen Bolt (6), Spring Washer (7) & Flat Washer (8). FTR40 ROWING MACHINE... - Page 8 Aluminum Track into the Rail (5). Insert the Rail Set (5) into the Main Frame (1), fasten it with one of Allen Bolt (6), Spring Washer (7) & Flat Washer (8), then tighten the Allen Bolt (10) to the Rail (5). FTR40 ROWING MACHINE...
- Page 9 Connect the Middle Computer Wire (11) & Lower Computer Wire (14). STEP 6. Place the Pedal (21) into the Pedal Support (20), insert the Axle (24) then fasten it with 4 sets of Flat Washer (22) & Allen Bolt (23). FTR40 ROWING MACHINE...
- Page 10 (25), Plastic Cover Nut (26) & Demo Nut (27). STEP 8. Place the Computer (30) with the computer Support Plate (31) with 2 pcs of Screw (32). Then connect the Upper Computer Wire (34) to the Computer (30). FTR40 ROWING MACHINE...
-
Page 11: Exploded Drawing
EXPLODED DRAWING FTR40 ROWING MACHINE... -
Page 12: Complete Parts List
FTR 40-33 Tension Knob FTR 40-70 Seat Rail End Cap FTR 40-34 Upper Computer Wire FTR 40-71 Handlebar stopper FTR 40-35 Action Axle FTR 40-72 Screw (M5x50) FTR 40-36 Bearing (6000Z) FTR 40-73 Magnet set FTR 40-37 Spring Washer (ø6) FTR40 ROWING MACHINE... -
Page 13: Console Operation Instructions
The monitor will be auto powered on when starting to exercise push button signal in. • The monitor will automatically start calculating when you start to exercise and will stop calculating when you stop exercising for 4 seconds. FTR40 ROWING MACHINE... -
Page 14: Correct Rowing Method
CATCH The rower bends knees, reaches out arms, and his body leans towards the flywheel. All strength is focused on legs and back. Start rowing. Note: arms shall be straight, and shoulders shall be relaxed. FTR40 ROWING MACHINE... -
Page 15: Warm Up And Cool Down Routine
Open your arms to the side and lift them until they are over your head. Reach your right arm as far toward the ceiling as you can for one count. Repeat this action with your left arm. FTR40 ROWING MACHINE... - Page 16 Keep you r right leg straight and the left foot on the floor; then bend the left leg and lean forward by moving your hips toward the wall. Hold, then repeat on the other side for 15 counts. FTR40 ROWING MACHINE...
-
Page 17: Maintenance & Implied Warranty
Devices marked with this symbol must be disposed of separately from your household waste, as they contain valuab- le materials which can be recycled. Proper disposal protects the environment and human health. Your local authority or retailer can provide information on the matter. FTR40 ROWING MACHINE...
Need help?
Do you have a question about the FTR40 and is the answer not in the manual?
Questions and answers