Advertisement
Advertisement
Table of Contents

Subscribe to Our Youtube Channel
Related Manuals for Gymstick Red Power Weight Bench 200


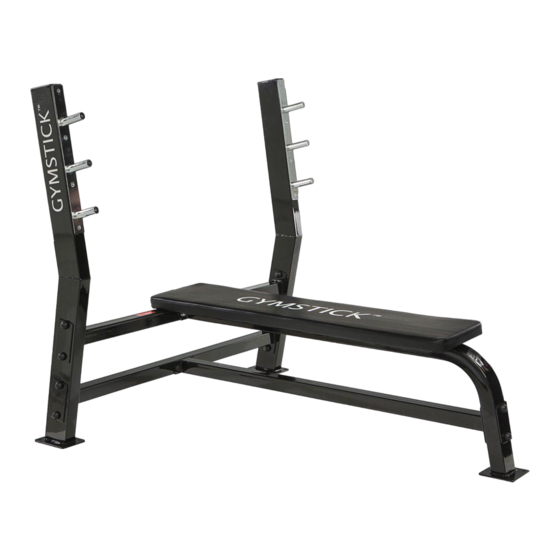
Summary of Contents for Gymstick Red Power Weight Bench 200
- Page 1 WEIGHT BENCH 200 OWNER’S MANUAL...
-
Page 2: Important Safety Instructions
IMPORTANT SAFETY INSTRUCTIONS The product is intended for non-commercial/household use only. Failure to follow any of these safety instructions may result in serious injury. This product should be placed on a level surface at all times. Keep children and pets away from this product at all times. This product is designed and intended for adult use only. -
Page 3: Exploded Drawing
EXPLODED DRAWING... -
Page 4: Part List
PART LIST PART NO DESCRIPTION Q’TY MAIN FRAME RIGHT SUPPORT FRAME LEFT SUPPORT FRAME UP CONNECT FRAME LOW CONNECT FRAME CONNECT FRAME STOP PLATE SQUAT RACK SUPPORT BIG CONNECT PLATE BACK CUSHION HEX BOLT M8*16 HEX BOLT M10*16 HEX BOLT M10*70 HEX BOLT M10*75 WASHER WASHER... - Page 5 FIG-1 Step1(FIG-1): 1. Attach the low connect frame (05) to the right support frame (02) and left support frame (03), with hex bolt M10*70 (13), washer 10 (16), nylon lock nut M10 (18) and big connect plate (09). 2. Attach the top connect frame (04) to the right support frame (02) and left support frame (03), with hex bolt M10*70 (13), washer 10 (16), nylon lock nut M10 (18) and big connect plate (09).
- Page 6 FIG-2 STEP2(FIG-2) 1. Attach main frame (01) to top connect frame (04) using hex bolt M10*75 (14), washer 10 (16) and nylon lock nut M10 (18). 2. Attach the connect frame (06) to main frame (01) and low connect frame (05), with small connect plate (22), hex bolt M10*75 (14), hex bolt M10*70 (13), washer 10 (16) and nylon lock nut M10 (18).
- Page 7 FIG-3 STEP3(FIG-3): 1. Attach back cushion (10) to the main frame (01), with hex bolt M8*16 (11) and washer 8 (15). 2. Insert the squat rack support (08) into the right support frame (02) and left support frame (03), with hex M10*16 (12) and big washer 10 (17).
- Page 8 FIG-4 STEP4(FIG-4): Now, tighten all bolts and nuts. Then attach plastic cover (19) to bolts and nuts.
-
Page 9: Implied Warranty
Wear parts and expendable parts are also not covered. The device is only intended for home use. The warranty does not apply to commercial use of any kind. Keep this manual and the receipt for eventual future need. Manufactured by: Gymstick International Oy Ratavartijankatu 11 15170 Lahti, FINLAND...
Need help?
Do you have a question about the Red Power Weight Bench 200 and is the answer not in the manual?
Questions and answers