Sign In
Upload
Download
Table of Contents
Contents
Add to my manuals
Delete from my manuals
Share
URL of this page:
HTML Link:
Bookmark this page
Add
Manual will be automatically added to "My Manuals"
Print this page
×
Bookmark added
×
Added to my manuals
Manuals
Brands
Canon Manuals
Camcorder
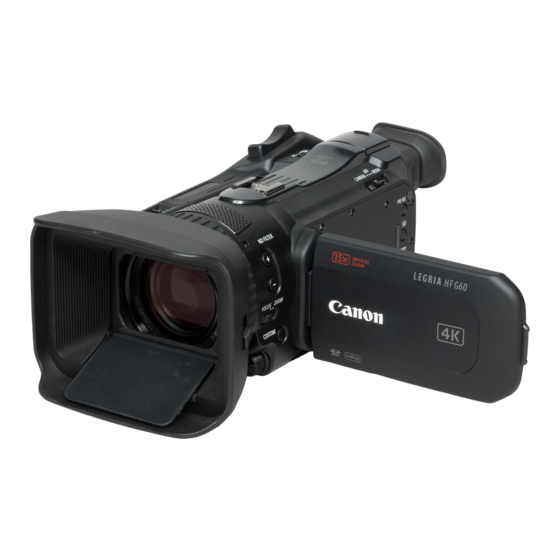
LEGRIA HF G60
Instruction manual
Canon LEGRIA HF G60 Instruction Manual
4k camcorder
Hide thumbs
1
2
3
4
Table Of Contents
5
6
7
8
9
10
11
12
13
14
15
16
17
18
19
20
21
22
23
24
25
26
27
28
29
30
31
32
33
34
35
36
37
38
39
40
41
42
43
44
45
46
47
48
49
50
51
52
53
54
55
56
57
58
59
60
61
62
63
64
65
66
67
68
69
70
71
72
73
74
75
76
77
78
79
80
81
82
83
84
85
86
87
88
89
90
91
92
93
94
95
96
97
98
99
100
101
102
103
104
105
106
107
108
109
110
111
112
113
114
115
116
117
118
119
120
121
122
123
124
125
126
127
page
of
127
Go
/
127
Contents
Table of Contents
Bookmarks
Table of Contents
Table of Contents
Introduction
About this Manual
Conventions Used in this Manual
Before Using the Camcorder
Supplied Accessories
Names of Parts
Camcorder
WL-D89 Wireless Controller
Preparations
Preparing the Power Supply
Attaching the Ferrite Core
Charging a Battery Pack
Preparing the Camcorder
Attaching the Lens Hood
Using the LCD Screen
Using the Viewfinder
Adjusting the Grip Belt and Using Straps
Wireless Controller
Basic Operation of the Camcorder
Turning the Camcorder on and off
Changing the Camcorder's Operating Mode
Date, Time and Language Settings
Setting the Date and Time
Changing the Language
Changing the Time Zone
Using the Menus
Setup Menus
FUNC Menu
Using SD Cards
Compatible SD Cards
Inserting and Removing an SD Card
Initializing an SD Card
Selecting the SD Card for Recordings
Dual Recording and Relay Recording
Recovering Clips
Recording
Recording Video and Photos
Reviewing the Latest Clip Recorded
Onscreen Displays
Video Configuration: Resolution, Bit Rate and Frame Rate
Selecting the Resolution and Bit Rate
Selecting the Frame Rate
Slow & Fast Motion Recording
Adjusting the Focus
Manual Focus
AF-Boosted MF
Continuous AF
Changing the AF Frame Size
Face Detection & Tracking
Zooming
Using the Focus/Zoom Ring
Using the Grip Zoom Rocker
Using the Supplied Wireless Controller or an Optional Remote Controller
Using the Touch Screen's Zoom Controls
Digital Tele-Converter
Image Stabilization
Dynamic IS or Standard IS
Powered IS
Automatic Gain Control (AGC) Limit
Shooting Modes
Special Scene Modes
Adjusting the Exposure
Manual Exposure (N)
Automatic Exposure: Programmed AE (')
Automatic Exposure: Shutter Priority (')
Automatic Exposure: Aperture Priority (")
Touch Exposure
Exposure Lock (AE Lock)
Exposure Compensation
Backlight Correction
Zebra Pattern
ND Filter
White Balance
Using Looks
Setting the Time Code
Selecting the Time Code Mode
Setting the User Bit
Using the Mini Advanced Shoe
Advertisement
Quick Links
Download this manual
PUB. DIE-0536-000
4K Camcorder
Instruction Manual
PAL
Table of
Contents
Previous
Page
Next
Page
1
2
3
4
5
Advertisement
Table of Contents
Need help?
Do you have a question about the LEGRIA HF G60 and is the answer not in the manual?
Ask a question
Questions and answers
Related Manuals for Canon LEGRIA HF G60
Camcorder Canon VIXIA HF G10 Instruction Manual
Canon camcorder user manual (184 pages)
Camcorder Canon VIXIA HF M40 Brochure & Specs
Canon camcorder - digital camcorder user manual (2 pages)
Camcorder Canon VIXIA HF G10 Pocket Manual
Flash memory camcorder (2 pages)
Camcorder Canon LEGRIA HF M32 Product Manual
Full lime product guide (26 pages)
Camcorder Canon VIXIA HF G30 Manual
(89 pages)
Camcorder Canon VIXIA HF G30 Instruction Manual
Hd camcorder (189 pages)
Camcorder Canon VIXIA HF G30 Quick Manual
Hd camcorder (26 pages)
Camcorder Canon XA20 Connection Manual
Using remote browse (12 pages)
Camcorder Canon XA20 Connection Manual
Uploading recordings to youtube and facebook using an ios device (10 pages)
Camcorder Canon XA20 Manual
(17 pages)
Camcorder Canon Legria HF G25 Instruction Manual
Hd (182 pages)
Camcorder Canon LEGRIA HF G25 Quick Manual
(38 pages)
Camcorder Canon VIXIA HF G40 Instruction Manual
(187 pages)
Camcorder Canon VIXIA HF G20 Instruction Manual
Hd camcorder (196 pages)
Camcorder Canon LEGRIA HF G26 Instruction Manual
(6 pages)
Camcorder Canon VIXIA HF G50 Instruction Manual
4k camcorder (132 pages)
This manual is also suitable for:
3670c005
Table of Contents
Print
Rename the bookmark
Delete bookmark?
Delete from my manuals?
Login
Sign In
OR
Sign in with Facebook
Sign in with Google
Upload manual
Upload from disk
Upload from URL


Need help?
Do you have a question about the LEGRIA HF G60 and is the answer not in the manual?
Questions and answers