Table of Contents
Advertisement
Quick Links
Advertisement
Table of Contents

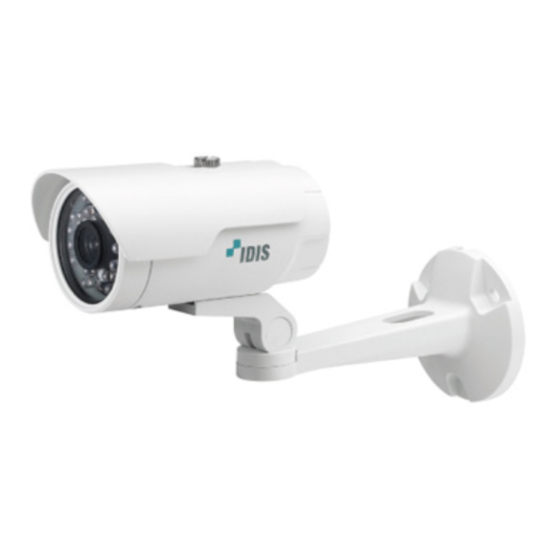
Summary of Contents for Idis DC-E1212WR
- Page 1 DC-E Series Installation Manual DC-E1112WR / DC-E1212WR Powered by...
- Page 2 Before reading this manual This is a basic installation manual for use of an IDIS netework camera. Users who are using this product for the first time, as well as users with experience using comparable products, must read this operation manual carefully before use and heed to the warnings and precautions contained herein while using the product.
- Page 3 Safety Precautions WARNING RISK OF ELECTRIC SHOCK DO NOT OPEN WARNING: TO REDUCE THE RISK OF ELECTRIC SHOCK, DO NOT REMOVE COVER (OR BACK). NO USER-SERVICEABLE PARTS INSIDE. REFER SERVICING TO QUALIFIED SERVICE PERSONNEL. Important Safeguards 1. Read Instructions 10. Overloading All the safety and operating instructions should be read before the Do not overload wall outlets and extension cords as this can result in appliance is operated.
- Page 4 © 2014 IDIS Co., Ltd. IDIS Co., Ltd. reserves all rights concerning this operation manual. Use or duplication of this operation manual in part or whole without the prior consent of IDIS Co., Ltd. is strictly prohibited. Contents of this operation manual are subject to change without prior notice for reasons such as functionality enhancements.
-
Page 5: Table Of Contents
Table of Contents Part 1 – Introduction ......... 6 Product Features . -
Page 6: Part 1 - Introduction
In addition, the embedded web server (IDIS Web) lets you remotely view live video using a web • Slow shutter support for improved low-lighting video browser. In addition, you can use the IDIS Solution Suite capture performance Compact to manage network cameras and view/record •... -
Page 7: Accessories
Part 1 – Introduction Accessories Upon purchasing the product, check inside the box to make sure all the following accessories are included. External appearances and colors of the accessories may vary depending on the model. Network Camera Bracket Sun Shield Open Source Guide Quick Guide Sun Shield Screw (1 ea.) -
Page 8: Overview
Part 1 – Introduction Overview Product color and design may vary depending on the model. Body • Cable Refer to the Cable. • Sun Shield Screw Hole Allows you to screw the sun shield to the camera. Camera surveillance may be prohibited by laws that vary by region. -
Page 9: Sun Shield
For more information on network connection setup, refer to the IDIS Discovery operation manual. • Check your local laws and regulations on making video recordings. The user will be held liable for any violation of the law. -
Page 10: Factory Reset
It's also possible to do a factory reset by pressing and releasing the reset switch while the camera is turned on or using the IDIS Discovery program from a remote Only use the factory reset switch to restore the camera location. -
Page 11: Installation
Part 1 – Introduction Installation Screw the sun shield to the camera body by using the mounting screws provided with the camera. Installation of this product does not require the use of Screw the camera body to the bracket by using the special tools. -
Page 12: Part 2 - Camera Connection
Part 2 - Camera Connection Use the camera by connecting to DirectIP™ NVR or non DirectIP™ NVR, VMS such as IDIS Solution Suite Compact. With DirectIP™ NVR-based Layout Power Network Camera Monitor Out Power Network Remote Monitoring DirectIP™ NVR makes it easy to use cameras without extra network configurations. -
Page 13: With Non Directip™ Nvr-Based Layout
Ideal for using the camera over the network from a remote location. The contents in the camera operation manual are only for users using the camera with non DirectIP™ NVR connection or VMS connection such as IDIS Solution Suite Compact. -
Page 14: Part 3 - Appendix
ID and password as a safety precaution. camera. Unable to launch IDIS Web. If the IDIS Web login screen is not loading, check which version of Microsoft Internet Explorer you are using. IDIS Web may not launch properly on versions 8.0 or below. -
Page 15: Specifications
NTSC or PAL (programmable) Compression Algorithm H.264, M-JPEG (Four levels) Compression Resolution DC-E1112WR 352x240, 704x480, 1280x720 DC-E1212WR 352x240, 704x480, 1280x720, 1920x1080 Bitrate Control DC-E1112WR H.264 –CBR / VBR (up to 8 Mbps) DC-E1212WR H.264 –CBR / VBR (up to 12 Mbps) Max. - Page 16 14°F to 122°F (-10°C to 50°C) DC-E1112WR (Starting temperature: 32°F to 122°F (0°C to 50°C)) With IR LED on: 14°F to 113°F (-10°C to 45°C)) DC-E1212WR (Starting temperature: 32°F to 122°F (0°C to 50°C)) Operating Humidity 0% ~ 90% Power Input PoE(IEEE 802.3af, Class2)
- Page 17 IDIS Co., Ltd. For more information, please visit at www.idisglobal.com...


Need help?
Do you have a question about the DC-E1212WR and is the answer not in the manual?
Questions and answers