
Related Manuals for Rogue Audio RP-9


Summary of Contents for Rogue Audio RP-9
-
Page 1: Table Of Contents
TABLE OF CONTENTS 1) Introduction 2) Unpacking your preamplifier 3) Installing the RP-9 into your system 4) Operation of the RP-9 preamplifier 5) Troubleshooting 5) Registration of your preamplifier 6) Fuse values 7) Specifications 8) Product Registration and Warranty... -
Page 2: Introduction
And with the RP-9 preamplifier, you can be sure that you are getting the very best in tube amplification. -
Page 3: Installing The Rp-9 Into Your System
INSTALLING THE RP-9 INTO YOUR SYSTEM Place the RP-9 on a flat stable surface with at least 1” of airspace above the preamplifier for ventilation. Do not place any other electronic components or any other objects on top of the preamplifier. - Page 4 RCA jacks on the rear of the preamp labeled “from proc” and “to proc”. Connect the processor “to proc” on the rear of the RP-9 to the inputs on your processor. Connect the outputs of the processor to the jacks labeled “from proc”...
-
Page 5: Operation Of The Rp-9 Preamplifier
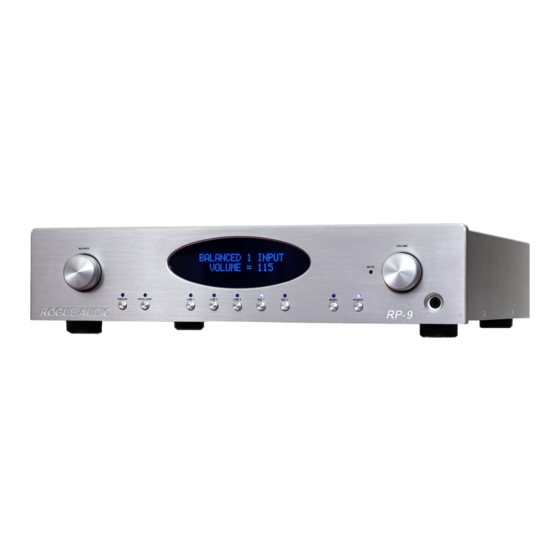
To do this, simply plug the RP-9 in and turn on the rear power switch. Wait a minute or so and then power on at the front panel. This only needs to be done when the RP-9 has been disconnected from the wall or the rear switch has been turned off. - Page 6 0 (min) or 192 (max). Tactile Switches (buttons) Power - If the RP-9 is turned off, pressing the power button will initiate the start-up sequence and the blue LED above the button will light. If the unit is on, the turn off sequence will begin and the blue LED will be extinguished.
-
Page 7: Troubleshooting
Check that the power cord connection is secure and that the rear power switch is turned on Turn off the main power switch on the rear of the RP-9. Wait one minute then turn the rear panel switch back on. Wait 30 seconds then press the power button on the front panel (e.g. -
Page 8: Fuse Values
FUSE VALUES 115V version - 1 A slow blow located on left rear of chassis. 230V version - 0.5 A slow blow located on left rear of chassis RP-9 SPECIFICATIONS Tube Complement Four 6H30P tubes 5Hz – 200KHz Frequency Response <0.1%... -
Page 9: Product Registration And Warranty
Rogue Audio warrants the vacuum tubes for a period of six months from the date of retail purchase. Any defective parts will be replaced free of charge, excluding shipping and handling.
Need help?
Do you have a question about the RP-9 and is the answer not in the manual?
Questions and answers