Subscribe to Our Youtube Channel
Summary of Contents for Rogue Audio METIS METIS Vacuum Tube Preamplifier
- Page 1 METIS Vacuum Tube Preamplifier Owner’s Manual Rogue Audio, Inc. 3 Marian Lane Brodheadsville, PA 18322 Issue date: 02/19/05...
-
Page 2: Table Of Contents
TABLE OF CONTENTS 1) Introduction 2) Unpacking the Metis preamplifier 3) Installing the Metis into your system 4) Operation of the preamplifier 5) Troubleshooting 6) Specifications 7) Product Registration and Warranty... -
Page 3: Introduction
Metis preamplifier, you can be sure that you are getting the very best in tube amplification. We at Rogue Audio are extremely proud of our products and want you to enjoy them to their fullest potential. So please, take the time to read through this short manual so that you can be confident that you have set up your preamplifier properly. -
Page 4: Installing The Metis Into Your System
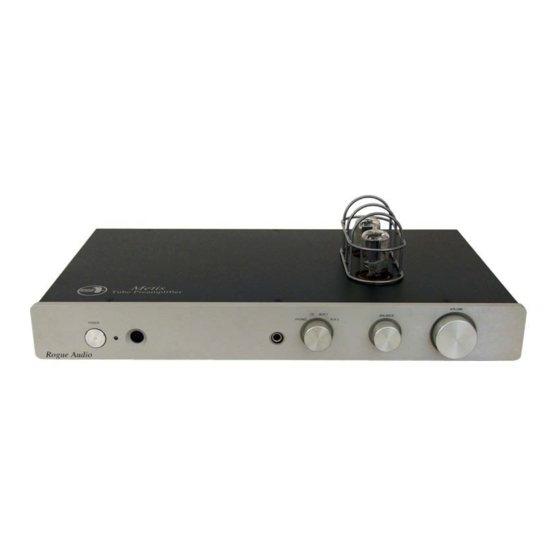
Power Switch Headphone Jack Selector Switch Balance Volume INSTALLING THE METIS INTO YOUR SYSTEM Connecting Metis to other components: Connections are made on the rear panel of the preamplifier and are shown in Figure 2. The input connections for source material are made via RCA jacks. There are three line level inputs including CD and two auxiliary inputs. -
Page 5: Operation Of The Preamplifier
Connecting METIS to headphones: The headpone jack is located on the front faceplate of the preamplifier, as shown in figure 1. The Metis headphone jack provides for a _” or 6mm headphone connector. If you have headphones with a different size connector, you can use a suitable adapter. -
Page 6: Troubleshooting
– Ensure that the interconnects are connected securely One channel does not play – Ensure that the balance pot is centered. – Ensure that tubes are seated correctly and securely. For further problems, please call Rogue Audio Technical Support at 570-992- 9901. -
Page 7: Specifications
SPECIFICATIONS frequency response 10Hz – 50 kHz ± 1dB < 0.1% typ, < 1% at rated power Gain Stage 12 dB Phono Gain 35 dB Phono Loading 47K Ohms, 150pF capacitance Rated Output 1 Volt RMS Maximum Output 10 Volt dimensions 18”... -
Page 8: Owner And Warranty Registration Form
Rogue Audio warrants the vacuum tubes for a period of six months from the date of retail purchase. Any defective parts will be replaced free of charge, excluding shipping and handling.


Need help?
Do you have a question about the METIS METIS Vacuum Tube Preamplifier and is the answer not in the manual?
Questions and answers